Wear this adorable navy print dress by Beso (on sale now at shopbop!) and eat this summertime lovin' in your tums blackberry ice cream from Caleigh's Kitchen.
Tuesday, August 16, 2011
Wear What You Eat
Inspired by Joy from ohjoy!, and her "this and that", I am going to regularly start featuring weekly "Wear What you Eat" posts. This simply combines some of my absolute favorite things-- beautiful clothes and delicious food.
Labels:
wear what you eat
Monday, August 15, 2011
Margherita Monday
As I walked into staff lounge and copy room today at work, my nose immediately led my body towards one of the dining tables. Placed in the center stood a tall grocery bag with several towering stems of fresh basil. The scent was delightful and I was thrilled and so thankful that one of my colleagues decided to share some of their garden with everyone else. I can't rave enough about how much I love fresh basil! As I selected a few stems to take home with me, I discovered even more goodies! At the bottom of the bag lay homegrown Roma and baby Heirloom tomatoes. I squealed with delight as I collected a few, stacked my copies on top of my edible treasure, and maneuvered my way back to my classroom.
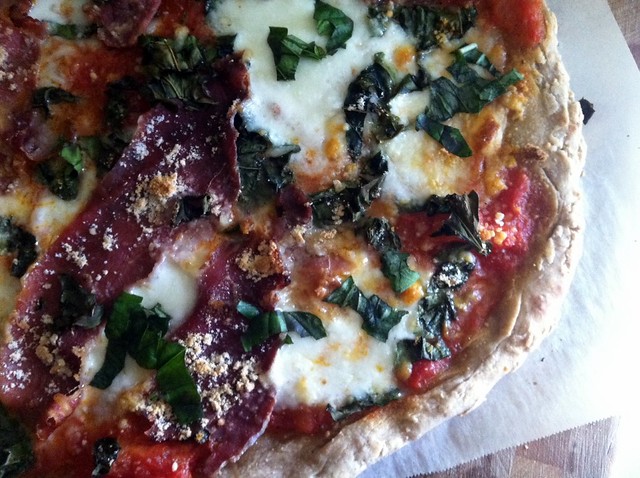
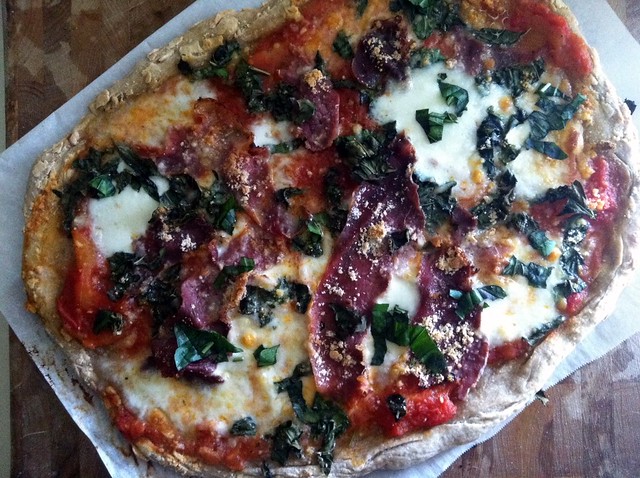
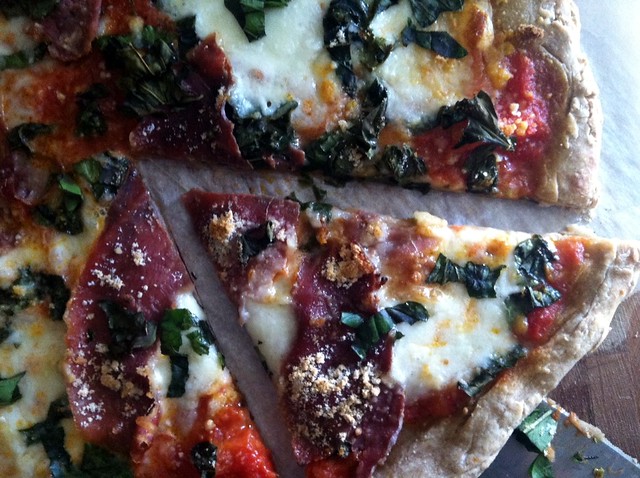
I originally had plans to make a simple sandwich for dinner, but did not want to let the fresh produce sit another day. Consequently, I decided to cook up a simple margherita pizza-- a perfect way to showcase delicious and quality ingredients; I planned on using my Roma tomatoes and basil (the baby Heirlooms will serve as great snacks later). For a "heartier" pizza, I added some thinly sliced imported prosciutto. Yum!
Margherita Pizza with Prosciutto
Makes one 14" pizza
Whole-wheat pizza dough (I cheated today and picked up some from my local grocery store ;) ). *You can always make it from scratch using the recipe I listed here in this recipe. However, the recipe is enough for two pizzas while I picked up an amount of dough for one 14" pizza.
3 Roma tomatoes
2 tbsp extra virgin olive oil
1 tsp minced garlic
1 tsp salt
1/2 tsp pepper
1 1/2 tsp sugar
1 tsp dried oregano
1/2 lb. fresh mozzarella, sliced about 1/4" thick
1/2 cup freshly chopped or julienned basil leaves
1/4 cup freshly grated Parmigiano-Reggiano cheese
Preheat the oven to 450 degrees F (temp. may vary depending on dough; see note above).
1. In a small-medium sauce pot, bring about 3-4 cups of water to a boil. Place the tomatoes into the water and allow them to cook for about 5 minutes. Turn off the heat, drain the tomatoes, and allow them to cool for a few minutes just until they are safe to handle. Gently peel off the skins and then coarsely chop the tomatoes; set aside. Dry off any water from the sauce pot and heat 1 tbsp of extra virgin olive oil. Once heated, add the minced garlic and cook for about a minute. Add the chopped tomatoes, salt, pepper, sugar, and oregano; cook for about 10 minutes on medium-low, stirring often. Allow the sauce to simmer and cook until all the flavors blend together. Turn off the heat and set the sauce aside.
2. When the dough has been prepped and is ready for baking, place it on a lightly floured surface and create a 12-14" round/shape. Place it on a lined or lightly greased and floured baking sheet/pizza stone. Brush the remaining 1 tbsp of olive oil over the surface and edges of the dough. Spread all of the sauce evenly on the dough, evenly top with mozzarella, sprinkle with the fresh basil (leave about 1 tbsp behind for later), gently place strips of prosciutto on top of the pizza, and finally sprinkle the freshly grated Parmigiano-Reggiano cheese over the pizza. Bake for about 10-15 minutes (or follow packaging instructions if using store-bought pizza).
3. Remove from oven, allow to cool slightly, and sprinkle with remaining basil. Eat up!
Friday, August 12, 2011
Our First Engagement Picture Session
My fiancé and are really excited that one of my students decided to help us out. She graciously provided us with our first engagement photo (picture).
Labels:
wedding planning
Wednesday, August 10, 2011
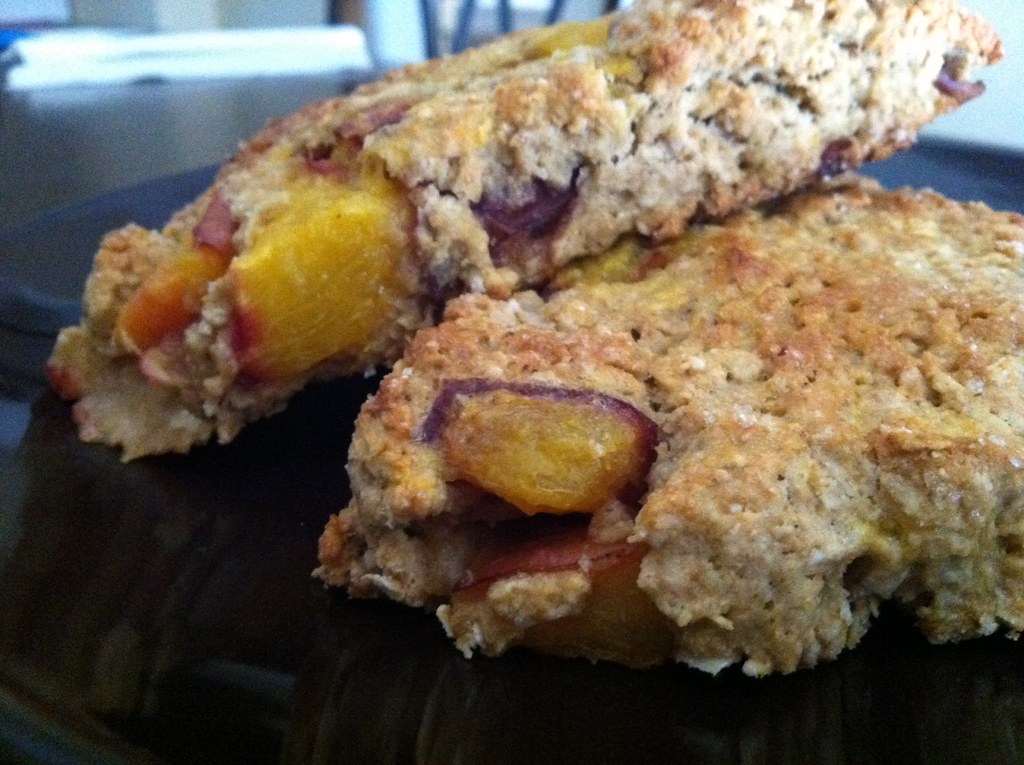
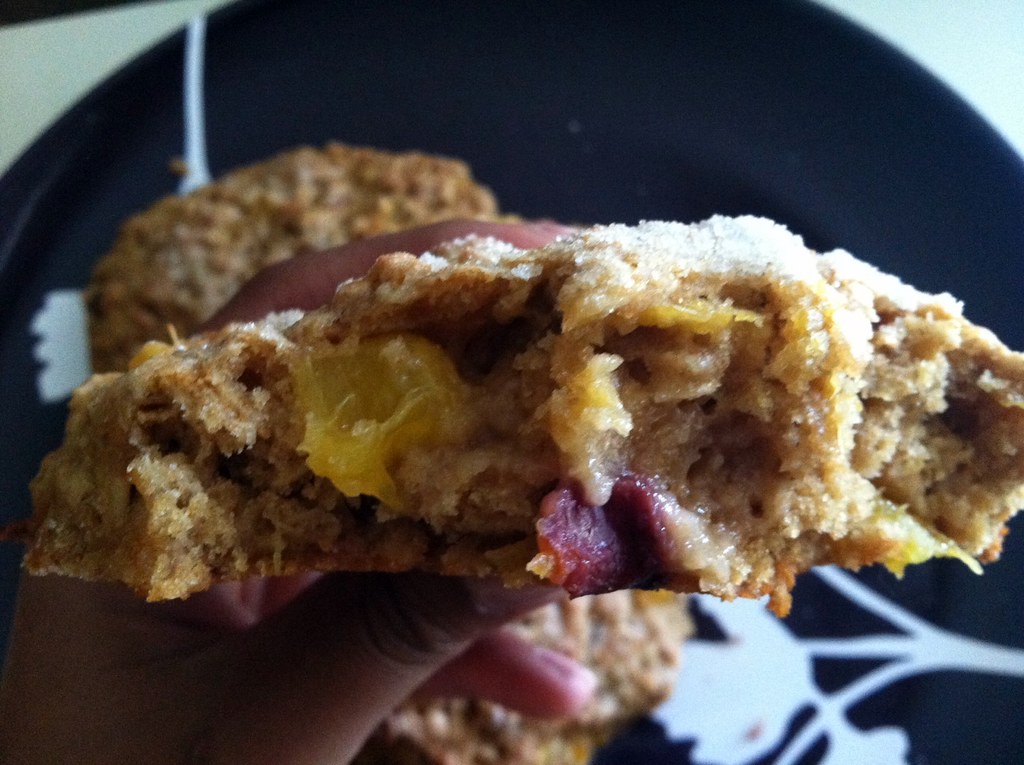
Whole Wheat Oat and Nectarine Scones
Here's the Million Dollar Question:
These scones are:
a) really good
b) really good for you
c) low in processed sugar
d) all of the above (with answer "a" x2)
The answer is "d". Oh, hello, breakfast. :)
Whole Wheat Oat and Nectarine Scones
Makes 6-8
1 1/2 cups whole wheat flour
2 cups rolled oats (do not use instant oats)
1/2 tsp salt
4 tsp baking powder
2/3 cup dark brown sugar
1/2 cup unsalted butter, cold and cubed
1 large egg
1/3 cup half and half (I have used almond milk before, too)
1 1/2 tsp real vanilla extract
2 tbsp honey
1 1/2 cups ripe nectarines, pitted and diced
Turbinado sugar
Preheat the oven to 450 degrees F.
1. In a large bowl, sift and mix together the flour, oats, salt, baking powder, and sugar. Using a pastry knife, cut in the cold and cubed butter into the flour until the mixture is coarse and crumbly (crumbles should be about the size of peas).
2. In a small bowl, gently beat together the egg, half and half, vanilla, and honey. Make a well in the center of the dry ingredients and pour in the egg mixture. Use a rubber spatula to mix everything together just until it is all combined and there are no longer any "dry patches". Gently fold in the nectarines until they are well distributed. At this point, the mixture should be slightly wet.
3. Roll out the mixture onto a lightly floured surface and gently pat it together into a circle and press down until a height of about 3/4 inch is reached. Use a knife to cut the circle into sections to create wedges. If you have a scone cutter or would like to scoop the batter into less triangular shapes-- that will work, too.
4. Place the wedges about 3 inches apart on a lightly greased or lined baking sheet. Sprinkle the tops with Turbinado sugar and bake for 15 minutes, just until lightly golden brown. Remove from the oven, allow to rest for a few minutes, then transfer to a cooling rack.
These are best enjoyed the day of baking. You can store them in an airtight container, but the nectarines will emit moisture and the scones may lose their slightly crunchy exterior.
Labels:
healthy baking,
nectarine,
recipes
Tuesday, August 9, 2011
Happy Birthday, Daddy
For all the piggy back rides, shoulders for me to sleep on, morning prayers together at the top of the stairs, endless car rides, meals on the table, donut runs, Grape Snapples, hand holding, ceaseless hugs, driving lessons (even the one when you yelled at me like crazy to test my 'driving under pressure'), college dorm room moves, college house moves, silly jokes that make no sense, random phone calls and voice messages left in funny voices, and SO MUCH MORE-- I love you and am starting to really enjoy the fact that my quirky character comes from you.
Happy birthday, dad. :)
Labels:
life is sweet
My One and Only...
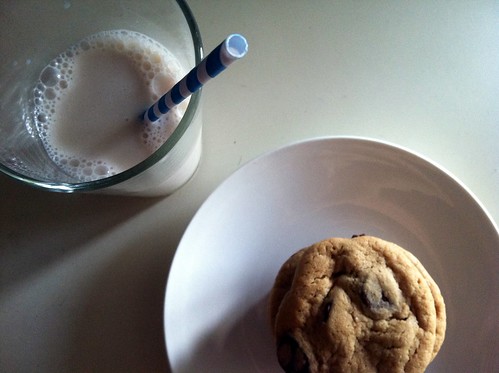
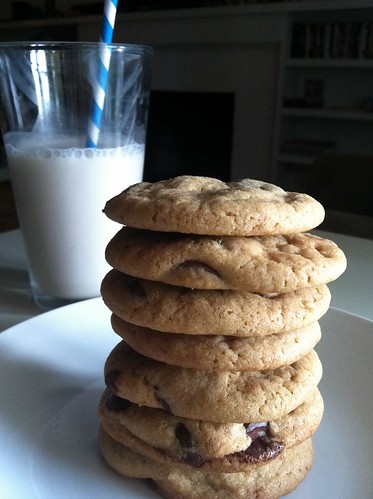
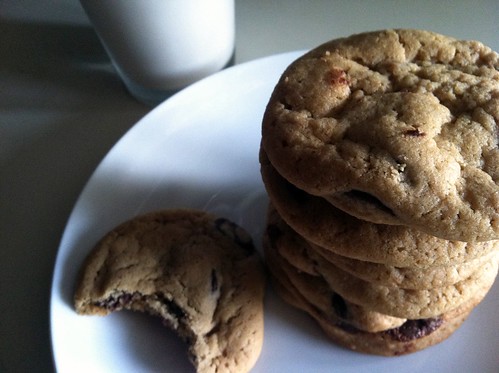
...chocolate chip cookie recipe!
In all seriousness, this is the only chocolate chip cookie recipe you will ever need. It's absolutely perfect! I will admit that I adapted this recipe from the famous NY Times recipe by Jacques Torres . The recipe already, as is, is wonderful, but I found myself tweaking it one day and absolutely loved the results. Using different flours is a must and makes a huge difference! Also, be sure to use really good quality chips-- I always try to find some that have a cacao content of 60% or more (it makes a world of difference).
In fact, I made a huge batch and brought them in to work last Friday as a "Happy 'First Week of School is Over' Day" celebration treat and they disappeared completely by the end of the school day. I was thrilled when my friend/colleague's 3 year old daughter told me they were "the best cookies I've ever ate!".
Please, please, please...make these soon!
In all seriousness, this is the only chocolate chip cookie recipe you will ever need. It's absolutely perfect! I will admit that I adapted this recipe from the famous NY Times recipe by Jacques Torres . The recipe already, as is, is wonderful, but I found myself tweaking it one day and absolutely loved the results. Using different flours is a must and makes a huge difference! Also, be sure to use really good quality chips-- I always try to find some that have a cacao content of 60% or more (it makes a world of difference).
In fact, I made a huge batch and brought them in to work last Friday as a "Happy 'First Week of School is Over' Day" celebration treat and they disappeared completely by the end of the school day. I was thrilled when my friend/colleague's 3 year old daughter told me they were "the best cookies I've ever ate!".
Please, please, please...make these soon!
The Best Chocolate Chip Cookies. Ever.
Makes 2-3 dozen 2 1/2 - 3 inch cookies
*adapted from Jacques Torres's NY Times recipe
2 cups, minus 2 tbsp, cake flour
1 2/3 cups all-purpose flour
1 1/4 tsp baking powder
1 1/4 tsp baking soda
1 1/2 tsp salt
1/2 tsp ground nutmeg
2 1/2 sticks unsalted butter (at room temperature)
1 3/4 cups + 2 tbsp dark brown sugar
1/2 cup granulated white sugar
2 large eggs (at room temperature)
2 tsp real vanilla extract
12 oz good quality dark chocolate chips
additional sea salt
Preheat the oven to 350 degrees F.
1. Sift the flours, baking powder, baking soda, salt, and nutmeg together in a bowl large enough bowl and then set aside.
2. Using a mixer (or hand mixer) cream the butter and both sugars together for about 4-5 minutes until the mixture is light and fluffy. Add the eggs one and a time making sure to mix in each one well. Stir in the vanilla extract.
3. Reduce the speed to low and gradually add the dry ingredients into the butter, sugar, and eggs (I usually add it in thirds). Make sure to mix it just until it's combined and there aren't anymore "dry patches". This shouldn't take longer than about 10-20 seconds. Next, gently fold in the chocolate chips until they are pretty evenly distributed. * Press plastic wrap against dough and refrigerate for 24 to 36 hours. Dough may be used in batches, and can be refrigerated for up to 72 hours.
4. On a prepared baking sheet lined with parchment paper or Silipat, place 1 inch rounds of cookie dough about 2 inches apart from each other. Bake each batch for 16 minutes on the middle rack of the oven (just until nicely golden brown). Allow the cookies to cool for a few minutes before removing from the baking sheet and transferring to a cooling rack.
*Note: Keeping the dough refrigerated for the noted amount of time can really make a tasty difference. This step helps marry the flavors together; I have baked the cookies right away and skipped this step a few times and always notice a difference. However, they will still be delicious without refrigeration-- just less spunky.
Subscribe to:
Posts (Atom)