Before I met my husband, I would have loved knowing the truth behind getting more dates. I just never had any luck.
Maybe it was me-- I blame myself. I kept looking for the wrong kind of dates.
Some girls sought after dates just for their looks. Others wanted dates that made them laugh and yet were still mature. What did I want?
I just wanted my dates to be pitted and easy to eat! They are loaded with fantastic nutrients and taste delicious. I especially love when they are in natural and wholesome energy snack bars, such as Larabars. In fact, the Larabar is the inspiration behind these homemade Lemon and Coconut Date Bars. When they're cut into little bit-size pieces, they are so easy and great for healthy snacking! The perfect way to get more dates in your life!
Wait...what kind of dates were you talking about?
Lemon and Coconut Date Bars
makes about four 4" x 1" bars or 16 1" square bites
3 cups whole pitted and dried dates
1/2 cup shredded unsweetened coconut
1/4 cup dry old-fashioned oats
2 tsp natural lemon extract (or lemon zest)
1 tsp vanilla extract
1/2 tsp kosher salt
1. Put everything into a food processor and process the mixture until a thick paste-like mass has formed. The dates won't become completely smooth.
2. Transfer the mixture onto a flat surface lined with plastic wrap. Use your hands to flatten and compact the mixture until it's a square about 4" x 4" x 1". Make sure that everything is as tightly compacted as possible and then wrap the square well. You can use a baking sheet or pan to press the square down so that both sides are flat and smooth. Also, by pushing the square into the corner of a baking pan/sheet, you can attain nicer and more even corners. Let this rest for at least 2-3 hours before cutting the square into bars or smaller bite size pieces.
3. To store, keep them in a sealed container or wrap them up well.
Showing posts with label lemon. Show all posts
Thursday, November 7, 2013
Thursday, May 30, 2013
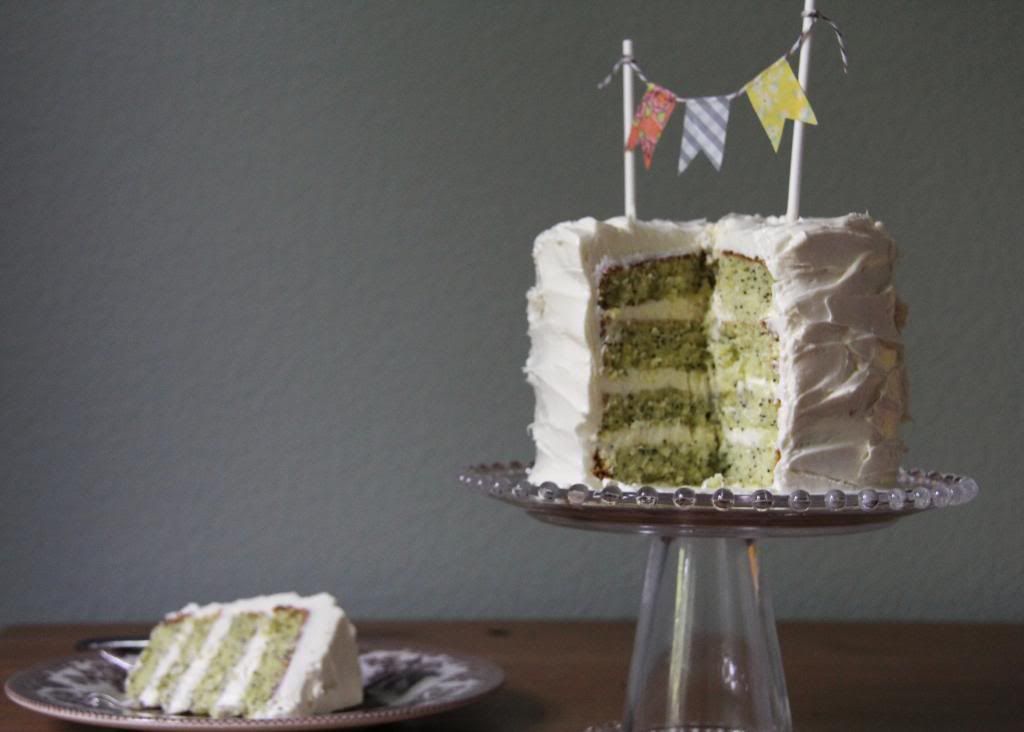
Lemon Poppy Seed Cakes with White Chocolate Buttercream
When I am a guest at someone's house, I find it important to bring something over. When the occasion is dinner...you can count on me to bring dessert as my contribution.
Last night, Henry and I went over to one of our pastor's house for an evening meal and I was excited to have an occasion to bake a cake. However, instead of just baking one cake, I made two-- one for dinner, and one to cut into for the blog.
Too much cake?
No.
Unless, you count eating some when I sliced the smaller cake...and then enjoying some more at dinner, again.
Err...okay, I guess I have to admit to maybe having too much cake for one day. However, with Lemon Poppyseed Cake Frosted with the silkiest White Chocolate Buttercream...how could I resist? I just couldn't! The crumb of the cake is moist yet firm. It has a classic flavor that is very similar to the perfect Lemon Poppyseed Muffins you may find at a good coffee house...except it is just a bit more delicate.
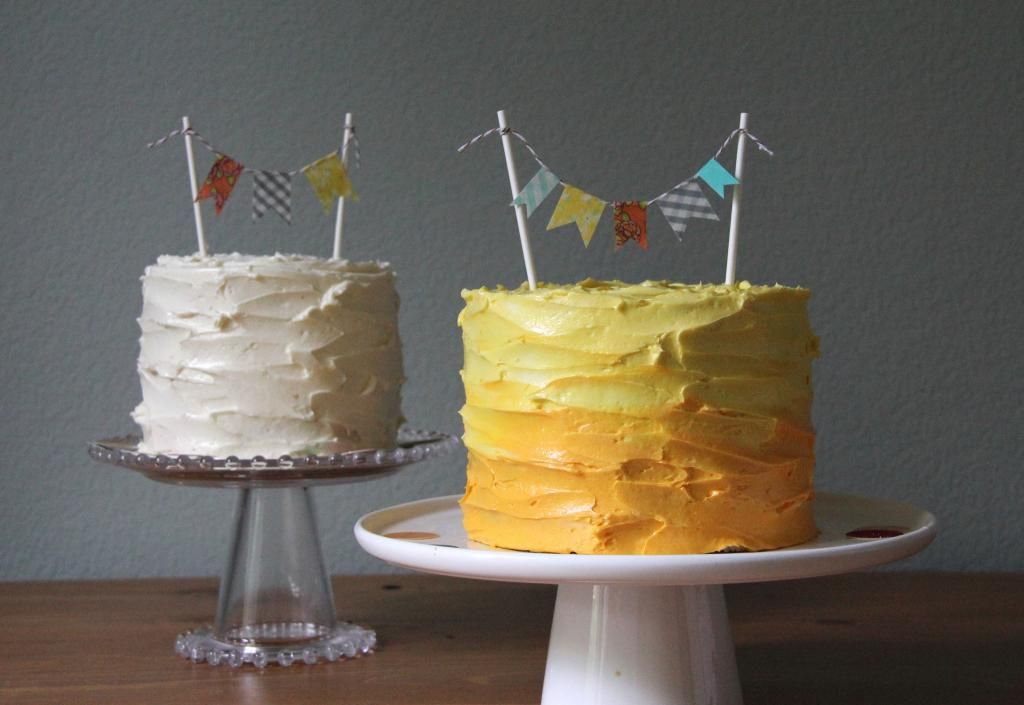
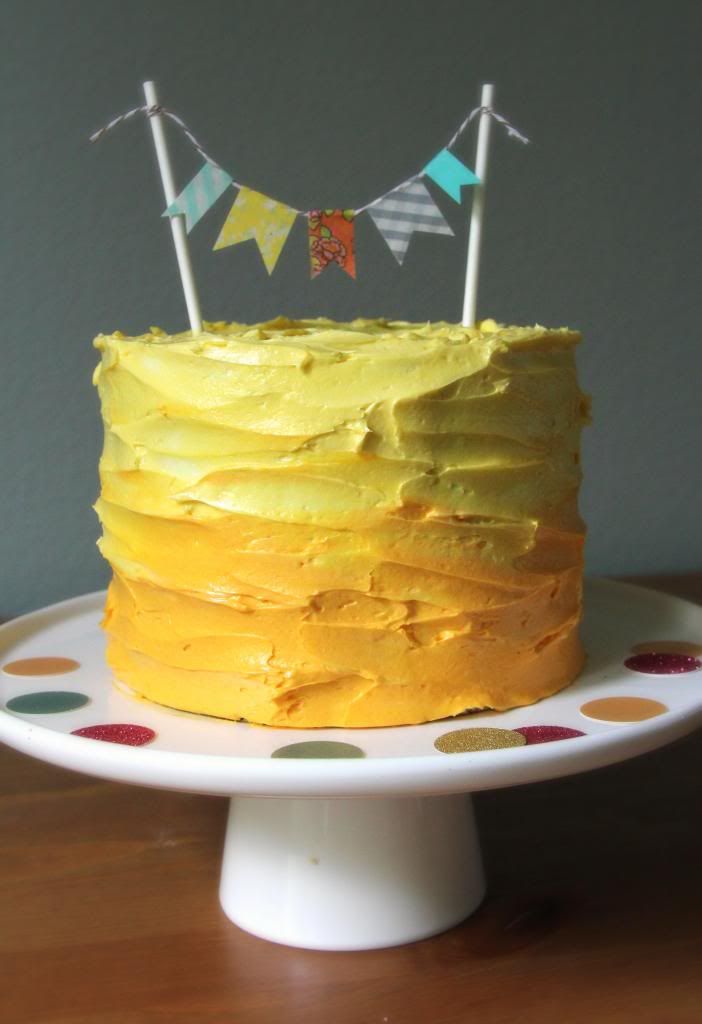
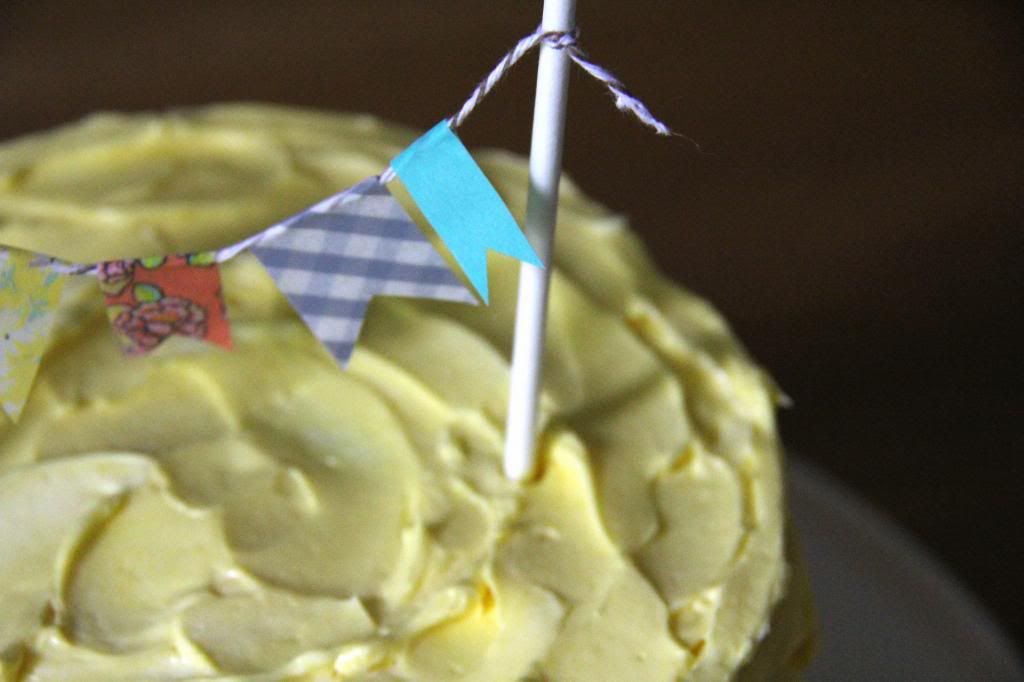
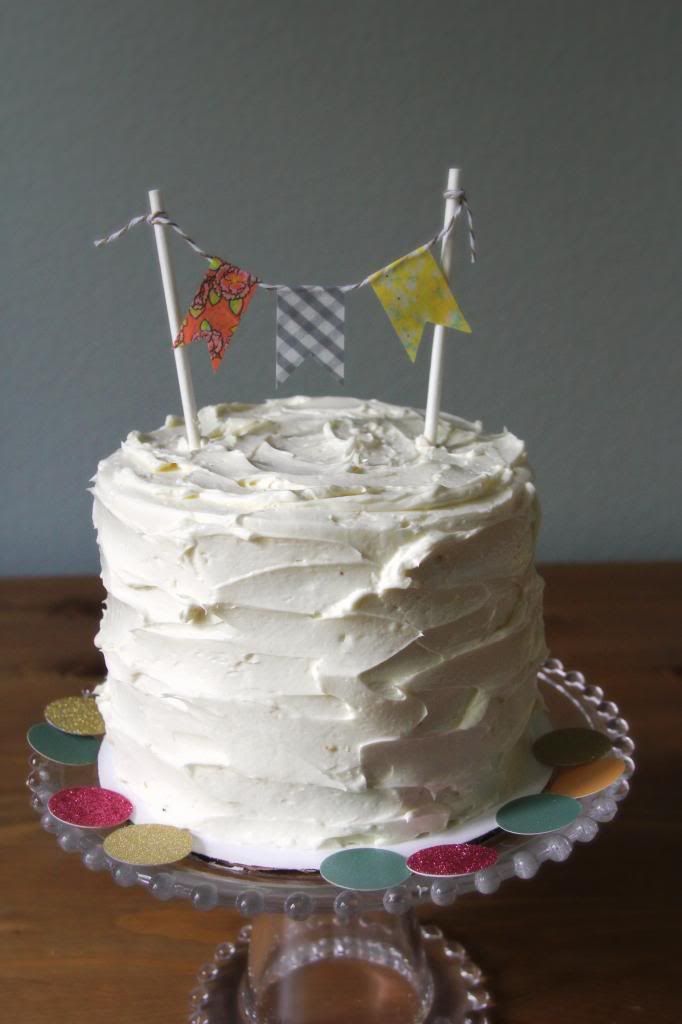
With such a vintage and classic taste, I decided to give it a charming and rustic look. I crumb coated each cake before using my spatula to make effortless streaks across the sides and top for an easy, yet adorable finish. To top it off, I made bunting banners with lollipop sticks, bakers twine, and assorted Washi tapes.
Mmm...I just love having reasons to bake and decorate a cake! Cheers.
adapted from this recipe
Makes one two-layer 8" cake
2 cups all purpose flour
1 3/4 cup white sugar
4 tsp baking powder
1 tsp salt
1/4 cup poppy seeds
1 1/2 sticks unsalted butter (room temp.), cubed
1 cup milk (room temp.)
5 egg whites
2 large eggs
zest of one large lemon
2 1/2 tsp lemon oil/extract
1 tsp vanilla extract
1 1/2 tsp almond extract
2 tbsp canola oil
1. In a stand mixer with the paddle attachment, mix the flour, sugar, baking powder, salt, and poppy seeds on a low speed for about 3-4 minutes until everything is well combined. Add the butter cubes little by little and continue to mix on medium-low for about 2 minutes.
2. While the dry ingredients are mixing, whisk together the milk, egg whites, eggs, lemon zest, lemon oil, vanilla, and almond extracts in another bowl. When the dry ingredients are ready, slowly pour all, but a 1/2 cup, of the wet ingredients into the bowl (flour/butter mixture). Beat everything together on medium speed for about 2 minutes. Add the rest of the milk mixture and beat for another minute. Pour in the canola oil and use a spatula to fold it into the batter until it is well incorporated.
3. Divide the cake batter, 2/3 full, into two 8" prepared cake pans that have been buttered and lightly floured. Bake at 350 degrees F. for 30-35 minutes-- a toothpick should come out clean and the sides should be a light golden brown. Allow the cake to cool completely before frosting.
*Note: Instead of baking an 8" cake, I used this recipe and divided it between two 6" and two 5" cake pans. Since I modified the size of the cake, I had to adjust the baking time. Here is a great chart to use as a reference when changing bake times-- the 6" cakes baked for 30 minutes and the 5" cake baked for about 25 minutes.
White Chocolate Buttercream Frosting (Swiss Meringue Based)
Makes about 10 cups -- store extra in a sealed airtight container in the refrigerator (when using leftover, bring to room temp. and whip up again before frosting other cakes).
1/2 cup heavy whipping cream
8 ounces white chocolate chips
10 large egg whites
2 cups white sugar
3 cups unsalted butter, cubed
2 tsp vanilla extract
1. In a small sauce pot, bring the heavy cream to a boil-- make sure to stir constantly to avoid burning the cream. Once it comes to a boil, immediately turn off the heat and pour the cream over the white chocolate chips (in a medium bowl). Use a rubber spatula to slowly mix the hot cream and white chocolate together until all the chips have melted. Once the ganache has come together, allow it to come to cool before using in the buttercream.
2. Use a double boiler, or place a large stand mixing bowl over a pot of simmering water (make sure the water doesn't touch the bowl), to heat the egg whites and sugar. Whisk this together constantly until the temperature reaches about 160 degrees F-- about 8-10 minutes when the sugar is dissolved, egg whites are hot, and everything is foamy.
3. Turn off the heat and transfer the bowl to the stand mixer. Use the whisk attachment and beat the meringue on high until it becomes thick, glossy, and the bowl feels neutral to the touch. As soon as the bowl is cool enough, reduce the speed to medium low and slowly add the butter and then the vanilla extract. The buttercream may appear chunky and curdled, but if it does, continue beating and everything will come together. The frosting should be smooth and thick.
4. Slowly pour in the cooled white chocolate ganache and continue to beat the buttercream for 1-2 more minutes on medium-high so everything gets mixed together well. If using food gel coloring, add now and mix until the color is even.
To assemble the cake
1. Level and torte each cake layer.
2. Place one layer onto a sized cake board, add about 1/4 cup of buttercream on top, and use a spatula to spread it evenly across.
3. Place another layer on top and repeat the filling process. Continue this until you have reached the top layer.
4. Once the cake is filled and leveled, crumb coat and/or frost as desired.
Labels:
Cake,
Chocolate,
lemon,
recipes,
sweet treats
Thursday, March 7, 2013
When Life Gives You Roses...
Whoever made up the saying "When life gives you lemons, make lemonade" must have been a very positive person. Although it's not always an easy thing to do, I am a firm believer in living life through sunshine colored optimistic goggles. The phrase is one of the many reminders people have to take advantage of what you've got and make it better.
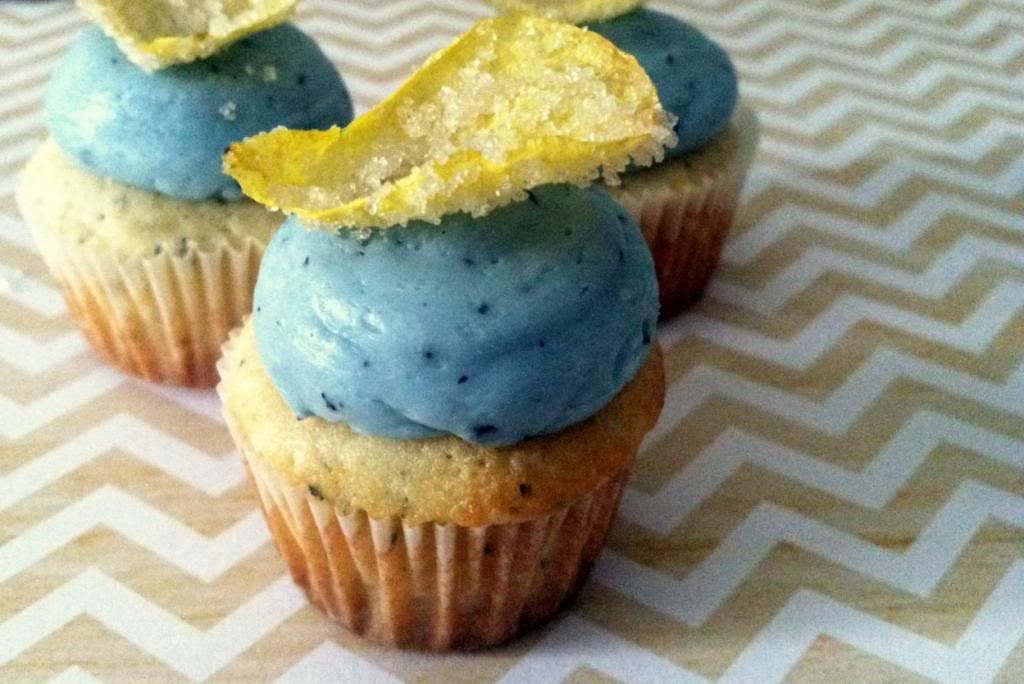
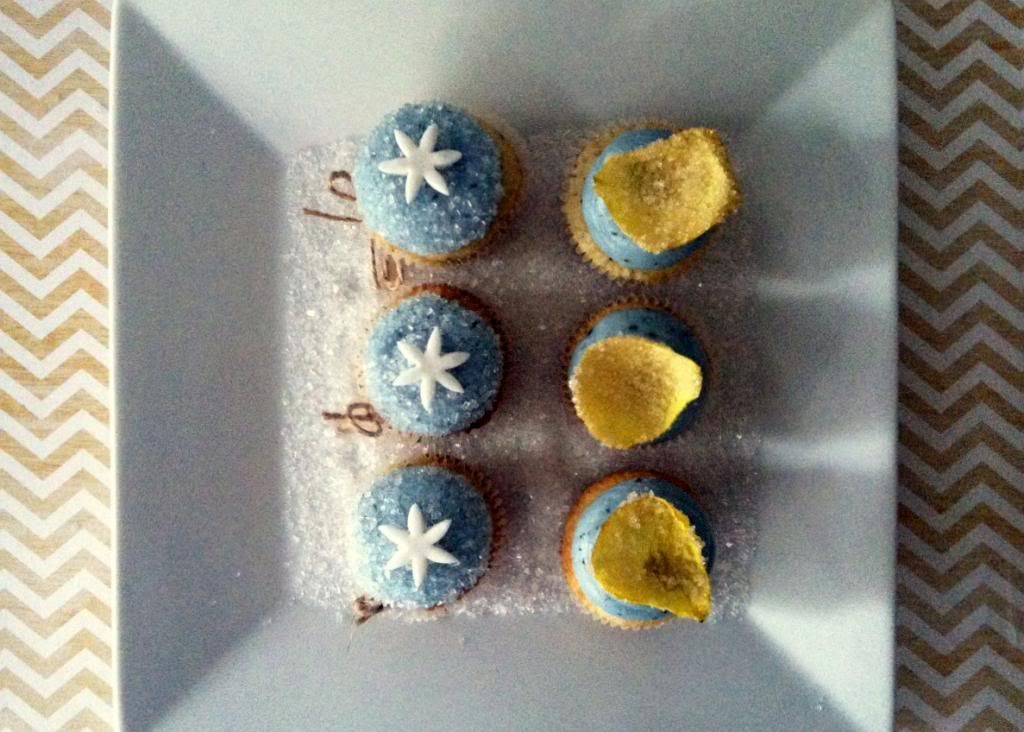
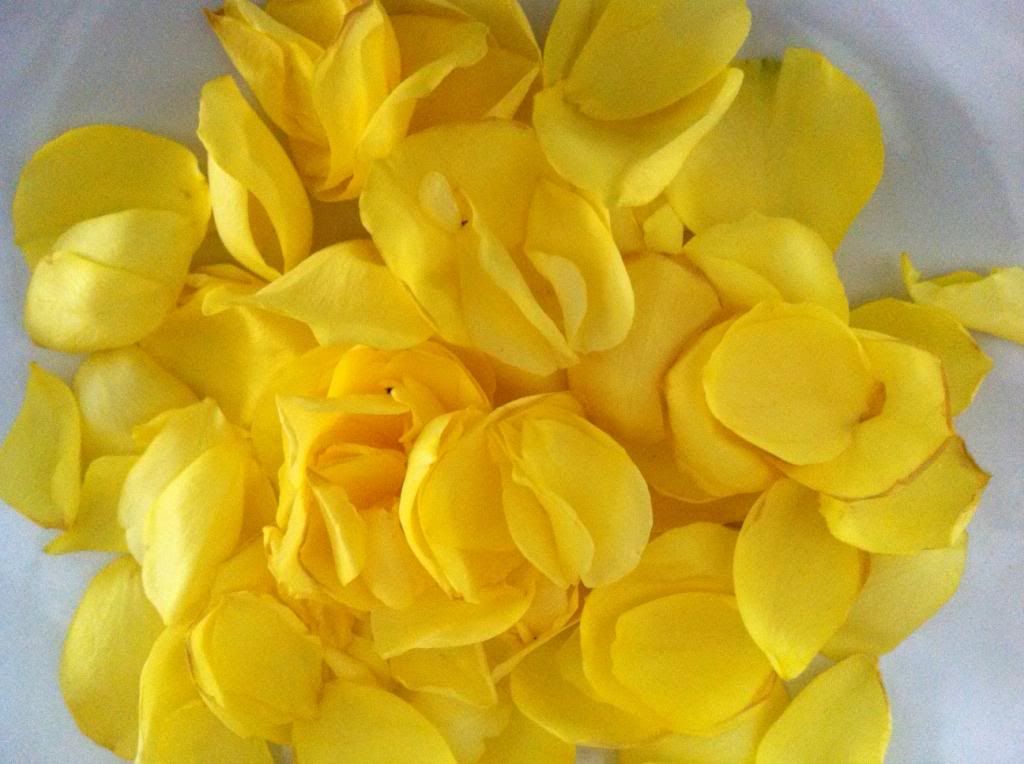
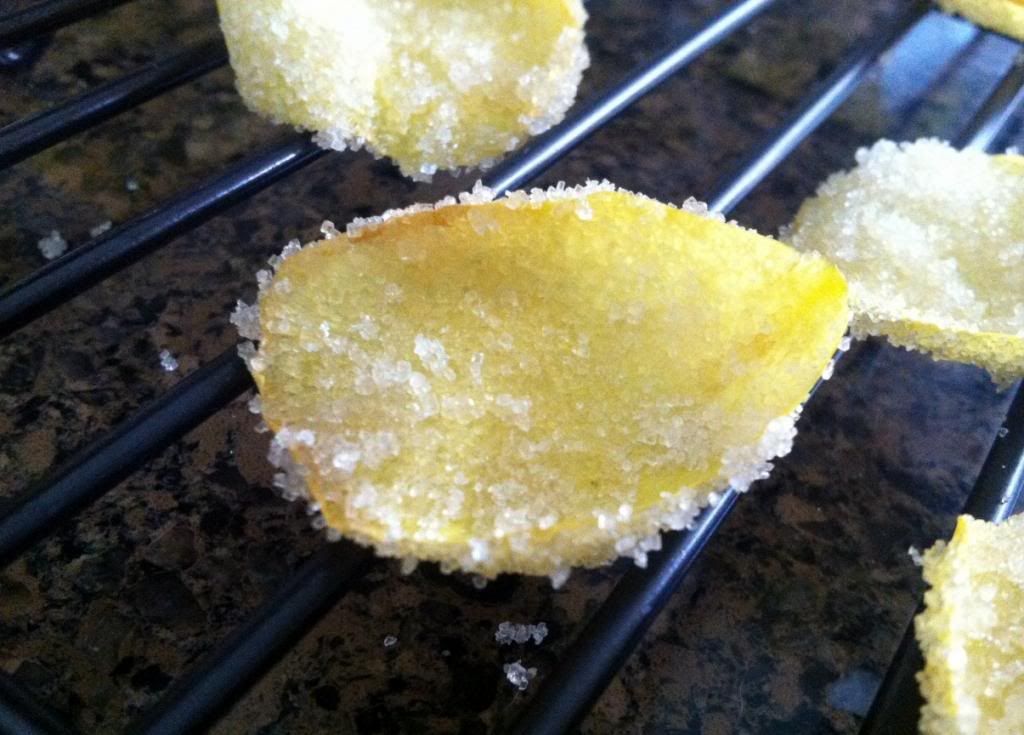
I'm all out of lemons at the moment, but today I am presenting optimism beyond a citrus fruit. "When life gives you fresh roses in your home, make candied rose petals before they wilt". Yea, so...I'm not sure that phrase will really catch on. I don't think society is ready for my oh-so brilliant and life-changing inspirational quotes. So, perhaps you can just view it as an option the next time you feel like dressing up your desserts in some fancy formal wear. That's exactly what I did with some bright and cheery yellow roses I had in my house. These crystalized petals became the most precious and delicate accessory to my Mini Earl Grey and Lemon Cupcakes. Actually, these baby cakes are so dressed up, if one could talk, it might request you address it as a Mr. Fancy Pants (yes, it's a boy).
These candied rose petals were actually the inspiration behind this new recipe for cupcakes. The charming petals and their bright yellow hue had my mind flooding with lemony and floral flavored sweets. I was about to settle for making a recipe for lemon and rose cupcakes, but at the last minute swapped the rose for earl grey. Since the tea flavor has notes of bergamot, I thought it would be a lovely pairing with the lemon I had originally planned for. Plus, I just love earl grey flavored anything sweets.
The combination of flavors in these cupcakes are right up my alley. When I finished and sampled my creation by eating only a mini cupcake, I felt the wrath of my angry taste buds screaming for more (They've been upset with me since I've been watching my post-marital weight...we eat when we're happy--who doesn't?). I don't blame them. These cupcakes are divine. I hope you enjoy them as much as I did. Henry also loved them! I didn't think he would since, when it comes to cupcakes, he favors more of the rich flavors such as salted caramel or maple. There you have it. Another HSA (Husband Seal of Approval).
Candied Rose Petals
about 2 dozen unsprayed rose petals
2 egg whites, lightly beaten
1 cup white granulated sugar (I ran out and used some organic sugar which worked out fine, but I think the finer crystals would have been better)
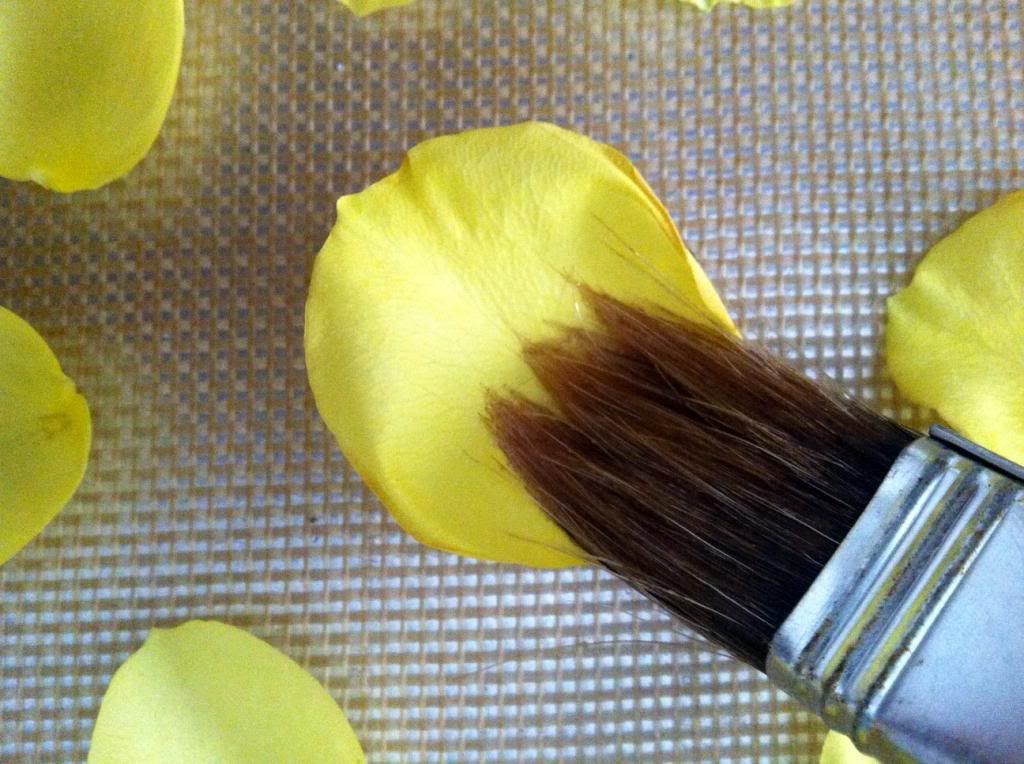
1. Lay the petals out on a baking sheet lined with a silicone mat or wax paper. Use a small brush to gently and evenly coat all sides of a petal. Place the petal into a small bowl containing the sugar-- use your index finger to gently press sugar against both sides of the petal. Place the sugared petal back onto the baking sheet or a cooling rack. Repeat with the rest of the petals. Allow it to dry for 3-4 hours before garnishing desserts.
*Notes: To speed things up, you can brush a few petals with egg whites at a time, but I would refrain from doing more than 4-5. They will dry up before you can get them coated in sugar. Also, technically they are edible, but these are also coated in raw egg whites-- I simply used them as a garnish.
Mini Earl Grey & Lemon Cupcakes
makes 18 mini cupcakes
Cupcakes
3/4 cup all purpose flour
1 tbsp earl grey tea leaves (the contents of one tea bag)
3/4 tsp baking powder
1/4 tsp salt
2 tbsp sour cream
1/4 cup half-n-half
1/4 cup unsalted butter, room temperature
1 tbsp canola oil
1/2 cup white granulated sugar
1 large egg, room temperature
1/2 tsp vanilla extract
1 1/2 tsp lemon zest (or 1 tsp of lemon extract/emulsion flavor)
1. Sift together the flour, tea leaves, baking powder, and salt in a bowl--set aside. In another bowl, whisk together the sour cream and half-n-half-- set aside.
2. Use a hand mixer to cream together the butter, oil, and sugar for about 3-4 minutes, on medium,until everything has combined well. Add the egg and beat for 5 minutes, on medium-high, until the mixture is light, fluffy, and a pale golden color. Beat in the vanilla and lemon zest.
3. Slowly add 1/3 of the the dry ingredients into the egg and butter mixture-- beat on medium-low. Add 1/2 of the sour cream and half-n-half mixture. Repeat with the remaining flour and sour cream/half-n-half (ending with the last 1/3 of the dry ingredients). Don't over mix the cake batter...stop beating as soon there aren't anymore dry patches.
4. Line the mini-muffin/cupcake baking sheet with paper liners. Use a mini ice cream scoop (or a tablespoon) to fill each cup about 3/4 of the way. Bake in a 350 degree F. oven for 12-14 minutes. Allow the cupcakes to cool slightly before transferring to a cooling rack (they must be completely cool before applying frosting).
Buttercream Frosting
1 cup unsalted butter, room temperature
1 tbsp earl grey tea leaves
1 tsp vanilla extract
1 tsp lemon zest (or lemon extract/emulsion flavor)
2 tbsp cold heavy whipping cream
1-2 cups powdered sugar (amount depends on your sweetness preference)
gel food coloring (optional)
1. Use a whisk attachment on a hand held or stand mixer to beat together the butter, tea leaves, vanilla, and lemon zest until it is smooth. Add the heavy cream. Slowly add the powdered sugar and continue to beat on
medium-high; stop occasionally to scrape down the sides and bottom of the bowl and also taste the frosting for the desired sweetness (I used about 1 2/3 cup of powdered sugar).
2. If you plan on adding color, add the desired amount and continue to mix the buttercream until the color is evenly distributed.
3. Frost cupcakes however you like. :)
These candied rose petals were actually the inspiration behind this new recipe for cupcakes. The charming petals and their bright yellow hue had my mind flooding with lemony and floral flavored sweets. I was about to settle for making a recipe for lemon and rose cupcakes, but at the last minute swapped the rose for earl grey. Since the tea flavor has notes of bergamot, I thought it would be a lovely pairing with the lemon I had originally planned for. Plus, I just love earl grey flavored anything sweets.
The combination of flavors in these cupcakes are right up my alley. When I finished and sampled my creation by eating only a mini cupcake, I felt the wrath of my angry taste buds screaming for more (They've been upset with me since I've been watching my post-marital weight...we eat when we're happy--who doesn't?). I don't blame them. These cupcakes are divine. I hope you enjoy them as much as I did. Henry also loved them! I didn't think he would since, when it comes to cupcakes, he favors more of the rich flavors such as salted caramel or maple. There you have it. Another HSA (Husband Seal of Approval).
Candied Rose Petals
about 2 dozen unsprayed rose petals
2 egg whites, lightly beaten
1 cup white granulated sugar (I ran out and used some organic sugar which worked out fine, but I think the finer crystals would have been better)
1. Lay the petals out on a baking sheet lined with a silicone mat or wax paper. Use a small brush to gently and evenly coat all sides of a petal. Place the petal into a small bowl containing the sugar-- use your index finger to gently press sugar against both sides of the petal. Place the sugared petal back onto the baking sheet or a cooling rack. Repeat with the rest of the petals. Allow it to dry for 3-4 hours before garnishing desserts.
*Notes: To speed things up, you can brush a few petals with egg whites at a time, but I would refrain from doing more than 4-5. They will dry up before you can get them coated in sugar. Also, technically they are edible, but these are also coated in raw egg whites-- I simply used them as a garnish.
Mini Earl Grey & Lemon Cupcakes
makes 18 mini cupcakes
Cupcakes
3/4 cup all purpose flour
1 tbsp earl grey tea leaves (the contents of one tea bag)
3/4 tsp baking powder
1/4 tsp salt
2 tbsp sour cream
1/4 cup half-n-half
1/4 cup unsalted butter, room temperature
1 tbsp canola oil
1/2 cup white granulated sugar
1 large egg, room temperature
1/2 tsp vanilla extract
1 1/2 tsp lemon zest (or 1 tsp of lemon extract/emulsion flavor)
1. Sift together the flour, tea leaves, baking powder, and salt in a bowl--set aside. In another bowl, whisk together the sour cream and half-n-half-- set aside.
2. Use a hand mixer to cream together the butter, oil, and sugar for about 3-4 minutes, on medium,until everything has combined well. Add the egg and beat for 5 minutes, on medium-high, until the mixture is light, fluffy, and a pale golden color. Beat in the vanilla and lemon zest.
3. Slowly add 1/3 of the the dry ingredients into the egg and butter mixture-- beat on medium-low. Add 1/2 of the sour cream and half-n-half mixture. Repeat with the remaining flour and sour cream/half-n-half (ending with the last 1/3 of the dry ingredients). Don't over mix the cake batter...stop beating as soon there aren't anymore dry patches.
4. Line the mini-muffin/cupcake baking sheet with paper liners. Use a mini ice cream scoop (or a tablespoon) to fill each cup about 3/4 of the way. Bake in a 350 degree F. oven for 12-14 minutes. Allow the cupcakes to cool slightly before transferring to a cooling rack (they must be completely cool before applying frosting).
Buttercream Frosting
1 cup unsalted butter, room temperature
1 tbsp earl grey tea leaves
1 tsp vanilla extract
1 tsp lemon zest (or lemon extract/emulsion flavor)
2 tbsp cold heavy whipping cream
1-2 cups powdered sugar (amount depends on your sweetness preference)
gel food coloring (optional)
1. Use a whisk attachment on a hand held or stand mixer to beat together the butter, tea leaves, vanilla, and lemon zest until it is smooth. Add the heavy cream. Slowly add the powdered sugar and continue to beat on
medium-high; stop occasionally to scrape down the sides and bottom of the bowl and also taste the frosting for the desired sweetness (I used about 1 2/3 cup of powdered sugar).
2. If you plan on adding color, add the desired amount and continue to mix the buttercream until the color is evenly distributed.
3. Frost cupcakes however you like. :)
Labels:
Cupcakes,
lemon,
recipes,
sweet treats
Tuesday, January 10, 2012
Fresh Lemon Curd
Growing up as a child, I enjoyed living in a house complete with a backyard filled with an abundance of all kinds of fruit trees. Spoiled with fresh homegrown plums, lemons, tangerines, kumquats, white peaches, and even guava-- I told my fiancé, years before becoming engaged, that I was determined to build ourselves a mini orchard of a backyard in whatever house we would end up living in. After he purchased a house last summer, that we will be living in after we marry, I became elated to discover that the previous owners had already lend a friendly hand towards this dream. In the corner of the yard there is a tall and lush lemon tree that decided to play hard to get by waving "hello" all summer and fall without producing any ripened yellow fruit. However, to my warm delight, a few weeks ago, I was pleased to find plenty of ripe bundles of sunshine waiting for me to harvest! Some of the lemons were wrapped sweetly in wicker baskets and given as small "I thought of you" presents. Other lemons fulfilled their purpose by being squeezed into warm cups of tea with their good friend, honey. Plenty of lemons, however, were used to make fresh batches of homemade lemon curd-- nothing more than lovely tastes of summer lingering in the chilly heart of winter.
Homemade Lemon Curd
adapted from Ina Garten
the zest of 3 large lemons (avoid the white part)
1 1/4 cup white granulated sugar
1/2 cup unsalted butter at room temperature
4 large eggs at room temperature
3-4 lemons, juiced (about 1/2 cup)
1 tsp vanilla extract
pinch of salt
1. In a large bowl, combine the lemon zest and white sugar and whisk together well until the mixture is combined.
2. Using a hand mixer, cream the butter until it is fluffy and then add the sugar and lemon mixture-- continue to beat for about 1-2 more minutes to combine. Add the eggs, one at a time, and continue to mix on medium until everything becomes a pale yellow-- about 5 minutes. Add the lemon juice, vanilla, and salt and keep mixing for about 10 more minutes. If the mixture starts to look curdled, keep beating.
3. Pour the mixture into a medium-large saucepan and cook it on low heat until it becomes thick and coats the back of your stirring utensil. Be sure to stir continuously to avoid burning the bottom of the lemon curd batch. This should take about 10 minutes and the curd so reach just below a simmer. Remove from the heat, transfer to jars or sealable containers, and allow it to cool before transferring to the refrigerator to cool and store.
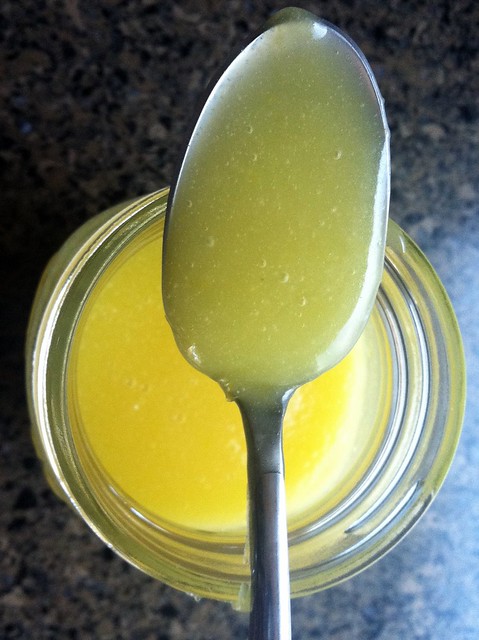
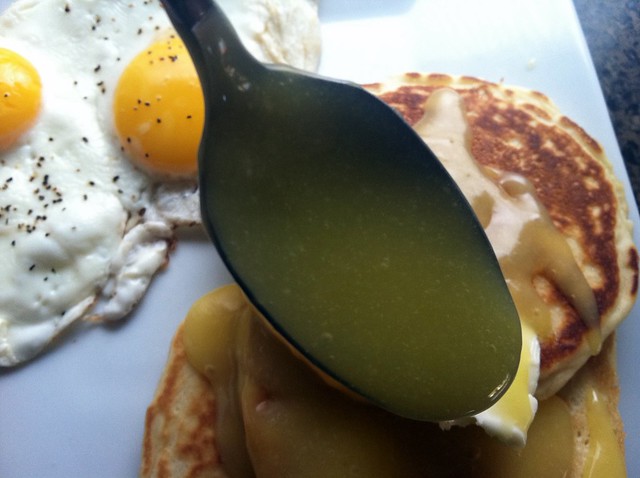
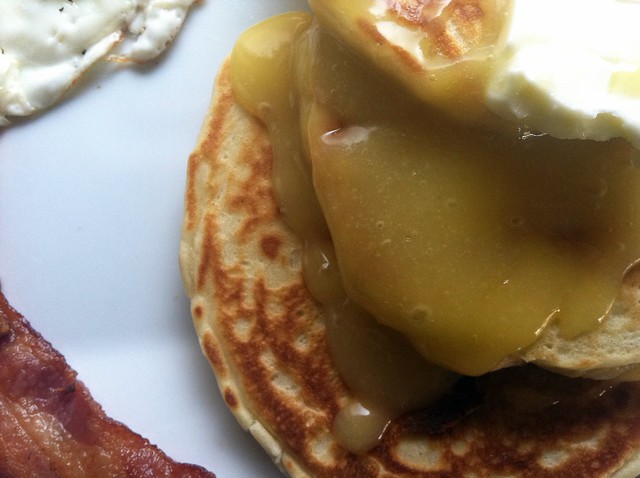
This lemon curd recipe is extremely simple to make and taste just as good (with a little extra 'oomph') than the kind you can purchase at the grocery store. I love to make a lot, store it in mason jars, and keep it waiting in the fridge ready to be used on toast, pancakes, waffles, and other delicious things. It's also fantastic in pies or to tarts.
![]() |
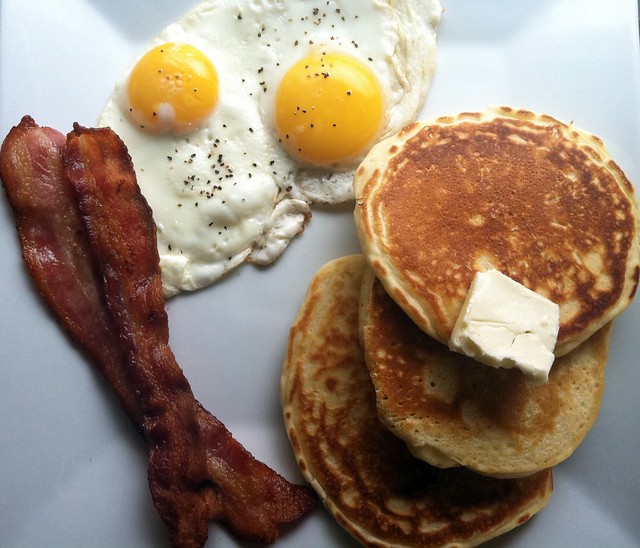
| My favorite Saturday morning breakfast with pancakes in their birthday suit waiting for lemon curd! |
![]() |
| "Ahh..."-- the pancakes |
Homemade Lemon Curd
adapted from Ina Garten
the zest of 3 large lemons (avoid the white part)
1 1/4 cup white granulated sugar
1/2 cup unsalted butter at room temperature
4 large eggs at room temperature
3-4 lemons, juiced (about 1/2 cup)
1 tsp vanilla extract
pinch of salt
1. In a large bowl, combine the lemon zest and white sugar and whisk together well until the mixture is combined.
2. Using a hand mixer, cream the butter until it is fluffy and then add the sugar and lemon mixture-- continue to beat for about 1-2 more minutes to combine. Add the eggs, one at a time, and continue to mix on medium until everything becomes a pale yellow-- about 5 minutes. Add the lemon juice, vanilla, and salt and keep mixing for about 10 more minutes. If the mixture starts to look curdled, keep beating.
3. Pour the mixture into a medium-large saucepan and cook it on low heat until it becomes thick and coats the back of your stirring utensil. Be sure to stir continuously to avoid burning the bottom of the lemon curd batch. This should take about 10 minutes and the curd so reach just below a simmer. Remove from the heat, transfer to jars or sealable containers, and allow it to cool before transferring to the refrigerator to cool and store.
Saturday, February 12, 2011
Sweet Eats: Candied Lemon Peels
Hello, Sweet Eats Thursday!
...Wait. What do you mean it's not Thursday?
Just kidding. Better late than never, right?
...Wait. What do you mean it's not Thursday?
Just kidding. Better late than never, right?
After picking up my 4th graders from the playground Wednesday morning, I was greeted by one of my girls with a heavy bag of fresh lemons as she walked into the classroom. Here's how it went down:
Student: "Ms. ___, do you like lemons? Our tree was toppling over with them so my mom wanted me to share some with you."
Me: "Oh my goodness! I love lemons! I can think of a million things to do with them today after school! Oh...and they smell so good! Thank you so much!"
Student smiles as she walks back to her seat to unpack her belongings.
I walk back to my desk and secretly squeal as I stash the bag of fresh citrus away for the day.
And, just like that, I attained a delightful dozen of homegrown lemons. I also developed a sense of playful envy as I began to wish I had a lemon tree just like my parents do back home.
Well, what's a girl to do when life gives her lemons? Make lemonade?! Wrong. Make candied lemon peels, of course.
These are super easy-peasy (lemon squeezy...how fitting) to make, but do take some dedication of your time. I started the candy making process early in the evening and graded papers in the midst of it all. As they dried, I happily went to sleep for the night and finished the sugar-coating step in the morning.
I think they make lovely gifts when packaged up nicely with some ribbon and cellophane or tins. What a sweet way to say "Howdy-doo-dee" or something else of the same nature. Maybe even an "I love you". :)
Candied Lemon Peels
*recipe from Whole Foods Market
makes about 60 lemon peels
8 organic lemons (look for ones with thick skins)
5 cups of sugar (divided use)
water
1. Cut the top and bottom off each lemon. Using a vegetable peeler, or sharp paring knife, peel off pieces of the skin, cutting from top to bottom. Slice peels into 1/4-inch strips or leave in natural shaped pieces. Place peels in a sauce pan and cover with water. Bring to a boil and simmer for 1 minute. Drain and repeat two more times. Mix 4 cups sugar in with 3 cups cold water. Bring to a boil. Add lemon peels and turn heat down to a simmer. Simmer lemon peels for 1 hour over low heat. Remove from liquid.
2. Spread remaining sugar evenly on a baking sheet. Roll lemon peels in sugar and place on cooling racks to dry, about 3 to 5 hours (I allowed them to dry overnight).
Subscribe to:
Posts (Atom)