Showing posts with label Cupcakes. Show all posts

Saturday, February 8, 2014

Valentine's Day Sweets!


Valentine's Day is less than one week away! Although everyday should be a the perfect occasion to let someone know you love them, this holiday's festive hearts-galore theme is pretty adorable. Here are some ideas for sweet treats to celebrate the day.

Vanilla cake jars and rose vanilla cupcakes

Don't forget the perfect sized cake for two! Date night dessert? Yes, please!

Saturday, November 30, 2013

November Weddings

I can't believe it's been almost a month since my last post.
I can't believe it's already December, tomorrow!
I can't believe how BLESSED and busy I have been (explains the month hiatus and my inability to track dates)!

I can't believe how much I love working on rustic weddings! This month I had the opportunity to provide desserts and/or cake for two weddings-- one last weekend and one yesterday! Both were unique in their own gorgeous way.

I'm about ready to call it a night, but I am too impatient and can hardly wait to share these on the blog. :)

November 23, 2013
Details: Peach, and navy accented 4-tier buttercream cake with a sugar lace border.
Flavors: Alternating tiers of salted caramel and vanilla latte cake.

This wedding was at a local vineyard that my husband and I took photos the day after we got married. Providing a cake for this lovely couple's sweet wedding was extra nostalgic and special! Congrats Chuong and Kim. :)

November 29, 2013
Cakes: 2-tier ombre ruffle cake with handmade and painted sugar peony (carrot cake and snickerdoodle cake); firefighter themed groom's cake (salted caramel); princess carriage cake (vanilla "funfetti"... this was the sweetest surprise cake from the bride's parents!)

Petite Desserts: Salted caramel and red velvet cupcakes; berry and caramel apple mini pies

Okay. This wedding venue was incredible! As soon as I walked into the barn that it was held in to set up, I think my heart skipped a beat! I have a special spot in my heart for rustic and vintage style anything-- so being in this beautiful old barn that was all glammed up for a magical day was so amazing. I loved how the sunlight filtered in through all of the beams of wood, how high up the ceiling went, and how romantic the setting was. This bride put a lot of love filled work into this day and I was so happy to be a part of it with desser! Congratulations Nicole and Brian!

Monday, July 8, 2013

OMP on Lookie Boo!

A few weeks ago I had the opportunity to work with Tiffany of Lookie Boo (modern and vintage threads for hip littles). She was in need of some sweet treats for her daughter's second birthday party. The theme for the event was a gold and pink beauty queen celebration-- quite adorable for a sweet little girl if you ask me! I was super excited to be able to contribute some of my work for the super cute event. 

I made strawberry lemonade cupcakes (vanilla filled with fresh lemon curd and topped with strawberry buttercream), edible glitter heart and tiara sugar cookies, and almond cream French macarons. Below are some photos from the day, but for more pictures, of the fun event, check out Lookie Boo's blog page. 


Friday, April 5, 2013

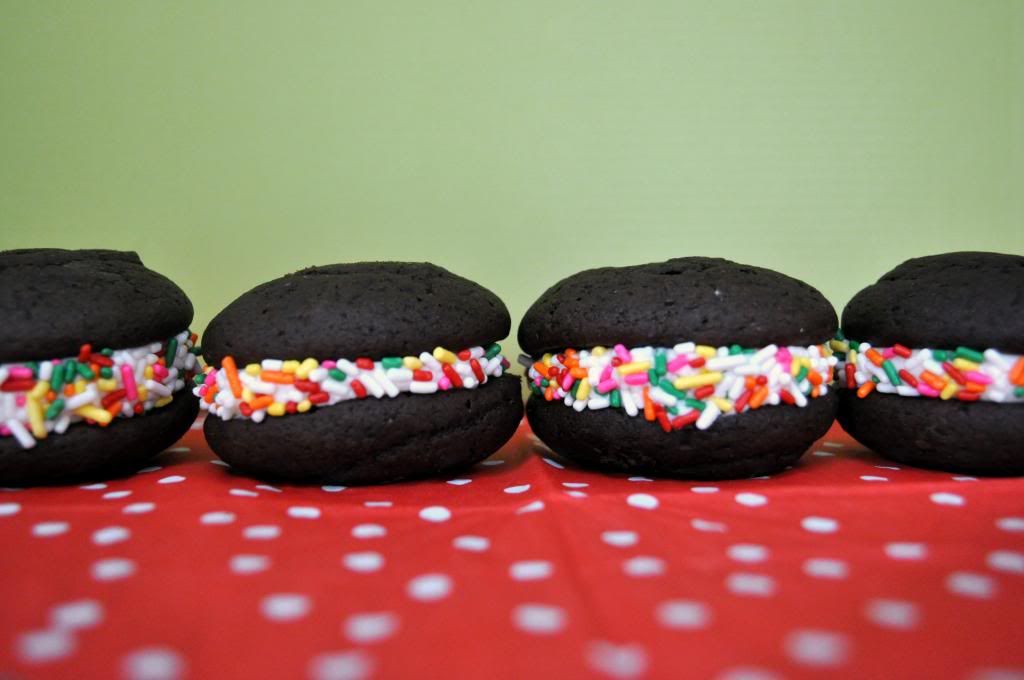
Chocolate Cake Whoopie Pies


Cake, hands down, is my favorite type of dessert. I don't love all cakes, but I do love the texture of most. When baked correctly, the moist and tender crumb of a sweet slice usually leaves me drooling for more.  Naturally, being a baking enthusiast, there are lots of other treats that leave me weak in the knees, but I'm just saying...this girl loves her some cake. Especially when they're present for special occasions!

One of my brother-in-law's just turned 20 and I became very excited at the thought of baking him up an extra special birthday cake. However, being a college student and living on campus, I figured even a small cake may be much to deal with in terms of slicing, keeping leftovers, etc. I didn't want to make typical cupcakes, but I did walk down the hand-held route. Enter, the chocolate cake whoopie pies!


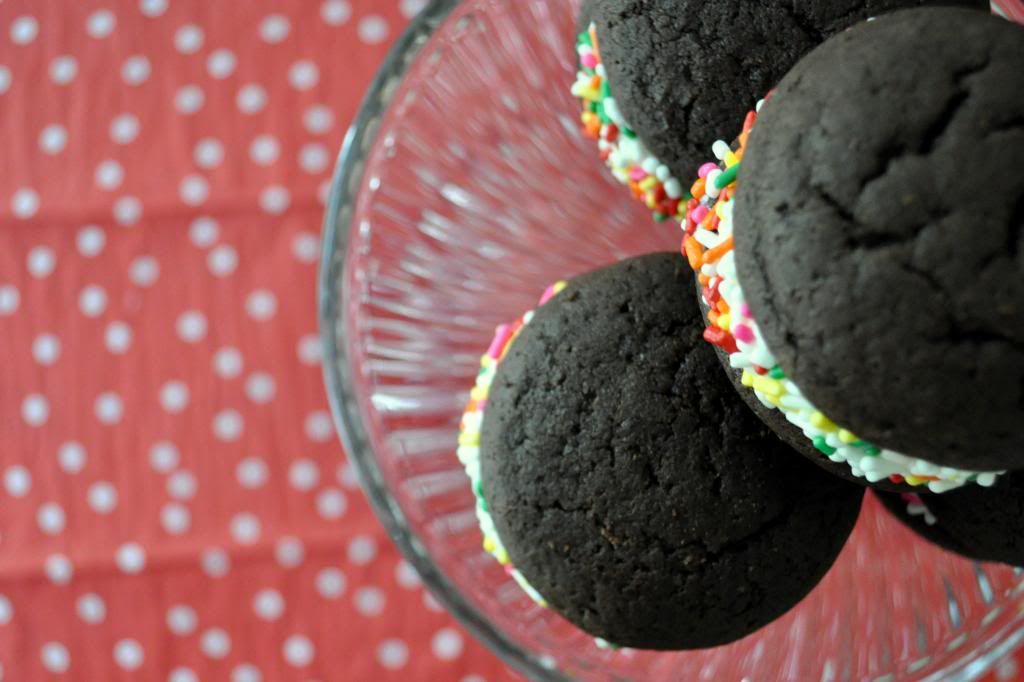
After dressing these little guys up with festive and colorful sprinkles, I knew they would be ready for the birthday boy. Aren't they cute? They look like birthday-cake-sandwich-cookie-baby-cutie-patooties! Easy to eat and easy for celebrating a special birthday! They are perfectly moist and have all fine qualities of a fine slice of real cake. Whoopie!


Chocolate Cake Whoopie Pies

makes about 36

For the cakes (recipe adapted from Gourmet Magazine):
2 cups all purpose flour
1/2 cup unsweetened cocoa powder
1 1/4 tsp baking soda
1 tsp salt
1/2 cup sour cream
1/2 cup milk
1/2 cup (1 stick) unsalted butter, room temperature
1 cup white sugar
1 large egg
1 1/2 tsp vanilla extract
sprinkles *optional*

For the filling:
2 cups (4 sticks) unsalted butter, room temperature
2 1/2 tbsp heavy whipping cream
1 tsp vanilla extract
3-4 cups powdered sugar (you can adjust the amount according to your taste)

1. In a medium bowl, whisk together the flour, cocoa powder, baking soda, and salt.

2. In a small bowl, whisk together the sour cream and milk.

3. Use a stand mixer (or a large bowl with a hand mixer), and cream together the butter and sugar. Once the mixture has become creamy and pale, add the egg and vanilla-- mix on medium for another 4-5 minutes. The batter should be pale and fluffy. Change the speed to low and alternately add the flour and milk mixture, in thirds, into the egg/butter-- start with flour and end with the flour. Scrape down the sides of the bowl and stop mixing once everything has combined smoothly (no dry patches).

4. Fill a piping bag, fitted with a large round pastry tip, with the chocolate batter. Pipe 1 1/2 inch circles onto baking sheets lined with parchment paper-- be sure to leave about 2 inches between each. Bake in the middle and lower racks of a heated 350 degree F. oven for 10-11 minutes. Wait for a few minutes before transferring to a cooling rack. Make sure the cakes have cooled completely before filling.

5. To make the filling, cream together the butter, whipping cream, and vanilla extract until everything is creamed together. On low, slowly beat in the powdered sugar into the butter. Scrape down the bowl every once in awhile to make sure all the sugar is incorporated. Once you have reached the desired level of sweetness, Increase the speed to medium high and continue to whip the filling for another 4-5 minutes until it is fluffy and smooth. Use a piping bag, or small spatula, to fill one side of the whoopie pie before topping with another. Repeat with the rest of the cakes.

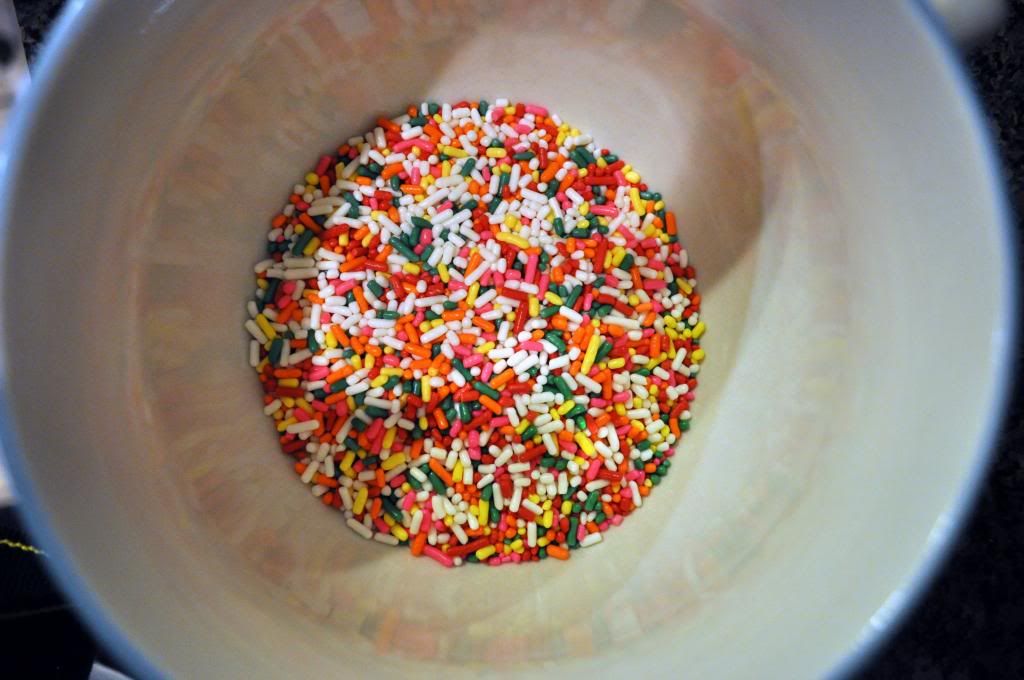
6. To garnish with sprinkles, pour about 1/2 cup into a bowl. Gently dip each whoppie pie, on its side, into the bowl. Press gently and turn the whoopie pie to coat all sides with sprinkles.

7. Store the whoopie pies at room temperature in a lightly covered container. Enjoy!

Thursday, March 7, 2013

When Life Gives You Roses...

Whoever made up the saying "When life gives you lemons, make lemonade" must have been a very positive person. Although it's not always an easy thing to do, I am a firm believer in living life through sunshine colored optimistic goggles. The phrase is one of the many reminders people have to take advantage of what you've got and make it better.


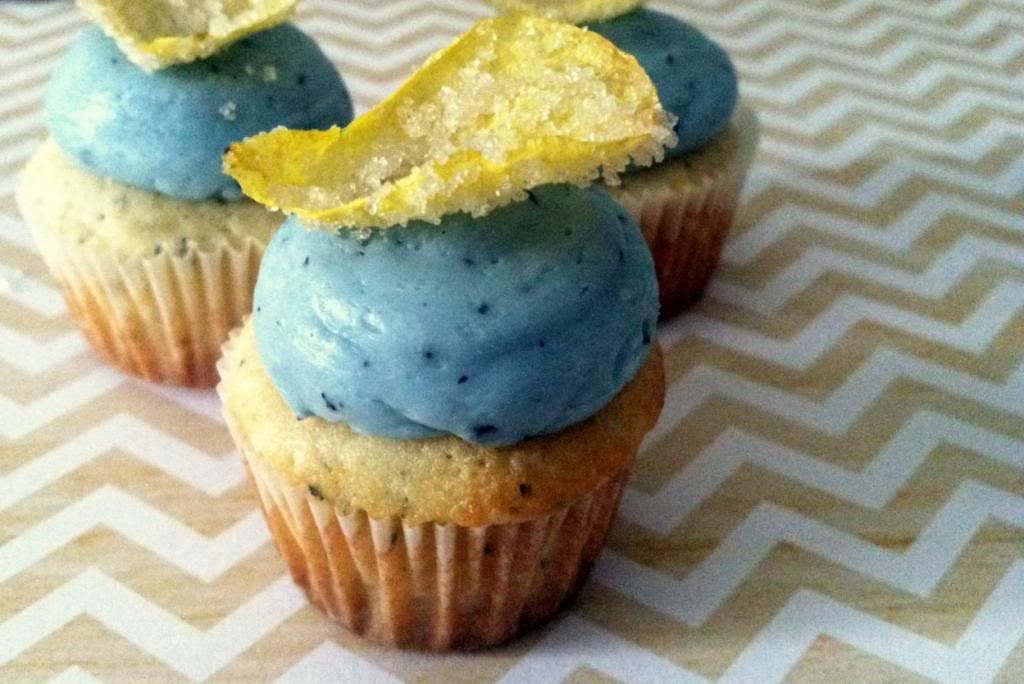
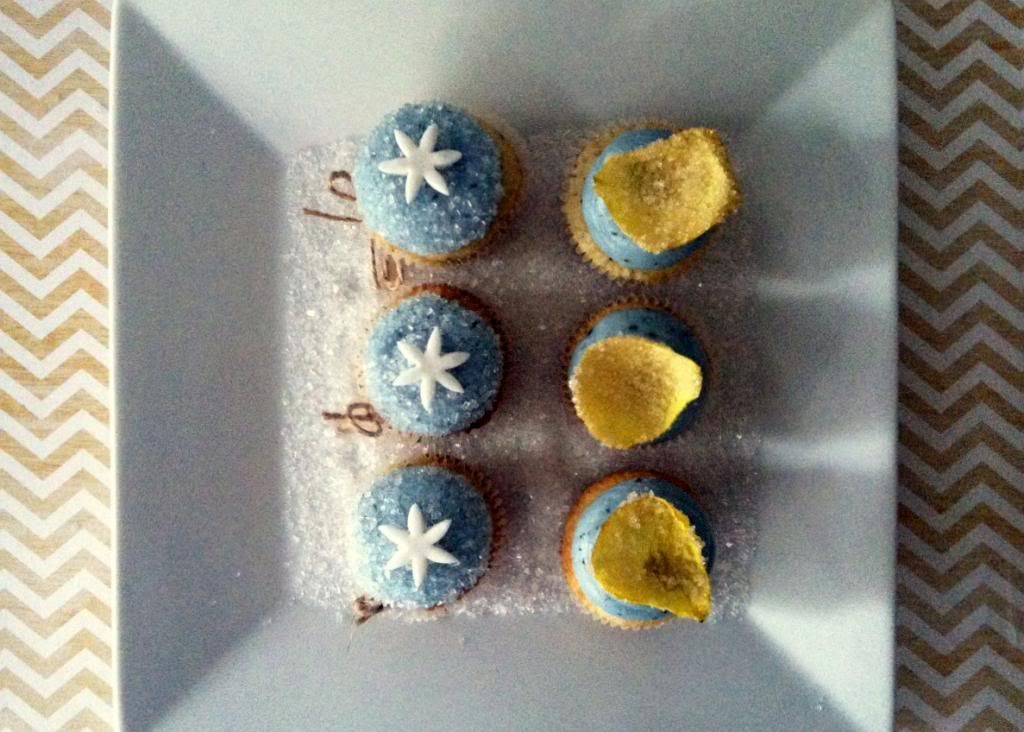
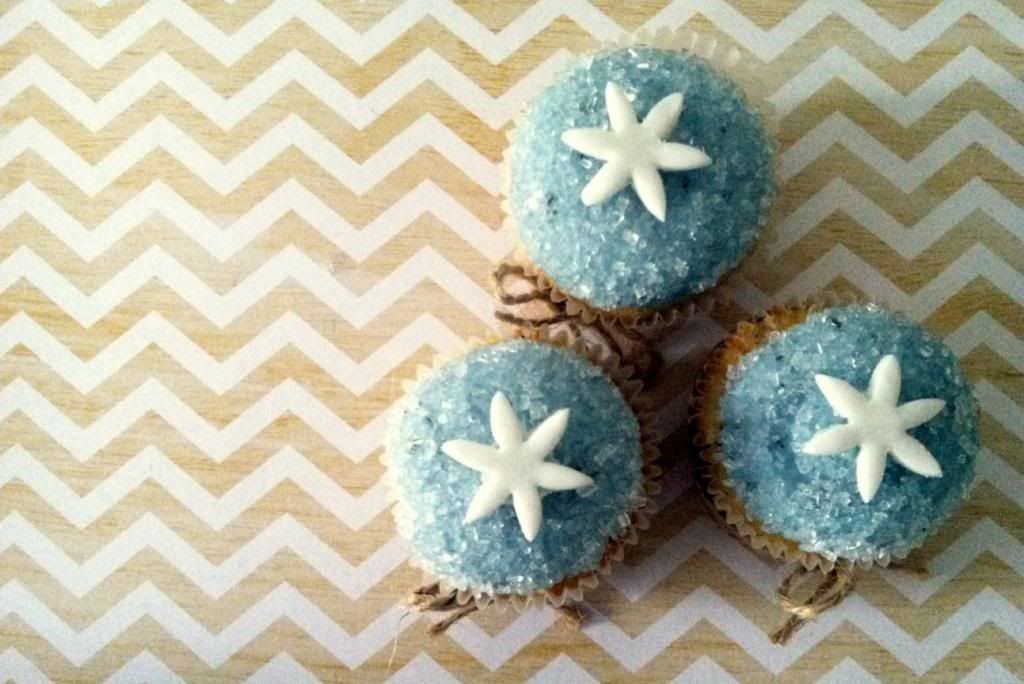
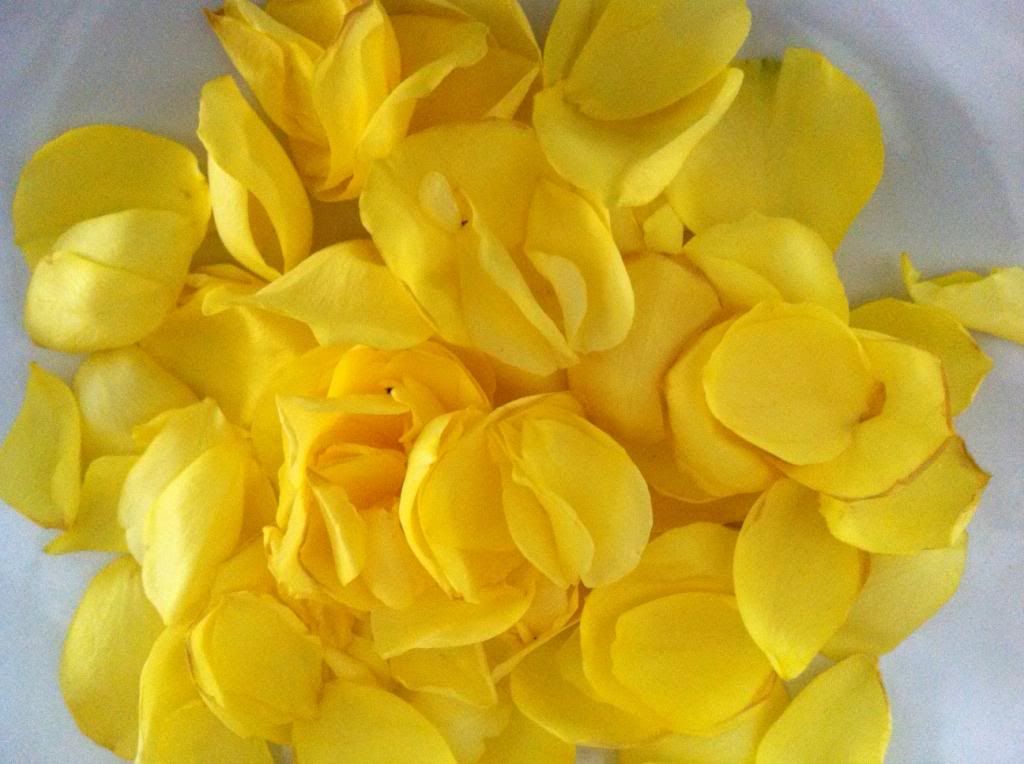
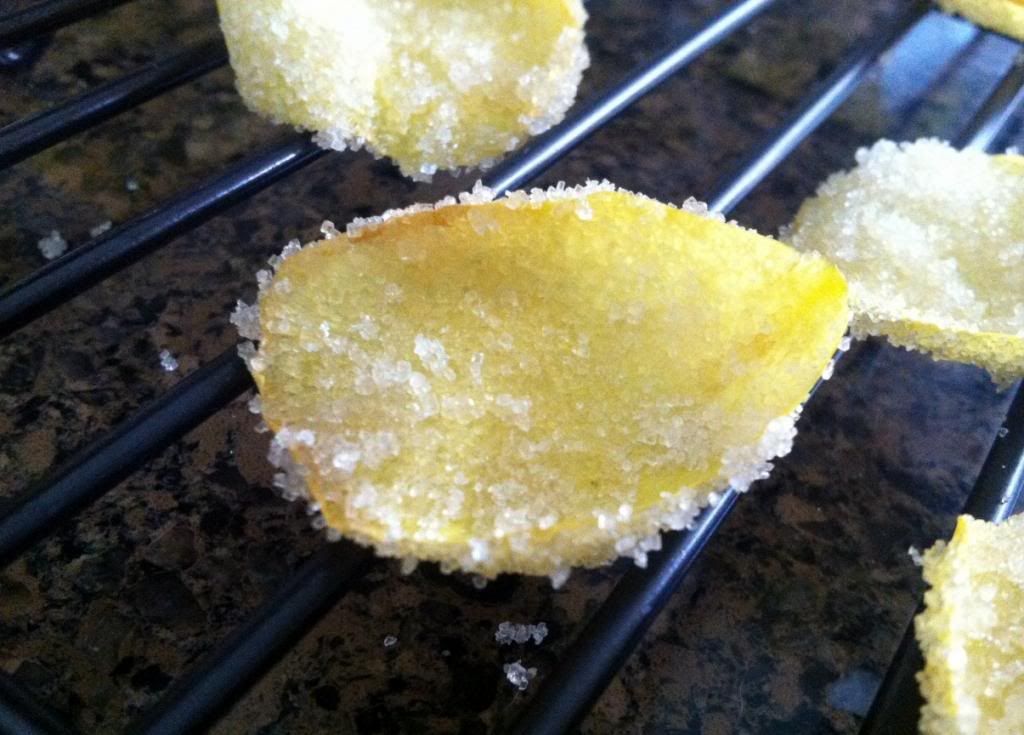
I'm all out of lemons at the moment, but today I am presenting optimism beyond a citrus fruit. "When life gives you fresh roses in your home, make candied rose petals before they wilt". Yea, so...I'm not sure that phrase will really catch on. I don't think society is ready for my oh-so brilliant and life-changing inspirational quotes.  So, perhaps you can just view it as an option the next time you feel like dressing up your desserts in some fancy formal wear. That's exactly what I did with some bright and cheery yellow roses I had in my house. These crystalized petals became the most precious and delicate accessory to my Mini Earl Grey and Lemon Cupcakes. Actually, these baby cakes are so dressed up, if one could talk, it might request you address it as a Mr. Fancy Pants (yes, it's a boy).


These candied rose petals were actually the inspiration behind this new recipe for cupcakes. The charming petals and their bright yellow hue had my mind flooding with lemony and floral flavored sweets. I was about to settle for making a recipe for lemon and rose cupcakes, but at the last minute swapped the rose for earl grey. Since the tea flavor has notes of bergamot, I thought it would be a lovely pairing with the lemon I had originally planned for. Plus, I just love earl grey flavored anything sweets.

The combination of flavors in these cupcakes are right up my alley. When I finished and sampled my creation by eating only a mini cupcake, I felt the wrath of my angry taste buds screaming for more (They've been upset with me since I've been watching my post-marital weight...we eat when we're happy--who doesn't?). I don't blame them. These cupcakes are divine. I hope you enjoy them as much as I did. Henry also loved them! I didn't think he would since, when it comes to cupcakes, he favors more of the rich flavors such as salted caramel or maple. There you have it. Another HSA (Husband Seal of Approval).


Candied Rose Petals
about 2 dozen unsprayed rose petals
2 egg whites, lightly beaten
1 cup white granulated sugar (I ran out and used some organic sugar which worked out fine, but I think the finer crystals would have been better)


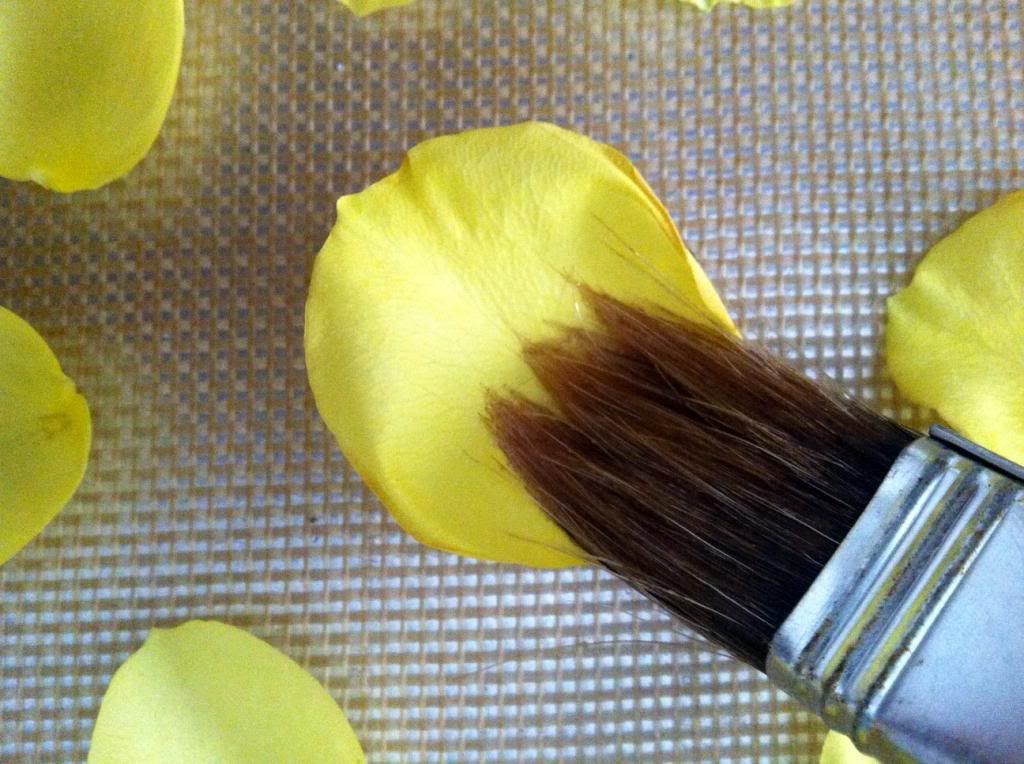
1. Lay the petals out on a baking sheet lined with a silicone mat or wax paper. Use a small brush to gently and evenly coat all sides of a petal. Place the petal into a small bowl containing the sugar-- use your index finger to gently press sugar against both sides of the petal. Place the sugared petal back onto the baking sheet or a cooling rack. Repeat with the rest of the petals. Allow it to dry for 3-4 hours before garnishing desserts.
*Notes: To speed things up, you can brush a few petals with egg whites at a time, but I would refrain from doing more than 4-5. They will dry up before you can get them coated in sugar. Also, technically they are edible, but these are also coated in raw egg whites-- I simply used them as a garnish.

Mini Earl Grey & Lemon Cupcakes
makes 18 mini cupcakes

Cupcakes
3/4 cup all purpose flour
1 tbsp earl grey tea leaves (the contents of one tea bag)
3/4 tsp baking powder
1/4 tsp salt
2 tbsp sour cream
1/4 cup half-n-half
 1/4 cup unsalted butter, room temperature
1 tbsp canola oil
1/2 cup white granulated sugar
1 large egg, room temperature
1/2 tsp vanilla extract
1 1/2 tsp lemon zest (or 1 tsp of lemon extract/emulsion flavor)

1. Sift together the flour, tea leaves, baking powder, and salt in a bowl--set aside. In another bowl, whisk together the sour cream and half-n-half-- set aside.
2. Use a hand mixer to cream together the butter, oil, and sugar for about 3-4 minutes, on medium,until everything has combined well. Add the egg and beat for 5 minutes, on medium-high, until the mixture is light, fluffy, and a pale golden color. Beat in the vanilla and lemon zest.
3. Slowly add 1/3 of the the dry ingredients into the egg and butter mixture-- beat on medium-low. Add 1/2 of the sour cream and half-n-half mixture. Repeat with the remaining flour and sour cream/half-n-half (ending with the last 1/3 of the dry ingredients). Don't over mix the cake batter...stop beating as soon there aren't anymore dry patches.
4. Line the mini-muffin/cupcake baking sheet with paper liners. Use a mini ice cream scoop (or a tablespoon) to fill each cup about 3/4 of the way. Bake in a 350 degree F. oven for 12-14 minutes. Allow the cupcakes to cool slightly before transferring to a cooling rack (they must be completely cool before applying frosting).

Buttercream Frosting
1 cup unsalted butter, room temperature
1 tbsp earl grey tea leaves
1 tsp vanilla extract
1 tsp lemon zest (or lemon extract/emulsion flavor)
2 tbsp cold heavy whipping cream
1-2 cups powdered sugar (amount depends on your sweetness preference)
gel food coloring (optional)

1.  Use a whisk attachment on a hand held or stand mixer to beat together the butter, tea leaves, vanilla, and lemon zest until it is smooth. Add the heavy cream. Slowly add the powdered sugar and continue to beat on
medium-high; stop occasionally to scrape down the sides and bottom of the bowl and also taste the frosting for the desired sweetness (I used about 1 2/3 cup of powdered sugar).
2. If you plan on adding color, add the desired amount and continue to mix the buttercream until the color is evenly distributed.
3. Frost cupcakes however you like. :)


Sunday, March 4, 2012

Sweet & "Sultry" Cupcakes

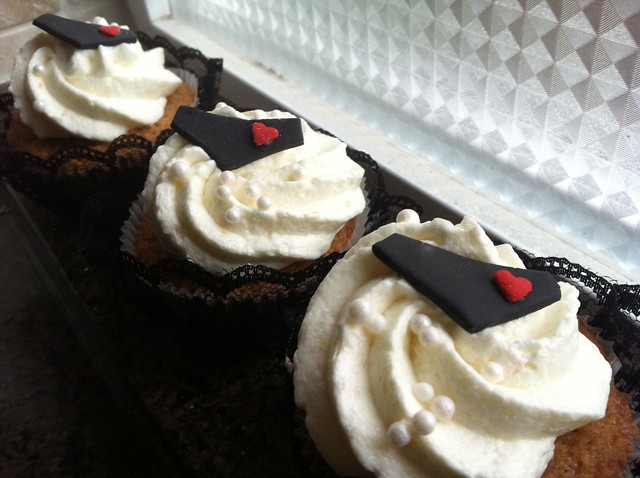
Carrot cupcakes with orange-ginger cream cheese frosting topped with fondant "panties" and trimmed with black lace for a lingerie themed bridal shower. Read more and see additional photos here.


Sunday, February 26, 2012

A Little Mermaid Birthday Party

Whew! I just took a recovery nap-- much needed after working all day Saturday and into this morning getting desserts ready for my friend's daughter's 4th birthday party. I sure love dessert catering and I really enjoyed working on this adorable theme.


Read more about it and check out more photos on my Desserts & Events page.