Showing posts with label healthy baking. Show all posts

Friday, April 26, 2013

Herb Quinoa Biscuits

 Quinoa biscuits?! A baked doughy companion made with my favorite healthy "grain"?! I didn't even know the made quinoa flour!
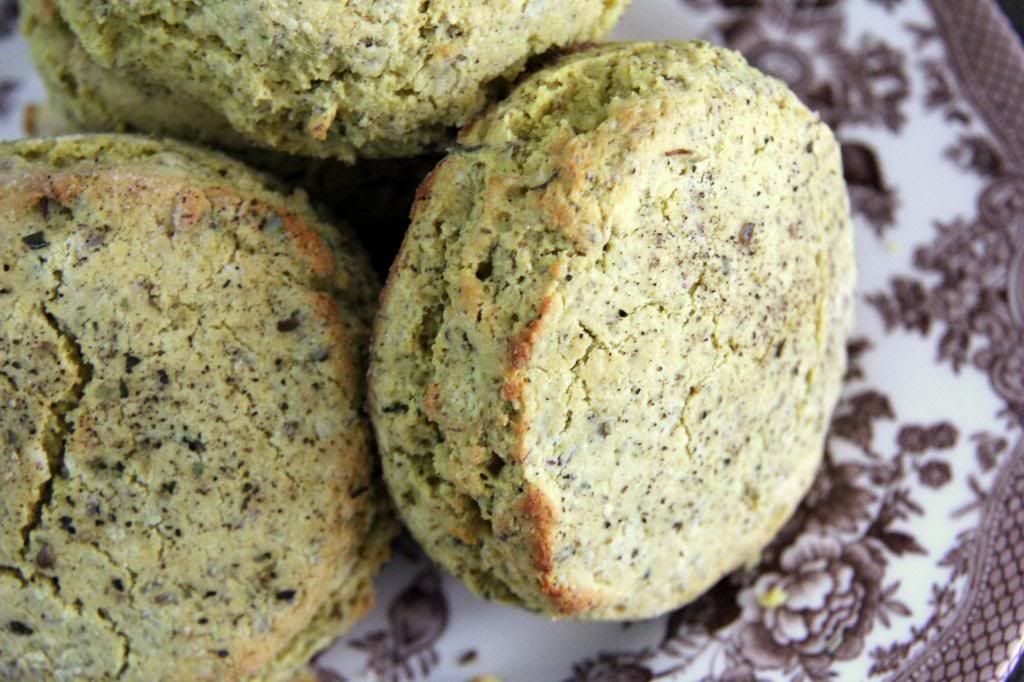
 Until this week...when I plotted to find a way to use it in a baking to replace regular flour and then proceeded to add a bag of it into my shopping cart. 
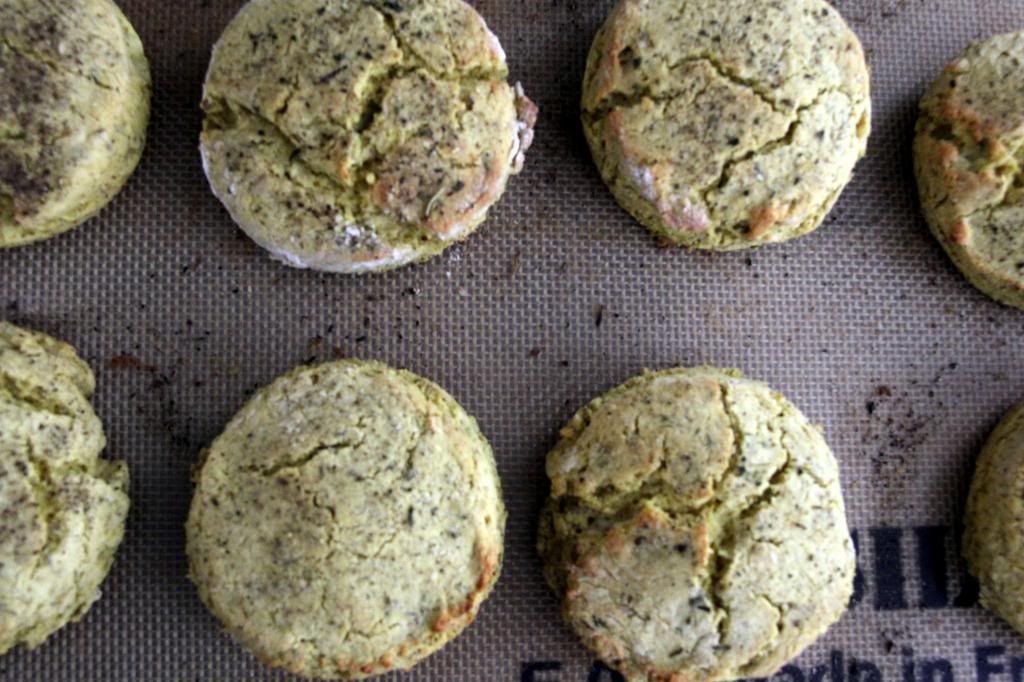
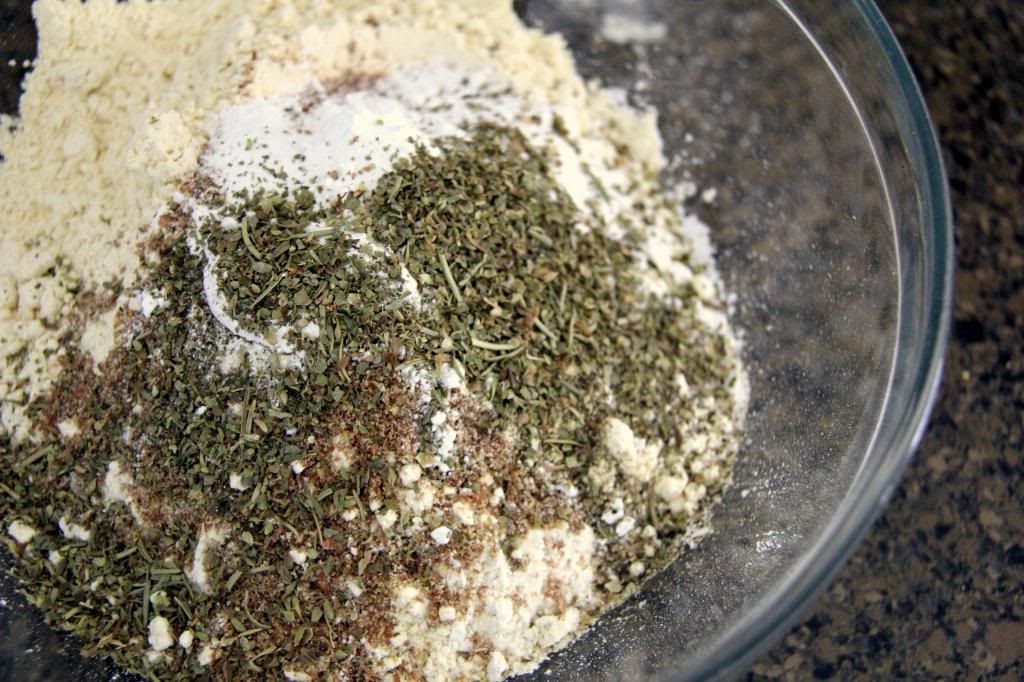
 I didn't look up any recipes that use quinoa flour prior to creating these biscuits so I wasn't really sure what to expect. I kept the process pretty simple and was intrigued by how my bowl of dry ingredients smelled like vegetables and quinoa. It had good health written all over it!
 These biscuits are surprisingly savory, dense, and flavorful-- a good partner to a bowl of soup or other warm meals. I was pleased to discover that their crumb was similar to that of regular biscuits, just a little less doughy. These guys taste great warm out of the oven and stayed pretty crisp the same day. However, if you're looking for a biscuit that will keep for the next day to enjoy with leftovers, be sure to pop them back in the oven for some re-toasting. 

Herb Quinoa Biscuits
makes eight approx. 3" biscuits

2 cups quinoa flour
1/4 cup flax meal
1 tbsp herbs de provence
3/4 tsp salt 
1/4 tsp pepper
4 tsp baking powder
2 tsp baking soda
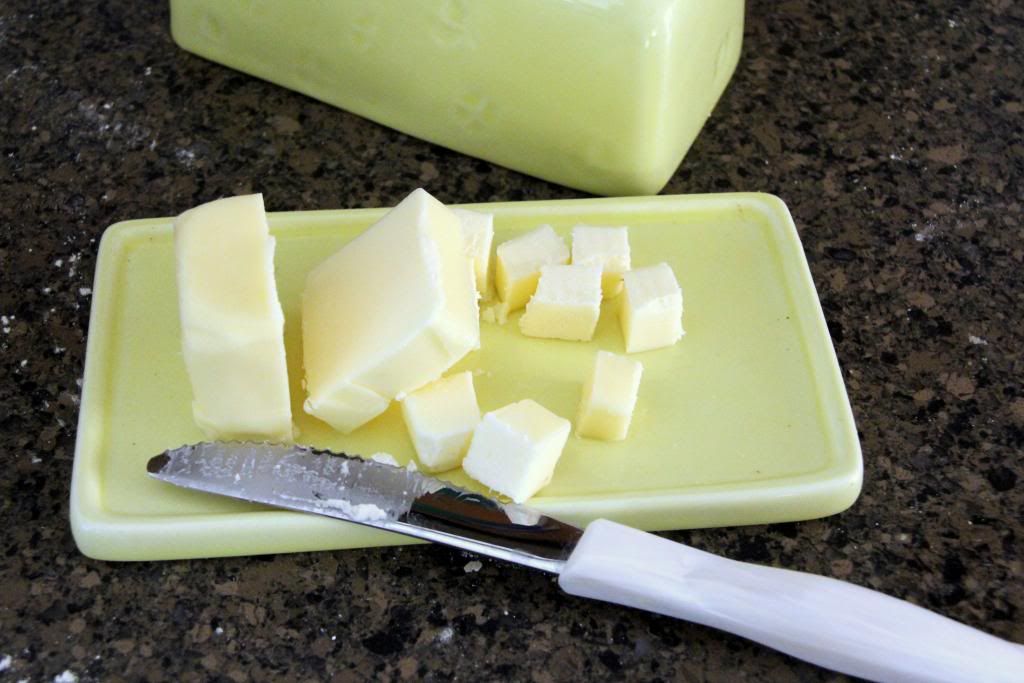
4 tbsp unsalted butter, cold and cubed
1 tbsp extra virgin olive oil (plus more for brushing)
1 cup fat free milk (or skim, low-fat buttermilk)

1. In a large bowl, throughly whisk together the quinoa flour, flax meal, herbs, salt, pepper, baking powder, and baking soda. Add the cubed butter and use your fingers to cut it into the dry ingredients-- move quickly because you don't want the butter to melt (the mixture should appear like coarse sand). Make a well in the middle and add the olive oil and milk. Use a fork to mix everything together-- the batter will be sticky.

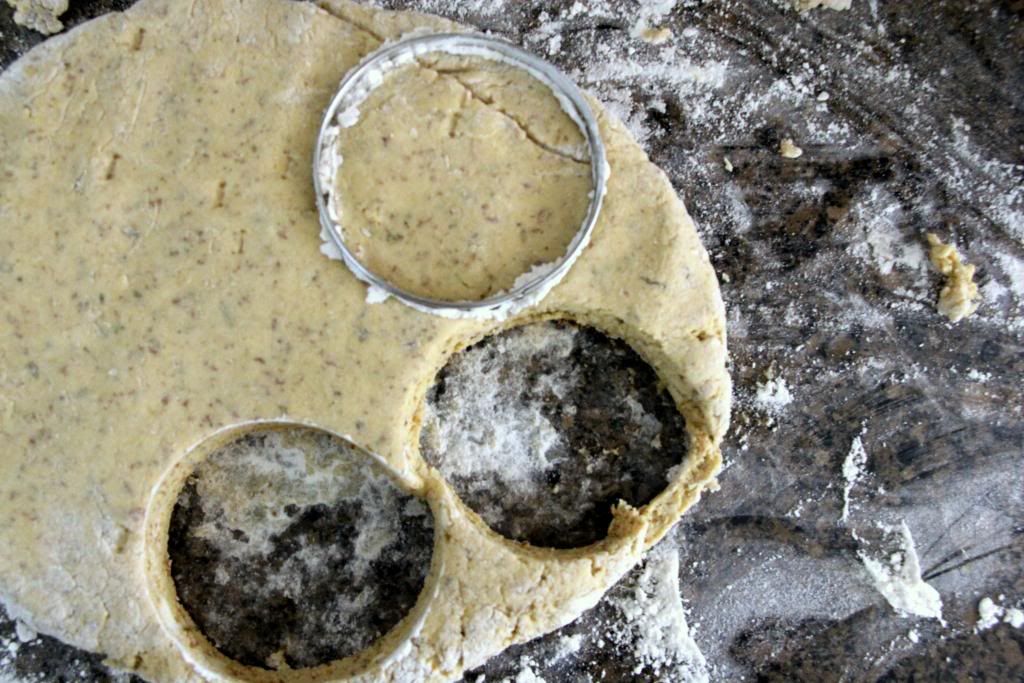
2. Transfer the dough onto a well floured surface (since quinoa flour is pretty pricey, I used whole wheat flour-- it doesn't really matter). Use your hands to gently knead and fold the dough over a few times. Pat it down with your hands, or a small rolling pin, until the dough is about one inch in thickness. Dip an approximate 3" circle cookie/biscuit butter (or a cup/any cutter you want to use) into the flour and cut out biscuits to place on a baking sheet lined with parchment paper or a non-stick sheet. Brush the tops of each biscuit with olive oil.

3. Bake the biscuits in  a 450 degree oven for about 10-15 minutes or until the biscuits are browned and golden.


Monday, April 22, 2013

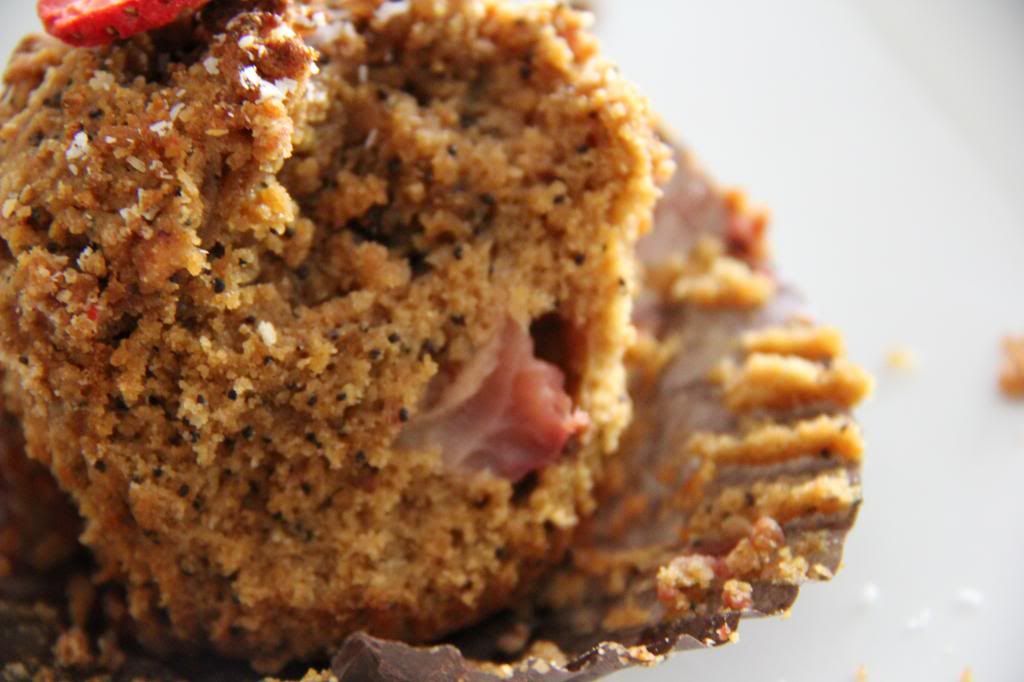
Whole-Grain Strawberry-Coconut Muffins

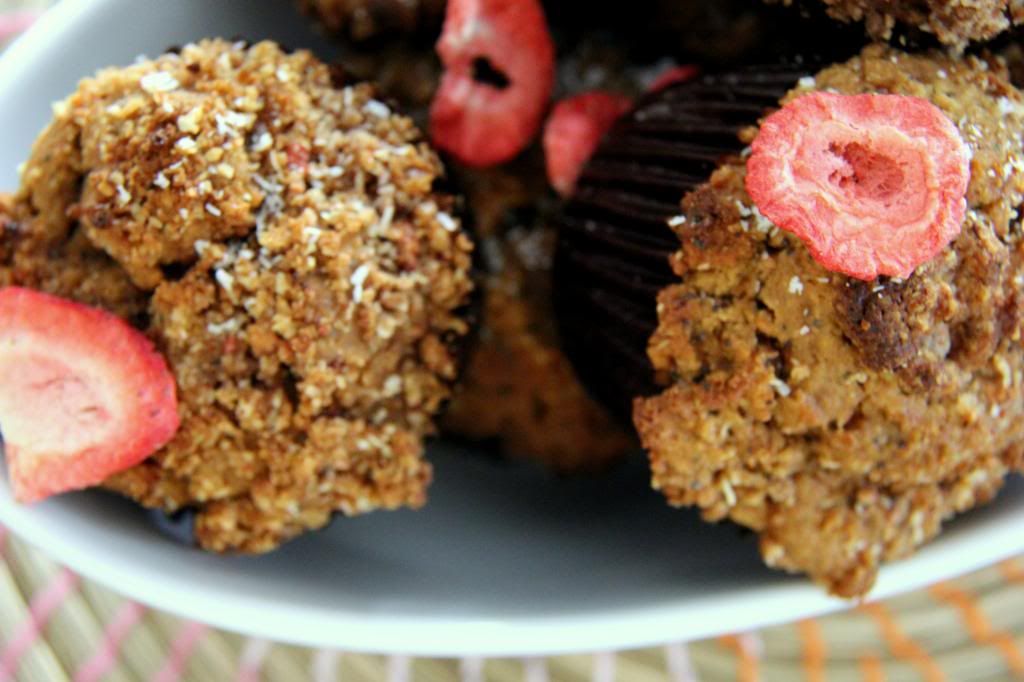
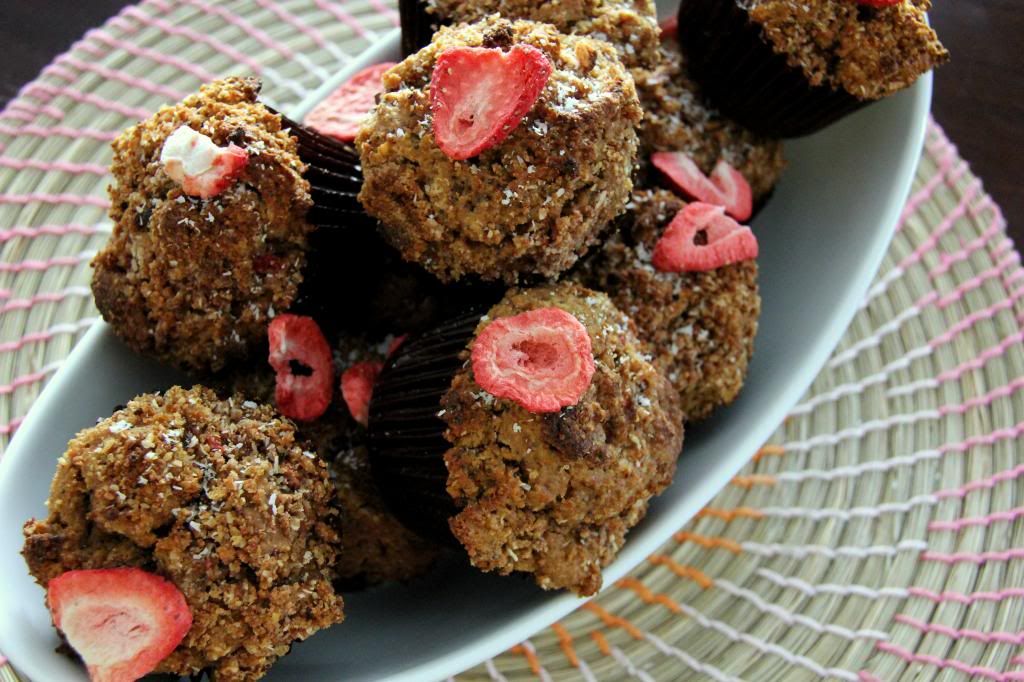
 In this world, not all muffins are created equal. Sorry, that's just the way it is. Fortunately, these Strawberry-Coconut Muffins leave you feeling oh-so-good and satisfied you won't care about any other muffins. Well, only if you're into the good-for-you-and-made-with-healthy-wholesome-ingredients kind of thing.
I've been testing out several different recipes using coconut flour due to its high fiber and low-carb content. Although it can be tricky to work with, these muffins incorporate the unique flour without compromising a moist and tender crumb. To sweeten them up, all natural coconut sugar plays a major role along side fresh and dried strawberries.
Great for on the go, or easy and healthy snacking-- these muffins will surely curve your hunger as they are quite filling and tasty! Give them a go and let me know how you like them. Enjoy!

Whole-Grain Strawberry-Coconut Muffins
makes about 15 standard size muffins

1 1/2 cup whole wheat flour
3/4 cup oat flour
3/4 cup coconut flour
2 1/2 cup coconut sugar
1/4 cup finely ground unsweetened coconut (or flaked/shredded)
1/2 cup crushed freeze-dried strawberries
1/4 cup poppy seeds
4 tsp baking powder
1/2 tsp salt
1 tsp ground cinnamon
2/3 cup coconut oil (at a liquid state)
1 1/3 cup fat-free milk
2 tsp vanilla extract
1 1/2 tbsp orange zest
2 cups fresh strawberries, chopped

For the topping
1/4 cup (1/2 stick) cold unsalted butter, cut into small cubes
1 tbsp ground cinnamon
1/2 cup coconut sugar
1/4 cup finely ground unsweetened coconut
1/4 cup crushed freeze-dried strawberries
2 tbsp coconut flour
1/4 cup wheat germ

1. In a large mixing bowl, thoroughly whisk together the flours, sugar, coconut, freeze-dried strawberries, poppy seeds, baking soda, salt, and cinnamon.

2. In another medium bowl, combine the coconut oil, milk, vanilla extract, and orange zest.

3. In a small bowl, mix together the cinnamon, coconut sugar, ground coconut, dried strawberries, coconut flour, and wheat germ. Add the cold butter and use a fork or pastry cutter to blend the butter into the dry ingredients until everything is well incorporated-- the mixture should appear like crumbly sand.

4. Use a fork to gently mix the wet ingredients into the dry-- everything should still be slightly lumpy. Use a rubber spatula to gently fold in the fresh chopped strawberries. Use a standard size ice cream scoop to portion out the batter into a paper-lined muffin tray-- be sure that each cup is filled with a rounded scoop (these will not rise much so the amount you bake will basically be the size of your muffin). Sprinkle some of the topping onto each muffin. Bake in a 350 degree F muffin for 12-15 minutes until the tops are crisp and brown and a toothpick comes out clean when testing if they are done.


Tuesday, February 19, 2013

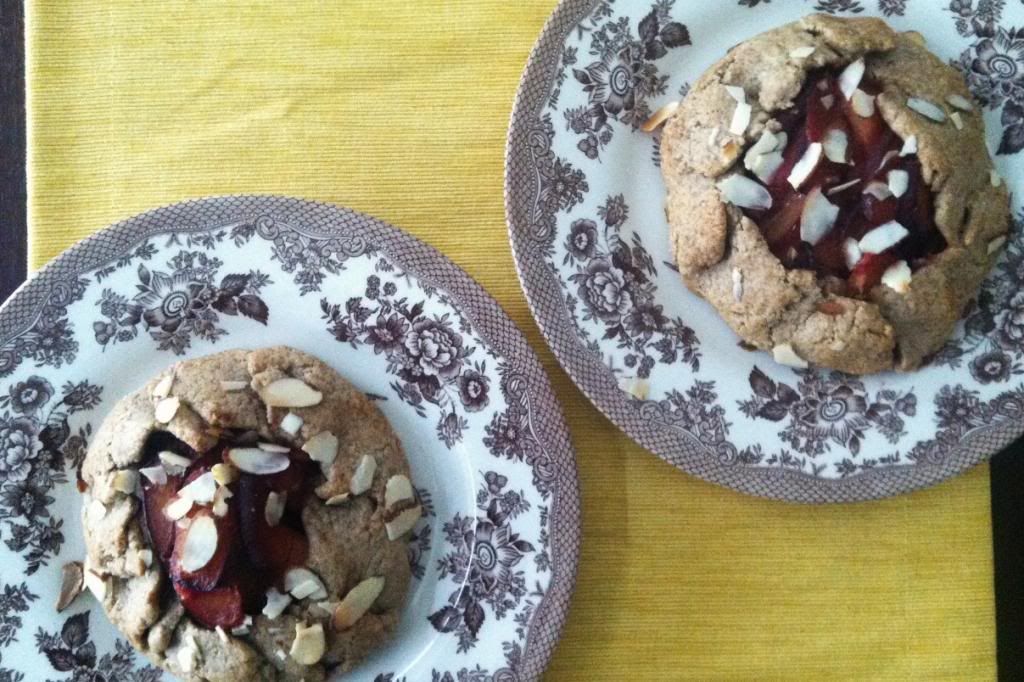
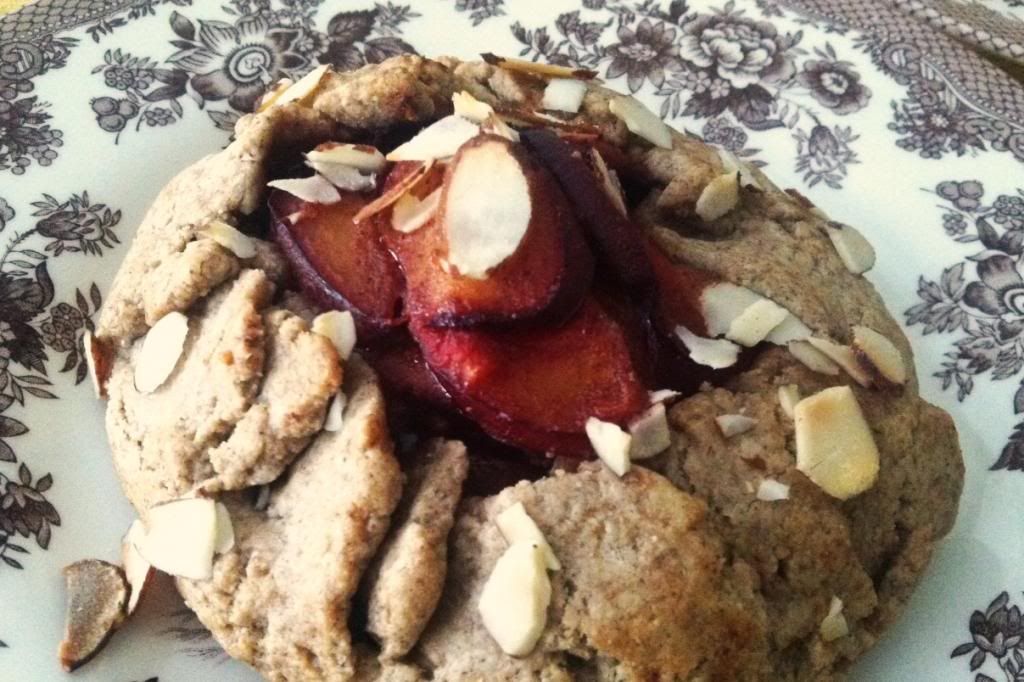
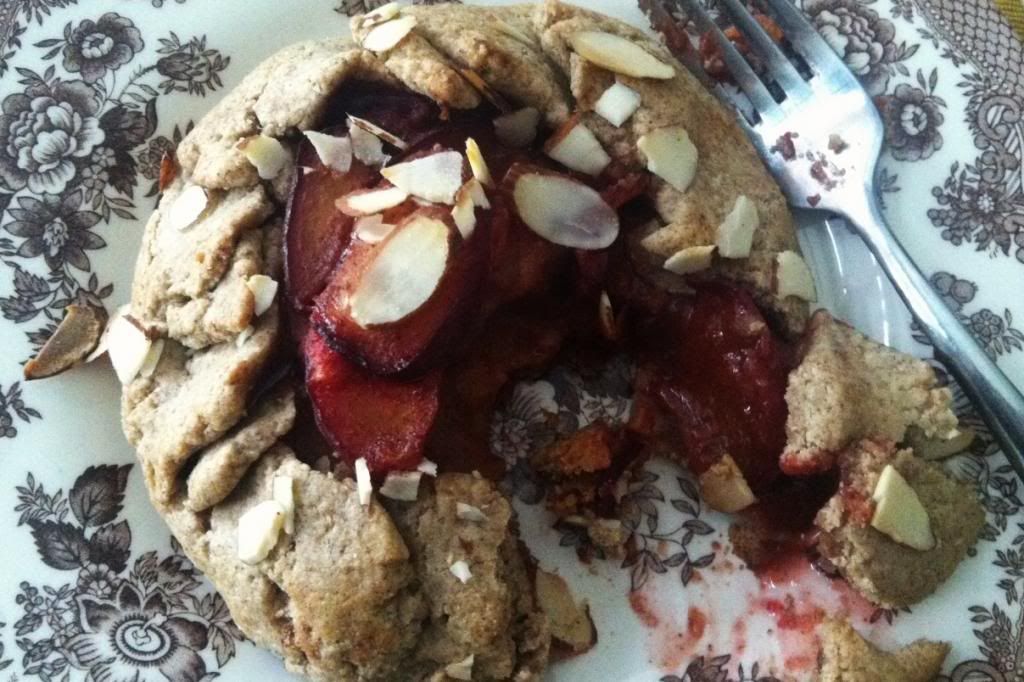
Mini Plum Crostatas


Let's be honest. Pastries for breakfast should always be a win. Whether it be in a cafe, bakery, or even your own kitchen, the smell of freshly baked buttery goodness in the morning is an absolute delight. However, leave it to my jeans to be the party pooper and remind me that too much victory over pastries in the A.M. will leave much defeat in my waistline.  

For this reason, I am always trying to come up with healthier ways to enjoy a breakfast "dessert". This morning I looked over at a bowl of vibrant plums for inspiration. Much too tart for me to enjoy fresh, I thought they might be more pleasing lightly sweetened in a flaky crust. A few ingredients and a little vanilla extract spill on my counter later, Mini Plum Crostatas were born.  I was pretty pleased with the results and loved the personalized size-- perfect for an A.M. date.  The crust is delicious with its great almond flavor and the fruit filling is tart yet sweet. The best thing is that this can be made with several other fruits. Well, maybe the best thing is that I can eat this for breakfast and dessert...and I don't have to feel absolutely guilty about it. Win. Win. Win.


Mini Plum Crostatas 
makes 2 5" crostatas

Dough
1/2 cup almond flour
1/2 cup oat flour
2 tbs raw sugar
1/2 tbsp cinnamon
1/4 tsp salt
3 tbsp cold unsalted butter, cut into pieces
2 tbs cold almond milk
1 egg + 1/2 tbsp water (for the egg wash)

Filling
1 1/4 cup thinly sliced ripe plums (feel free to substitute this with any stone fruit, apples, or berries; add the juice of 1/2 a lemon if you do-- I did not since my plums were quite tart)
2 tbsp raw sugar
1 tbsp pure maple syrup
1 tbsp ground cinnamon
1 1/2 tsp vanilla extract
*sliced almonds (for topping)

1. In a food processor, pulse together the almond flour, oat flour, raw sugar, cinnamon, and salt until they are well combined. Add the cold butter and pulse the mixture just until everything becomes crumbly and begins to look like sand. While the processor is running, slowly pour in the almond milk. The dough should form a mass and pull away from the sides of the processor. Pour the dough out onto a lightly floured surface and lightly knead it together. Divide it evenly into two portions, wrap each in plastic wrap, flatten into 3/4 inch thick discs, and chill in the fridge for 30-40 minutes. Meanwhile, prepare the filling.

2. In a small bowl, combine the plums, raw sugar, maple syrup, cinnamon, and vanilla extract.  Allow the mixture to rest while you preheat the oven to 375 degrees F.

3. When the dough is ready, remove them from the refrigerator and roll out each disc into an approximate 6 1/2 inch round on a floured surface. The dough will seem fragile and may break apart-- don't worry and just press it back together. Place the rolled dough pieces onto a baking sheet lined with parchment paper. 

4. Use a spoon to place half of the fruit mixture onto the middle of each prepared crust. Use your fingers to gently fold the sides of the crust up. It doesn't have to be pretty or perfect-- crostatas are rustic and care-free! :) If there are breaks or gaps, simply use your fingers to gently press the dough together again. 

5. Prepare the egg wash by mixing together the egg and water. Brush a small amount onto the surface of the crostata crusts. Sprinkle some sliced almonds onto each crostata and bake in the middle rack of the oven for 25 minutes or until the crust is lightly golden brown.

Sunday, April 22, 2012

Show Off Your (Banana Nut) Muffin Tops

Alright ladies-- get out those bikinis!

spotty bandeau bikini via
Oh, that's darling! But I actually was referring to these swim suits...


cupcake liners from sweet estelle via

So yea, now that we're clear-- you heard me! Show off your muffin top. Do it with pride! It's getting warmer and I know you've been waiting to pull whip out that adorable suit of yours and feel good about those extra goodies on the side. Forget any negative comments you've ever heard about your muffin top-- curves are back!


Muffin top? More like love tops, baby!


Lookin' good ladies. Especially in those darling pink polka dot bikinis. 

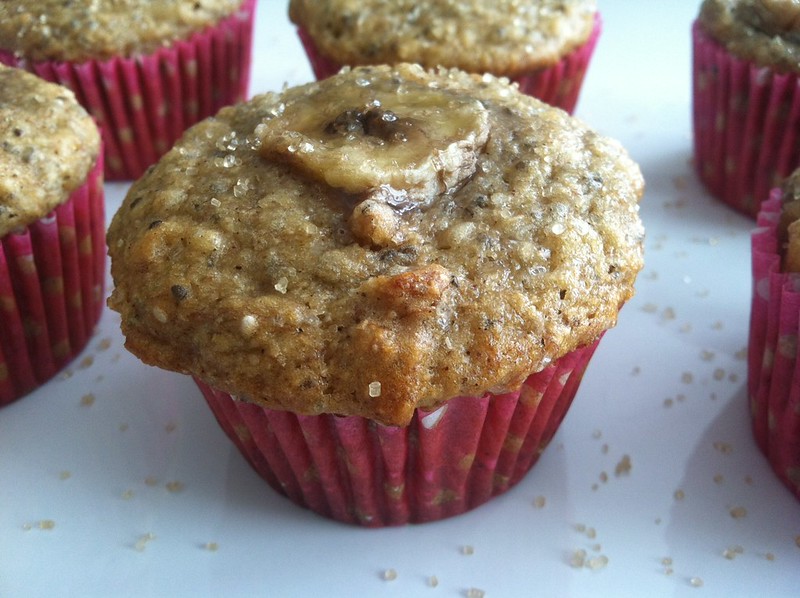
Banana nut muffin with almond butter and peach lavender jam
Whole-Wheat Banana Nut Muffins (with Yogurt & Chia Seeds)
makes 1 dozen

1 1/2 whole wheat pastry flour
1 tsp baking soda
1 tsp baking powder
1/2 tsp salt
1/2 cup chia seeds (*optional)
1/2 cup unsweetened shredded coconut
3 large ripened bananas (divided use)
1/2 cup non fat plain Greek yogurt
1/2 cup canola oil
1/2 cup brown sugar
1/4 cup raw sugar (divided use)
1 large egg
1 tsp vanilla extract
1 cup toasted and chopped walnuts

Pre-heat oven to 350 degrees F.
Prepare your muffin tin by lining each cup with a paper liner or lightly greasing and flouring them.

1. In a medium bowl, combine and whisk together the flour, baking soda, baking powder, chia seeds, salt,  and coconut. Set aside.

2. In a large bowl, use a hand mixer to blend 2 1/2 bananas, yogurt, oil, brown sugar, 2 tbsp raw sugar, the egg, and the vanilla extract. Once all the ingredients are well combined (about 1-2 minutes), mix in the dry ingredients in two batches just until batter is no longer "dry"-- don't over mix. Gently fold in the chopped walnuts.

3. Scoop batter into each muffin cup. Fill the cups to the edge for well mounded muffins or overfill them slightly for a bigger muffin top. Cut thin slices of the remaining banana half and place them on top of each muffin. Sprinkle the remaining raw sugar evenly over the cups before placing them in the middle third of the oven. Bake for 22-25 minutes; a toothpick should come out clean and muffins should be slightly browned.

Wednesday, March 7, 2012

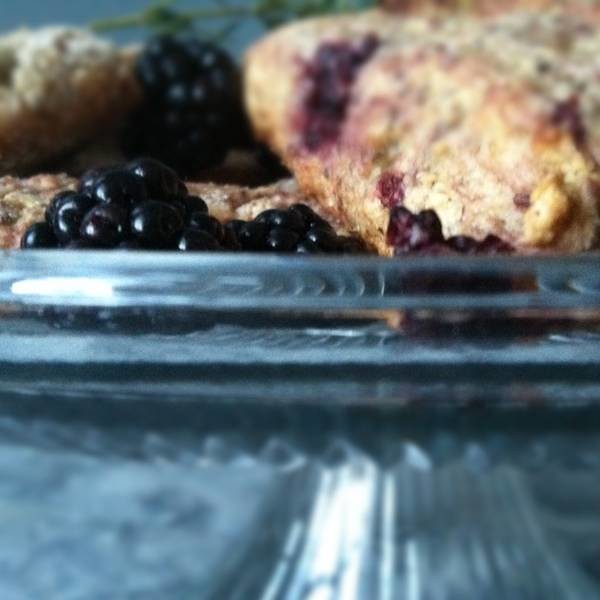
Blackberry, Lemon, and Thyme "Power" Scones

To My Dearest Friend,

I know how busy your weekdays can be. I've seen you stumble out of bed after hitting the snooze 3-4 times followed by a mad rush to get ready and make it out the door on time so you're not late for work. Don't think I've forgotten about how many times you forgot to eat breakfast on the way out because your protein shake blender was dirty, you didn't have time to make oatmeal, or you had some other lame excuse (like you had to take 5 minutes to curl your hair). When you do that I get into the craziest moods at around 9:00 A.M-- I'm sure you've heard me growl at you (I get cranky, okay?).

You'd think after a few days like that during the week, you'd learn to treat me right. However, munching on a slice of whole-wheat bread with almond butter just doesn't always cut it-- neither does your desperate attempt for protein and carbs with your slice of turkey in a wheat tortilla! Sustanance- smushtanance! I need something that satisfies my taste buds, keeps me full, and is good for me and the rest of the gang (your waist and thighs say, "Hi").

 I hope by now, you see understand how awful this problem is. Well, I don't find it noble to complain without being proactive so, fortunately for you, I've provided you with a recipe for some Blackberry, Lemon, and Thyme "Power" Scones that are packed with protein, fiber, have plenty of "good" carbs, and are low in fat. They even have those chia seeds everyone has been talking about, which are supposed to be loaded with all kinds of nutrients your body can benefit from. Also, these scones taste delicious-- like summer in my mouth (well, your mouth), actually. Please make these today-- if you do, I'll see what I can do about not storing that ice cream you ate last night on your arms.

Yours Truly,
Belly


Blackberry, Lemon, and Thyme "Power" Scones
makes 1 dozen scones

2 cups whole wheat pastry flour
1 1/2 cups dark rye flour
1/2 cup chia seeds (grounding using a spice mill is optional)
3/4 cup brown sugar
1 tbsp baking powder
1 tsp salt
1 cup half and half
3/4 cup reduced fat buttermilk
1 1/2 tsp vanilla extract
3 tbsp  lemon zest
2 tsp chopped fresh thyme leaves
6 oz fresh blackberries
1/4 cup raw sugar

Preheat oven to 350 degrees F and prepare two baking sheets with silicone liners or parchment paper.

1. Combine the whole wheat pastry flour, rye flour, chia seeds, brown sugar, baking powder, and salt in a large bowl. Combine the half and half, buttermilk, vanilla, lemon zest, and thyme in another bowl. Pour the wet mixture into the dry ingredients and stir until just partially combined. 

2. Place the mixture onto a lightly floured surface. Flour your hands and knead it until the dough starts to form (it will be sticky). Flatten it out slightly and scatter 1/3 of the blackberries on top of the dough; gently fold and knead the dough again to combine-- repeat with the remaining berries. 

3. Form the dough, with your hands, into a 10 x 6 inch rectangle. Cut it in half down the length and then in thirds across the width. Cut each square in half diagonally to make triangles-- you should get 12 triangles. Transfer the triangles to prepared baking sheets with about 2 1/2 - 3 inches of space between each. Brush the top of the scones with a little half and half; sprinkle raw sugar over the tops of each. Bake the scones for about 30 minutes and rotate the pan halfway through the baking time. Scones should be golden brown; remove and let cool on a rack before eating. Store in airtight container(s).

*These scones are best when eaten within 2 days of baking-- any longer and they will tend to try out.

Thursday, February 23, 2012

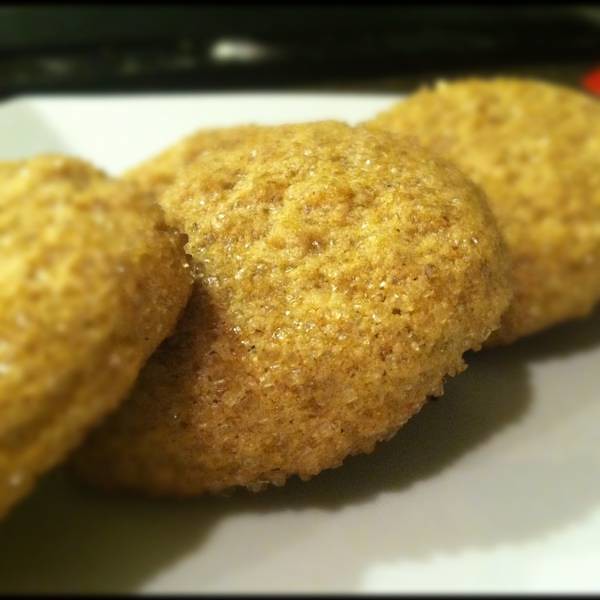
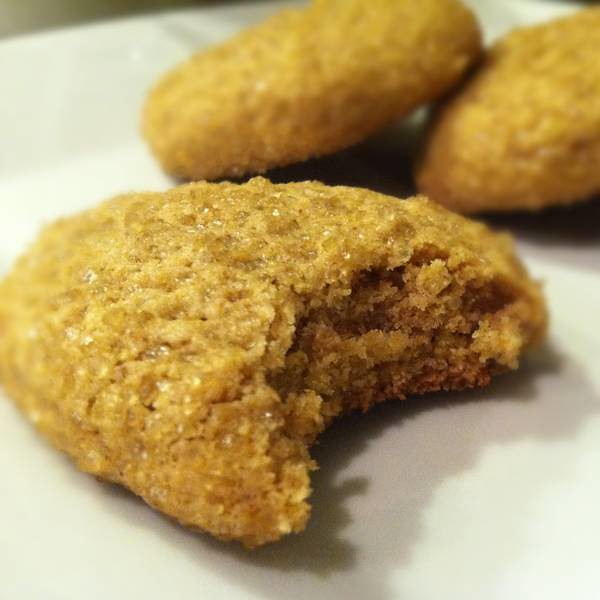
Seriously Good Soft Almond Butter Cookies

These almond butter cookies have two parts to their "seriously good" name description.
Part 1: Self-explanatory. Eat one and you'll believe me. 
Part 2: They are made with whole-wheat pastry flour, organic and all natural almond butter, and organic and         
raw sugars. With all the healthiness going on in these-- yes, they still are so delicious you may be tricked into   
feeling guiltier than you should when you take a bite (or eat 4 cookies in a row). Don't believe me? Please refer to the brief instructions in part 1. 


The recipe for these cookies was actually created "on the fly" on this last Sunday evening. My fiancé had a sweet tooth and wanted to go out for ice cream or to the store to hunt for something indulgent. I was feeling lazy and unmotivated to leave the house with him. As a result, I told him I would bake some cookies. Upon exclaiming this, I considered my options based on the ingredients I had at his house, drafted up a recipe and-- viola! Seriously Good Soft Almond Butter Cookies were born. 

Seriously Good Soft Almond Butter Cookies
makes about 1 1/2 dozen cookies

1/2 cup unsalted butter, room temperature
1/2 cup organic and natural almond butter
1/2 cup organic white cane sugar
1/4 cup organic brown sugar
1/4 cup honey
1 large egg
1 tbsp hazelnut liquor 
1 1/4 cup whole wheat pastry flour (make sure it is pastry flour)
1/2 tsp baking powder
3/4 tsp baking soda
1/4 tsp salt
about 1/2 cup raw sugar for rolling cookie dough in

1. Use a mixer to cream the butter, almond butter, white sugar, brown sugar, and honey until smooth. Add the egg and hazelnut liquor and continue to mix on medium speed until the mixture is well combined, smooth, and "fluffy".

2. In another medium sized bowl, sift and mix the whole wheat flour, baking powder, baking soda, and salt together. Slowly add these dry ingredients into the butter mixture in thirds. Make sure you add each sequential third just after the former is mixed in and does not appear "dry"-- don't over mix the ingredients. Once finished, cover the bowl with plastic wrap and chill in the refrigerator for at least 45 minutes. 

3. Preheat the oven to 350 degrees F. While the oven is heating up, prepare 2 baking sheets with silicone mats or parchment paper. Use a spoon to scoop some cookie dough and roll it into a 1" ball. Place the ball of dough into the raw sugar and gently roll it around to coat all sides. Place the sugar coated dough onto the prepared baking sheet; repeat with the rest of the cookies. Be sure to leave about 1 1/2 inches of space in between each cookie. Use a fork to gently press down on the cookies to lightly flatten and create a criss-cross pattern (it was hardly noticeable on most of my cookies; if you want a strong pattern be sure to press down more). Bake the cookies on the middle rack of the oven for 8-10 minutes or when they are golden brown and slightly darker around the edges.  Remove from the oven, allow to cool for 1-2 minutes, and transfer to a cooling rack. 


Friday, August 26, 2011

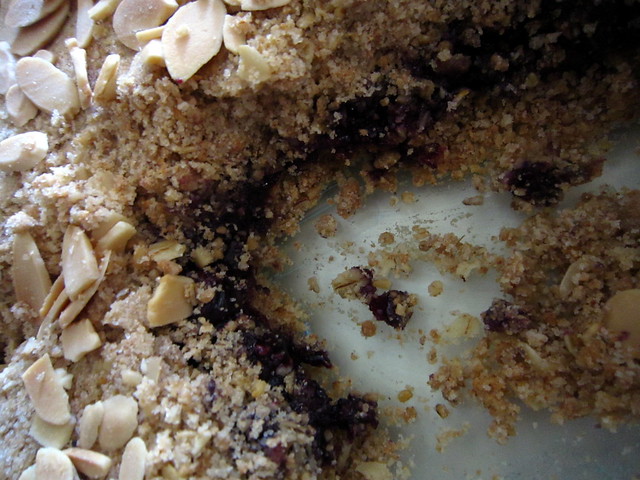
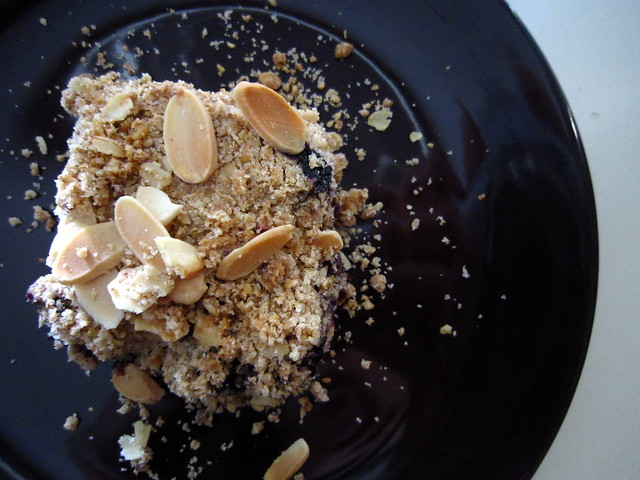
Better for You Blueberry-Almond Crumb Bars

Awhile ago, when I was still blogging on Yumology, I made some Whole-Wheat Blueberry Crumb Bars. Well, just when I didn't think I could make them better-- I did!

These crumb bars contain everything good for you and are mom (and tummy) approved. I loaded these with fantastic grains including whole-wheat, steel cut oats, and old fashioned oats. These ingredients make for a very filling bar that is great for a snack, breakfast, and/or dessert. Additionally, instead of a ton of butter, I used just a tad and used almond butter with flax seed to help attain the crumbly shortbread texture. Adding almond butter was such a great decision-- my belly told me so! These bars have a perfectly balanced flavor blend of delightfully sweet berries and wholesome almond butter and definitely channel memories of P.B. and J. lunches from my childhood with every bite.


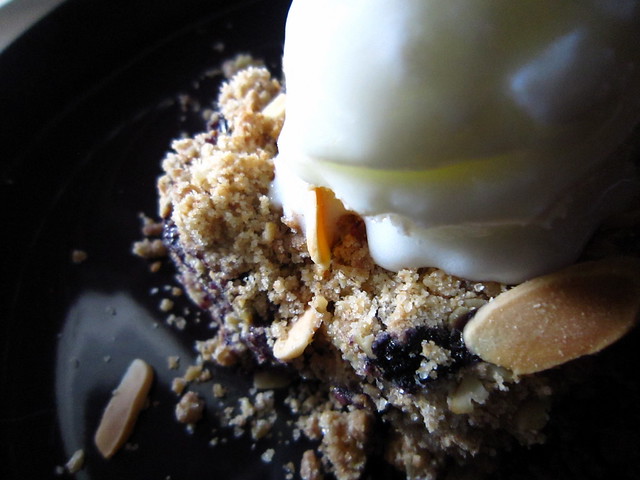
Here I added a little scoop of coconut fro-yo...it was delish!


Better for You Blueberry-Almond Crumb Bars
makes 12-16 2-3" squares

1 1/2 cup whole wheat flour
1 cup quick cooking steel cut oats
1/2 cup old fashioned oats
1/2 tsp salt
1 cup organic white sugar (divided use)
1/2 tsp baking soda
5 tbsp cold butter, cut into cubes
1/2 cup almond butter
2 cups fresh blueberries
1/4 cup honey
2 tbsp lemon juice
2 tbsp cornstarch
additional sliced almonds.

Preheat oven to 375 degrees F.

1. In a food processor, pulse together the whole wheat flour, steel cut oats, old fashioned oats, salt, 3/4 cup of organic white sugar, and baking soda. Add the cold butter and pulse a few times. Add the almond butter and pulse the mixture again until a coarse crumbly texture with pea-sized balls of dough is achieved. Reserve 2 cups of the mixture for later and pour the rest into an lightly greased 8x8" baking dish. Pat down and compact the mixture well into the dish. Set aside.

2. In a medium-small sauce pot, stir together the blueberries, honey, remaining 1/4 cup organic white sugar, and lemon juice. Bring the mixture to a simmer and continue to cook on medium-low heat until the berries break down and the sugars are well dissolved. Add the cornstarch and continue to cook and stir until the mixture becomes quite thick. Turn off the heat and pour it all on top of the prepared crust; use a spatula to gently spread the blueberry mixture evenly around the dish. Evenly top with the remaining crumb mixture; pat down well when finished. Sprinkle additional sliced almonds on top, if desired.

3. Bake in the oven on the middle rack for 25-30 minutes. Crust should be golden brown. Allow the baked crumb bars to cool for 10-20 minutes for easier cutting and serving-- bars will be very crumbly regardless, but will fall apart less if you wait a bit before chowing down. :)

Wednesday, August 10, 2011

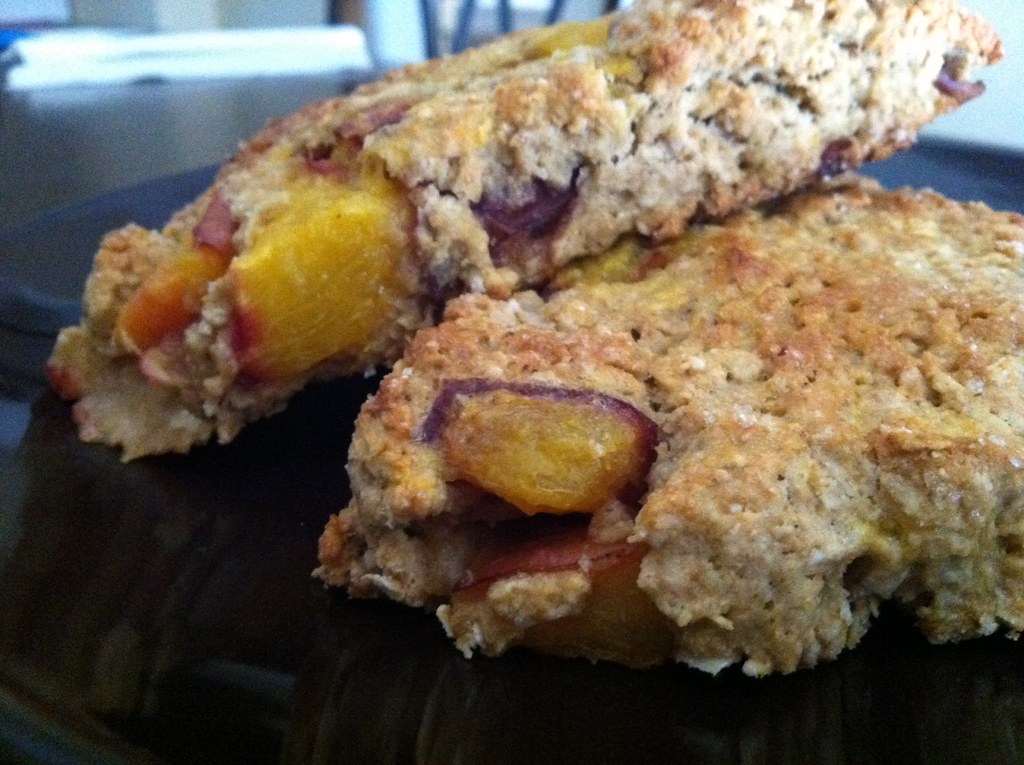
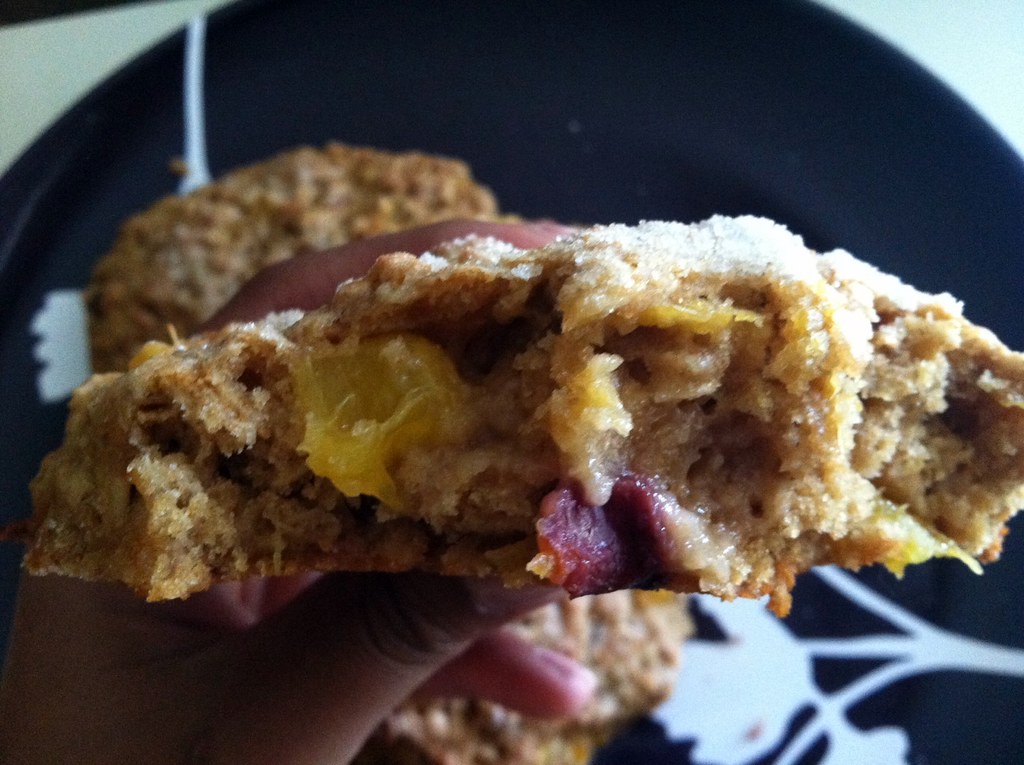
Whole Wheat Oat and Nectarine Scones

Here's the Million Dollar Question:

These scones are:
a) really good
b) really good for you
c) low in processed sugar
d) all of the above (with answer "a" x2)


The answer is "d". Oh, hello, breakfast. :)

Whole Wheat Oat and Nectarine Scones
Makes 6-8 

1 1/2 cups whole wheat flour
2 cups rolled oats (do not use instant oats)
1/2 tsp salt
4 tsp baking powder
2/3 cup dark brown sugar
1/2 cup unsalted butter, cold and cubed
1 large egg
1/3 cup half and half (I have used almond milk before, too)
1 1/2 tsp real vanilla extract
2 tbsp honey
1 1/2 cups ripe nectarines, pitted and diced
Turbinado sugar

Preheat the oven to 450 degrees F.

1. In a large bowl, sift and mix together the flour, oats, salt, baking powder, and sugar. Using a pastry knife, cut in the cold and cubed butter into the flour until the mixture is coarse and crumbly (crumbles should be about the size of peas).

2. In a small bowl, gently beat together the egg, half and half, vanilla, and honey. Make a well in the center of the dry ingredients and pour in the egg mixture. Use a rubber spatula to mix everything together just until it is all combined and there are no longer any "dry patches". Gently fold in the nectarines until they are well distributed. At this point, the mixture should be slightly wet.

3. Roll out the mixture onto a lightly floured surface and gently pat it together into a circle and press down until a height of about 3/4 inch is reached. Use a knife to cut the circle into sections to create wedges. If you have a scone cutter or would like to scoop the batter into less triangular shapes-- that will work, too.

4. Place the wedges about 3 inches apart on a lightly greased or lined baking sheet. Sprinkle the tops with Turbinado sugar and bake for 15 minutes, just until lightly golden brown. Remove from the oven, allow to rest for a few minutes, then transfer to a cooling rack.

These are best enjoyed the day of baking. You can store them in an airtight container, but the nectarines will emit moisture and the scones may lose their slightly crunchy exterior.