Showing posts with label recipes. Show all posts

Wednesday, January 22, 2014

Low-Fat Cilantro Lime Shrimp Quinoa Pasta

My husband and I don't tend to eat a lot of pasta at home. We love it, but we just don't consume it much. If I cook pasta, I feel like I need a better grain as its main ingredient just so I can get a better health kick out of my starch.

When I stumbled upon quinoa pasta last year (Ancient Harvest Quinoa Pasta), I was interested in how it would taste. Whole wheat pasta lets me down now and again, but quinoa pasta-- it didn't disappoint. Naturally, it's not the same as regular pasta, but the bite and flavor is great. Also, we love quinoa! Win win.
Last night I quickly whipped up this shrimp pasta dish with some leftover low-fat bechamel sauce I had from a previous meal. The cilantro lime was an unsual mix for pasta, but we both just loved it. It was filling and delicious with the perfect amount of zing and freshness from the cilantro.
Curious? Give it a-go and let me know what you think! If you prefer regular pasta, feel free to use that instead!

Low-Fat Cilantro Lime Shrimp Pasta
makes enough for about 4 servings

For the sauce:
4 tbsp (1/4 cup) of unsalted butter
4 tbsp (1/4 cup of AP flour
2 cups of fat free or skim milk

1/2 cup low-fat sour cream
salt and pepper for seasoning

Directions:
1.  In a medium sauce pot, melt the butter on a medium flame.  Whisk in the AP flour thoroughly and cook for about 2-3 minutes.
2. Slowly pour in the milk as you continuously whisk the mixture together. Whisk out any lumps. Bring the sauce to a boil-- stir constantly-- and then simmer it for about 15-20 minutes. Add salt and pepper to taste.
3. When the sauce has cooled down for about 10 minutes, mix in the sour cream and season again, if needed.

For the shrimp:
1/2  lb. shrimp, cleaned and deveined
3 tbsp lime juice
zest of 1 lime
1/4 cup extra virgin olive oil
1/4 red onion, finely minced
2 garlic cloves, finely minced
1/4 cup cilantro leaves, finely chopped
1/2 tsp salt
1/4 tsp pepper

Directions:
1. Line a baking sheet with foil and preheat the oven to 400 degrees F.
2. Toss the shrimp and the remaining ingredients in a clean bowl until well combined. Transfer the shrimp onto the baking sheet-- keep the shrimp in a single layer.
4. Roast the shrimp for about 8-10 minutes until they are pink and start to curl. Remove and set aside.

Bring a large pot of water to a boil (don't forget to season the water with salt!). Cook 8 oz. pasta according to the instructions on the box. Drain the water, but reserve about 1/2 cup.

Pour the sauce over the pasta and toss to combine. Add the pasta water to help the sauce "stick" to the noodles. Toss in the shrimp and garnish with additional chopped cilantro, pepper, and red chili flakes (if desired).

Wednesday, August 28, 2013

My First Macaron Workshop

A few weeks ago,  one of my dearest friends asked if I would be willing to host a macaron workshop at her apartment. Did I say yes? Um, I sure did!
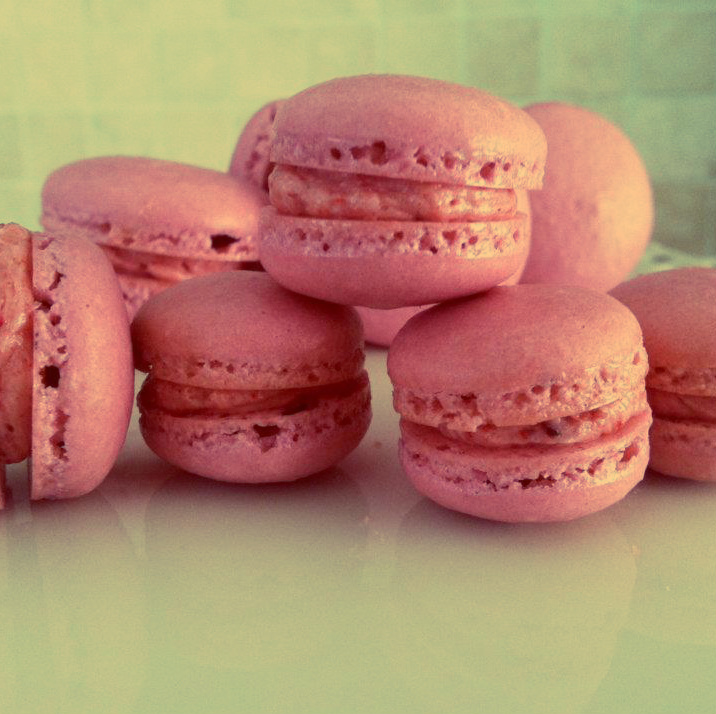
By no means am I perfect at making macarons or a professional (yet--that's what pastry school is for!). In fact, I still experience the occasional heartbreak and frustration every now and then when I bake them. Truth is, they are very temperamental little things and I have yet to learn the official no-fail method (when my French pastry chef teaches me this, I will be sure to report back!). After doing plenty (and I mean plenty) of research, reading, and recipe testing, I simply know what works for me. Since I adore making them, I thought it would be so much fun to mix and mingle with some fabulous company with the addition of little French friends-- les macarons!
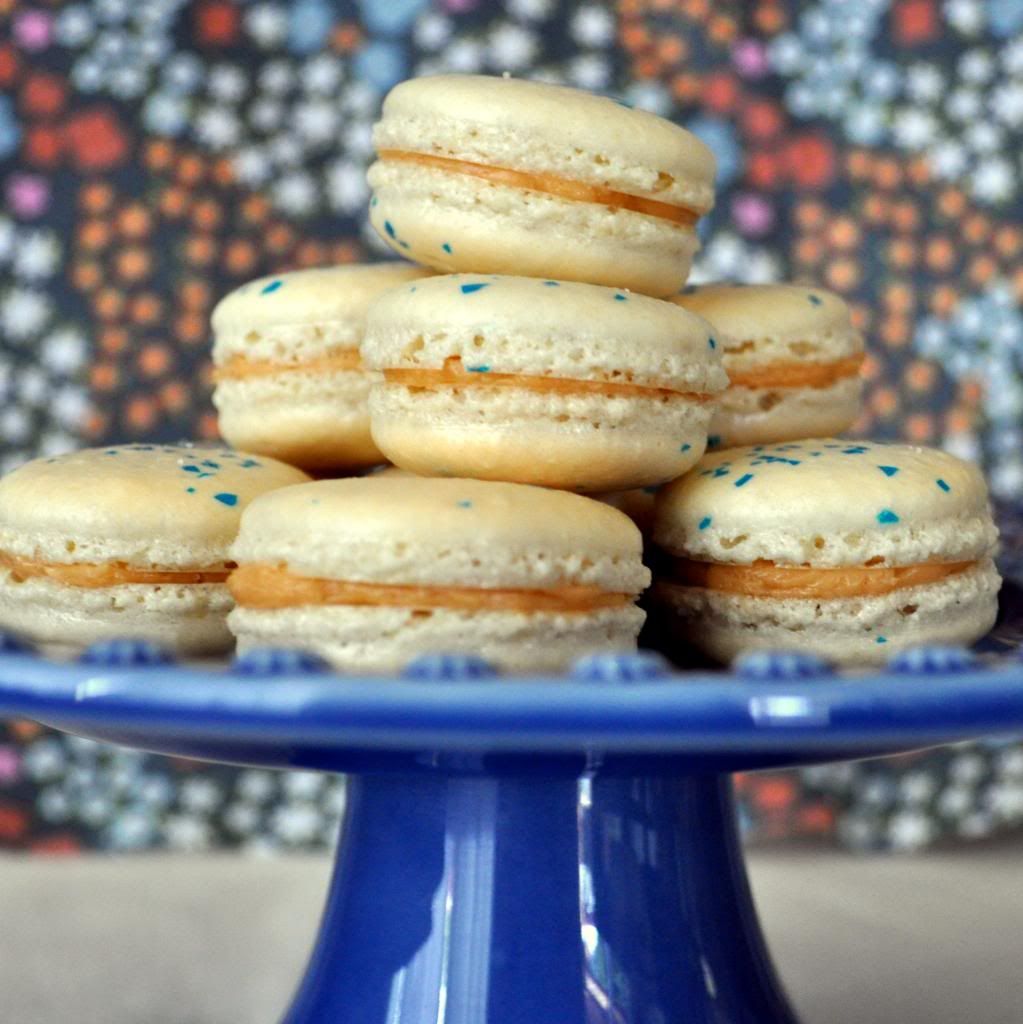
A picture...after most were devoured! Yum!
One of the first things I told the group before demonstrating my method of macaron making was to think of them as either an extremely moody ex-boyfriend/girlfriend-- you just can't always predict how they will react, but you can certainly try to set yourself up for the most situational success! There are so many fantastic blogs and resources on the web that share great troubleshooting tips and different secrets each individual swears by. Two of my favorite articles that provide very helpful information are Food Nouveau and Not So Humble Pie-- I was constantly going back and forth to these resources before I got the hang of things in my kitchen.  However, all the reading in the world can't help unless you throw on your apron and practice making macarons! It can be a little daunting at first (that's how I felt at least) since the cost of good quality ingredients can be expensive, but it's definitely worth the effort. 
After I demonstrated how to make a bright teal batch of Earl Grey macaron shells, some of the group tested out their newly acquired knowledge. Although some thought they would totally mess things up-- they did great! We had so much fun filling the macaron shells with different things such as dark chocolate ganache, orange pastry cream, and salted caramel. However, the real enjoyment came with taste testing the end products!

I had such a wonderful time with this amazing group of people! To be honest, I also enjoyed being able to teach...but this time it was on how to bake! Did I draft a "lesson plan" before hand? I kinda sorta...did (I was trained well, I guess *wink*).

To make the macarons, I followed a basic recipe I use regularly. It is one that can be easily adapted to different flavors by simply modifying the flavor extracts. Some examples of such variations include Apricot & Passion Fruit, Blackberry Custard, and Dark Chocolate Earl Grey.

French Macarons
100 g aged egg whites (aged= resting in an air-tight container in the fridge for 3-5 days)
35 g white granulated sugar
125 g finely ground almond meal (Bob's Red Mill makes a great one)
200 g powdered sugar*
1 tsp real vanilla extract
optional: food gel coloring (do not use liquid food coloring)

*I reduced the original amount of 220 to make them just a tad less sweet
**For chocolate: add 3 tbsp unsweetened cocoa powder
***For Earl Grey: Add the contents of 2 dried tea packets.
Prepare two (double-stacked) baking sheets lined with silicone mats (or parchment paper if you don't have these).

1. Combine and whisk together the almond meal and powdered sugar (if using chocolate, add in to the mix). If possible, pulse together in a food processor, transfer to the bowl again, and whisk once more. Set aside.

2. Using a stand mixer with a whisk attachment, beat the egg whites on a low speed  until the mixture becomes foamy (kind of like a bubble bath). At this point, slowly pour in the white granulated sugar as the mixer is running. Add the vanilla and increase the speed to medium; continue to beat the mixture until a smooth glossy meringue with soft peaks has formed (kind of like shaving cream). Be careful to NOT over beat and dry out your egg whites. If you are coloring your macarons, add a few drops of the gel coloring a little bit before your egg whites have reached their soft and glossy peaks.


3. Remove the bowl from your stand mixer and add 1/3 of the almond meal and powdered sugar mixture. Gently fold together just until everything is combined. Repeat with the next 1/3 of the dry ingredients and again with the final 1/3.

4. Prepare a pastry bag with a medium round tip (about 1 cm) and transfer the macaron batter into it. Pipe small circles onto the prepared baking sheets to make neat rows. Be sure to leave about 1 1/2 inches between each macaron. Grab the ends of the baking sheet and, while holding it level, firmly tap it on the counter a few times to get rid of any air bubbles. Allow the macarons to rest on the counter for 30-45 minutes before baking.

5. Preheat the oven to 305 degrees F and make sure the racks are in the middle portion. Bake the macarons for 27 minutes-- remember that oven temps and times may vary. Once they are finished you will know because the will be firm, won't move around, and should appear matte. Allow them to cool for a few minutes; Gently peel away the silicone mat while lightly pushing the macaron cookies off. Repeat with the remaining trays of macarons.

6. Once cooled, fill the macarons with the filling of choice by piping a small dollop onto the back side of one macaron shell and sandwiching it together with another. Repeat with the rest of the macarons. If not consuming right away, store them in an airtight container and keep them in the fridge.

Chocolate Ganache
8 oz. chopped dark chocolate
1 cup heavy whipping cream

1.Bring cream to a simmer while heating on low in a heavy bottom sauce pot. Be sure to stir often to prevent burning. Turn off the heat and pour the cream onto the dark chocolate (in a heat safe bowl). Slowly whisk and stir together until the chocolate is melted and everything becomes incorporated. The ganache should be glossy and smooth.

2. As it cools, the ganache will firm and thicken up. To avoid running macaron fillings, wait until you have achieved the desired consistency. You can speed this up by placing in the fridge; if the ganache hardens too much, you can always warm it up for 10 seconds in the microwave.

  • For a thick pastry cream recipe that you can use as a filling, try this one. This King Arthur Recipe has tips on how to change the flavor of the cream.
  • More easy and convenient fillings include chocolate hazelnut spread and jams! Yum!

Here are some tips that I recommend based on my experience:
1. Always use fresh egg whites from the shell.
2. Accurately weigh each ingredient.
3. Invest in high quality almond flour (such as Bob's Red Mill).
4. Test your oven to make sure the temperature is accurate.
5. Use Silipat sheets or good quality parchment paper.
6. Always pipe with a medium rounded tip (straight down, never at an angle).
7. Always use gel or powder food coloring.
8. Stop folding your batter once it has a 3-4 second consistency (if you run your spatula through the batter, it should take 3-4 seconds for it to spread back).
9. Invest in sturdy high quality baking sheets and double stack them.
10. Don't forget to stay clean and organized in the process-- sorry my Type A personality had to put that in. :)
This macaron workshop was so fun-- thanks to everyone who was there! I am considering doing more things like this. Any thoughts? What are some other workshops you would like to see if you could?


Thursday, August 15, 2013

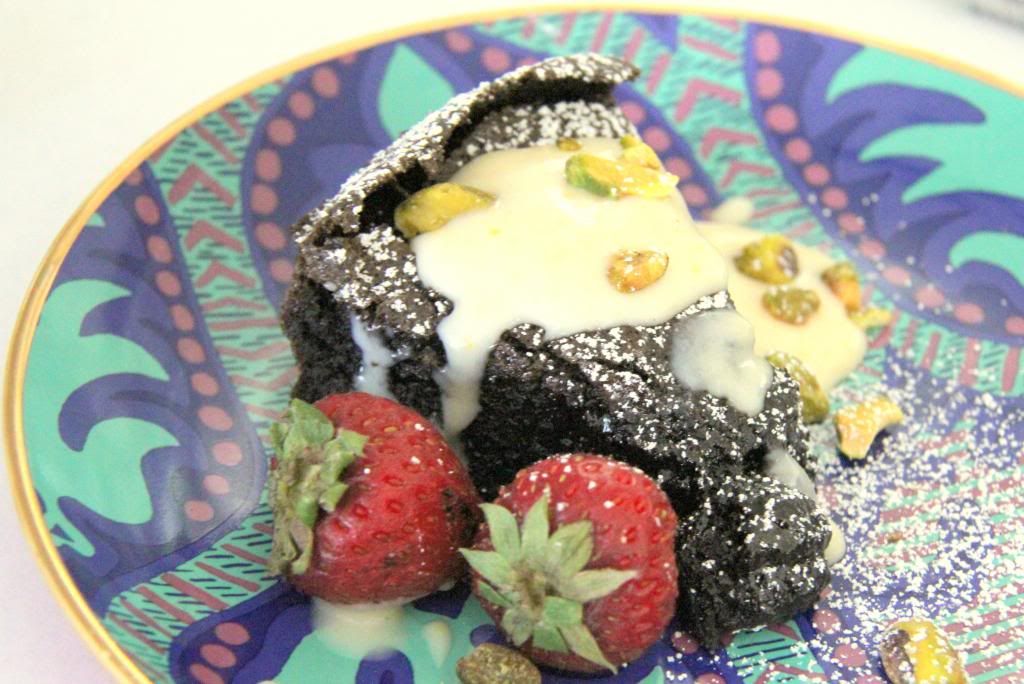
Chocolate Soufflé Cake

Today I took a midterm exam, for the first time in about four years, in my Concepts and Theories of Culinary Techniques course. While I was going through the 100 question test, I found myself thinking flashing back to mini-lessons regarding effective test taking skills in the classroom. Oh, if I was a student in my 4th grade class, I would have made my teacher-self proud as I read each question and marked evidence for each response-- I wished I could have told my students, "See! You will really use this skill later on beyond the STAR test!".
Is it kind of nerdy that I enjoyed taking my midterm? Considering that I am leaning towards "yes" being the answer...you don't have to answer that question. This return to school has placed such a spark in my thirst for learning as I immerse myself in subjects that I am truly passionate about. As a result, I guess I like taking exams.
 
Another thing I find myself enjoying since I started pastry school is access to the campus library-- it is stocked with incredible cooking and baking books (plus amazing design and decorating books that I noodle through). After my midterm, I meandered in the library and browsed through a variety of books before bumping into one of my favorite people-- Martha Stewart.


Okay, so I didn't really bump into her (I wish!)...but I suppose you expected that. Instead, I found this great recipe for a flourless chocolate cake in one of her cookbooks that immediately left me with a craving I couldn't erase. So, Martha and her cake followed me home until I could whip up something similar.

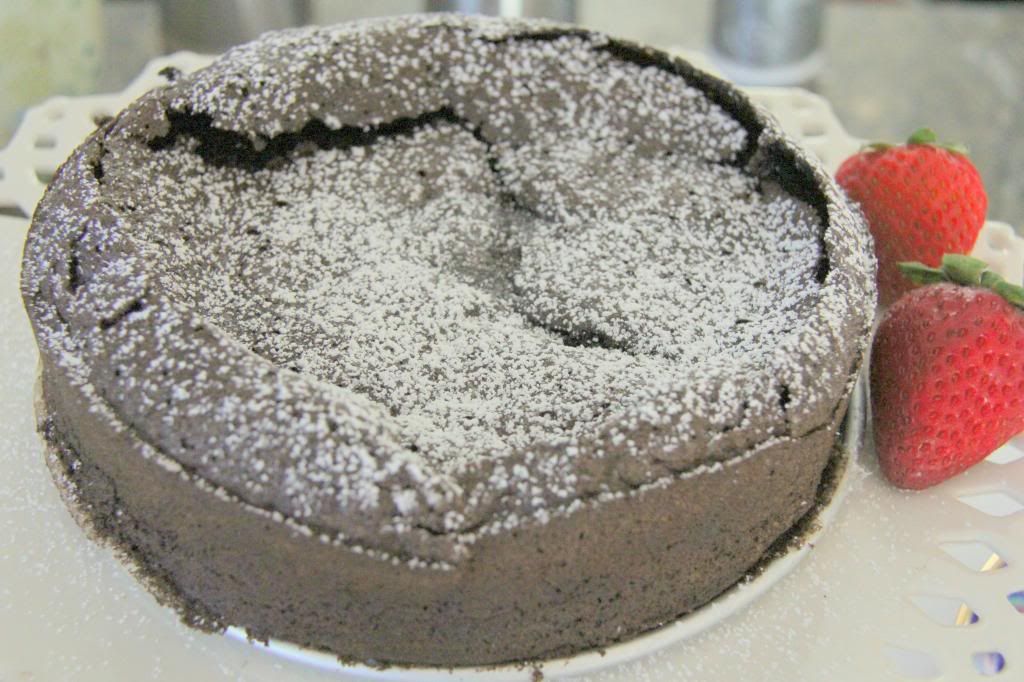
And, ladies and gentleman, that's exactly how this cake happened. Inspired by Martha, made and adapted by yours truly. Technically it is a flourless cake, but there are so many recipe components that remind me of a chocolate soufflé that I decided to name my version as such. The chocolate is rich, the texture is smooth and airy, the flavor is deep and perfectly sweet, and a slice totally hits the spot. The beauty of this delectable dessert is it is bound to look imperfect-- no stress at all about a smooth perfect surface. The crispy and dropped surface hides the cloud like interior. No ugly duckling judgements here!

A little bit of orange pastry cream and pistachios? Well, don't mind if I do!
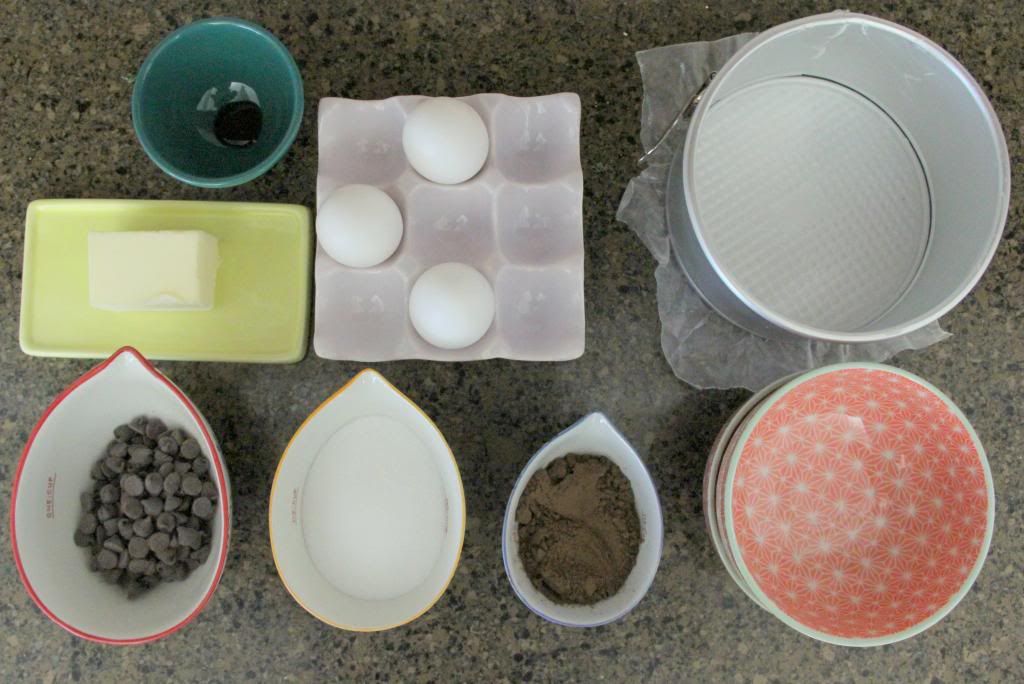
Chocolate Soufflé Cake
makes one 6" cake

3 eggs, separated
1/2 cup dark chocolate, chopped
6 tbsp unsalted butter
1 tsp vanilla extract
1 tsp instant espresso powder
1/2 tsp salt
1/3 cup white sugar
1/4 cup unsweetened cocoa powder
Prepare a 6" springform pan by lining the bottom with parchment paper. Moderately rub the paper and insides of the pan with unsalted butter.

1. In a large clean bowl,  use a hand mixer to whip the egg whites until stiff peaks form. Set aside.
2. Melt the dark chocolate and butter together in a microwave safe bowl-- heat for about 1-2 minutes on high until the mixture is smooth. Use a rubber spatula to combine the butter and chocolate well; allow the mixture to cool slightly.
3. Once the chocolate has cooled down, whisk in the egg yolks one and a time. Whisk in the vanilla, espresso powder, salt, and white sugar. Sift in the cocoa powder before whisking it in as well. Use a rubber spatula and gently fold the whipped egg whites into the chocolate mixture.
4. Pour the batter into the prepared springform pan; place the pan onto a baking sheet. Bake the cake in a 350 degree F. oven, on a middle rack, for 30-33 minutes. Transfer from the oven, allow it to cool for about minutes, and serve (the cake will naturally fall so it is best to serve as soon as possible). If desired, sprinkle powdered sugar, pastry cream, nuts, etc. over servings.


Sunday, August 11, 2013

When the Hubby's Away...

...the polenta will play.
 For the most part, Henry and I share very similar taste in food. This makes dining out and in easy for both of us. Well both love foods from all different cultures, healthy and fresh meals, and breakfast in every form!

Also, I love cake-- he loves cake (like I said, similar taste in food).
 However, when it comes to polenta, Henry doesn't really get the same hankerings as I do. And, let me tell you, I thoroughly enjoy my polenta-- soft and creamy or firm and crisp--I love it all the same. While my dear hubby may prefer canned tuna over this dish, I can certainly O.D. on it.  It's such a simple food, but it's very comforting to eat, in my opinion.

Last week, there was a day when Henry went out to play some music and hang out with the boys. I took the opportunity to prepare a super easy meal-- a warm bowl of creamy polenta with delicious fixings!
Creamy Bowl of Polenta for One
2 cups cooked instant polenta (follow the box's instructions; use half water and half milk for a creamier result)
2 portobello mushrooms (sliced and sauteed with light olive oil; seasoned with salt and pepper to taste)
1/3 cup roasted red bell peppers (I purchased some that were jarred without a lot of additives)
2 tbsp goat cheese
1 poached egg
1 tbsp Parmesan cheese
1 tbsp white truffle oil
chopped fresh basil (for a little garnish and flavor)

Serve the polenta in a bowl and top with the rest of the ingredients. Dig in!

Wednesday, June 26, 2013

Recipe Repost: Tomato Basil Tart with Sweet Balsamic Reduction

Summer just gives me hankerings for tomatoes. Anyone with me?

Either cookied, in salads, or just to snack on-- I've got tomatoes on my mind. In honor of this summer fruit, I thought I'd share one of my favorite savory tart recipes that I created when I was still blogging on Yumology. This tomato tart is satisfying and delicious, but also very healthy.

More power to the tomatoes.
Tomato Basil Tart
*serves 6-8 on a 12″ tart dish
Cornmeal Crust (adapted from Ellie Krieger)
1 1/3 cup yellow cornmeal
2/3 cup whole-wheat pastry flour
1/2 tsp salt
4 tbsp unsalted butter, cold and cubed
4 tbsp extra virgin olive oil
6 tbsp cold water
Preheat oven to 375ÂşF
1. Combine cornmeal, flour, and salt in a food processor and pulse a few times to combine. Incorporate butter and oil by adding and pulsing until mixture resembles crumbly and small pebbles. While food processor is on, stream in cold water until a loose dough is formed.
2. On a 12″ tart dish, press in cornmeal dough to form a 1/8″ thick crust around the sides and bottom. Cover with aluminum foil and fill dish with dry beans or rice to weigh it down. Bake for 10 minutes, remove foil and weight, and then bake for another 5 minutes. Remove from oven and set aside. Change oven temperature to 400ÂşF.

Tomato Basil Tart Filling
1 1/2 tbsp extra virgin olive oil, plus 3/4 tbsp 
1 tbsp white truffle oil
3 fresh garlic cloves, minced 
 1/2 white onion, thinly sliced
1 1/2 cups shredded part-skim mozzarella cheese
1 cup grated parmesan cheese
 3 medium sized tomatoes, thinly sliced
1 cup chopped fresh basil
salt and pepper
1. In a small bowl, combine 1 tbsp extra virgin olive oil, 1 tbsp white truffle oil and minced garlic (to infuse the oils). Mix and set aside.
2. In a medium pan,  heat 1/2 tbsp extra virgin olive oil and add the sliced onions. Add a pinch of salt and cook on medium-low heat until translucent (about 5-6 minutes). Remove from heat and set aside.
3. Use a brush to thinly coat the tart shell with the garlic oil. Pour any remaining oil and garlic on the crust and spread. Layer 1/4 of the mozzarella and parmesan cheese on top. Spread the onions evenly over the tart, layer another fourth of the cheeses, and cover with the chopped basil. Add another fourth of the mozzarella and parmesan cheese then layer the sliced tomatoes on the tart (overlapping if necessary). Add remaining cheese, light sprinkling of salt and pepper, and drizzle the 3/4 tbsp of extra virgin olive oil over the tart. Bake, uncovered, at 400Âş F for 30 minutes or until cheese is golden brown and tomatoes have wilted. Garnish with extra basil if desired.

Sweet Balsamic Reduction
*makes about 1/3 cup (his was more than enough for the tart so I saved the leftovers in a container to eat with meat dishes, fruit, etc. in the near future).
1 cup balsamic vinegar
1/2 tbsp brown sugar
1/2 tbsp white sugar
1. In a small sauce pot, add the balsamic vinegar and cook on medium heat until it reaches a simmer. Reduce heat to medium-low (making sure it does not boil) and stir occasionally. When vinegar reduces by half, add sugars and stir to combine. Continue to cook until reduction is thick, syrupy and coats the back of a spoon.
2. With a spoon, drizzle over tomato tart.

Wednesday, June 19, 2013

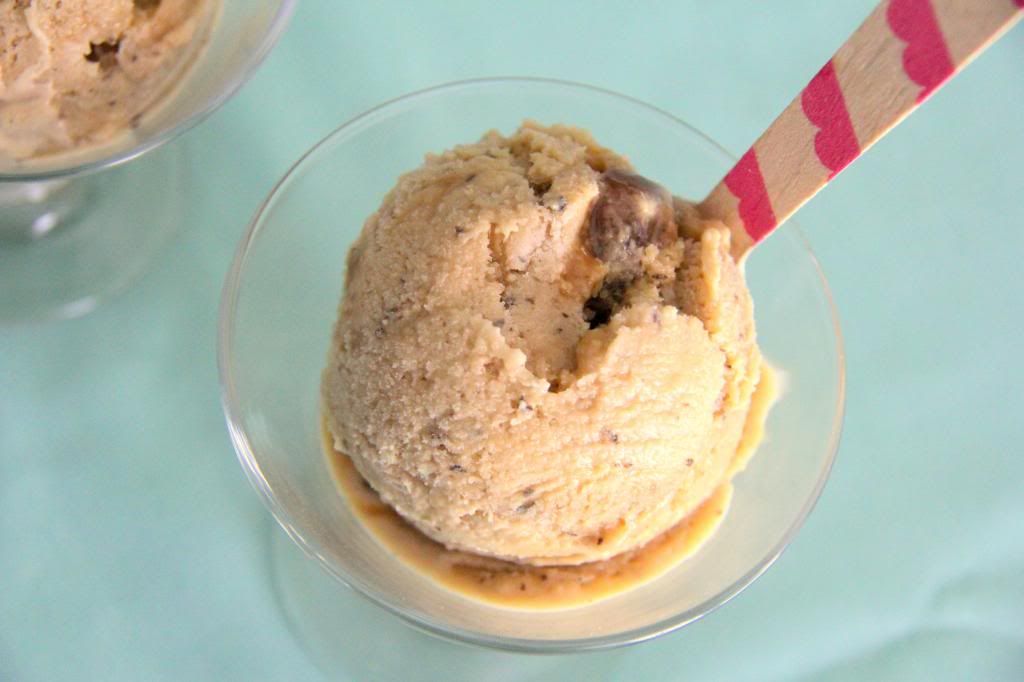
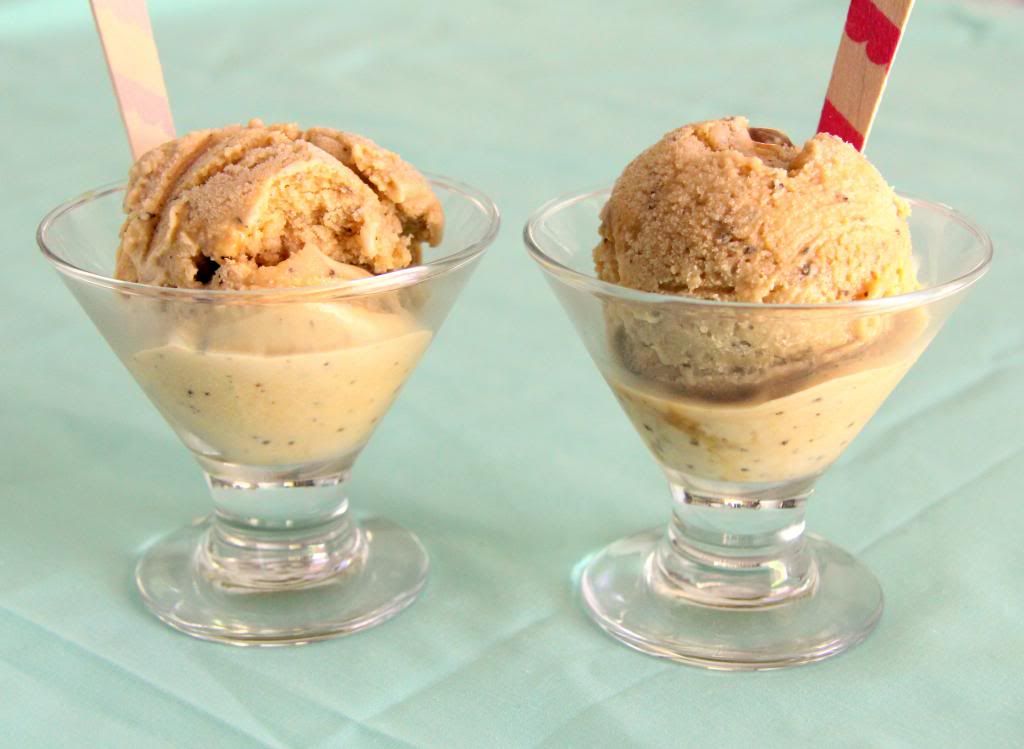
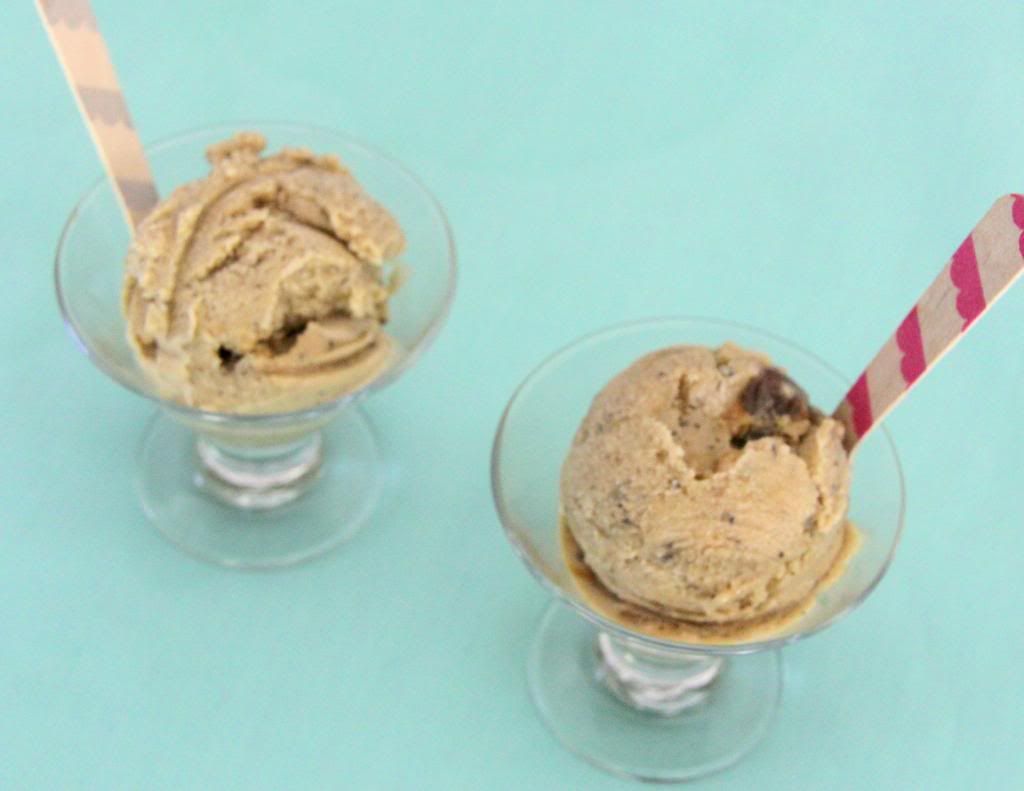
Earl Grey & Salted Caramel Frozen Custard

I always have a hankering for floral and tea flavors outside of my actual tea cup. Whether it be lavender, bergamot, rose, or earl grey-- you can count me in. I especially love these flavors in the form of gelato and ice cream. In fact, my husband always can tell that I will surely fall in love with an ice cream shop if they carry flavors of the sort.
About three months ago, Henry picked up a carton of honey-lavender gelato from a local market. The same carton has been in our freezer, and is only about half-way empty-- not because it's not good, but because I love it too much! I nearly died of pure bliss and satisfaction after my first bite. I could seriously eat the whole thing in one sitting, but because I would still like to fit into my skinny jeans, I hold off on that temptation. Instead, I have a little spoonful ever once in awhile. These small bites keep the joy fresh, our freezer stocked with good gelato, and my waistline from O.D'ing in regret. Win, win, win.
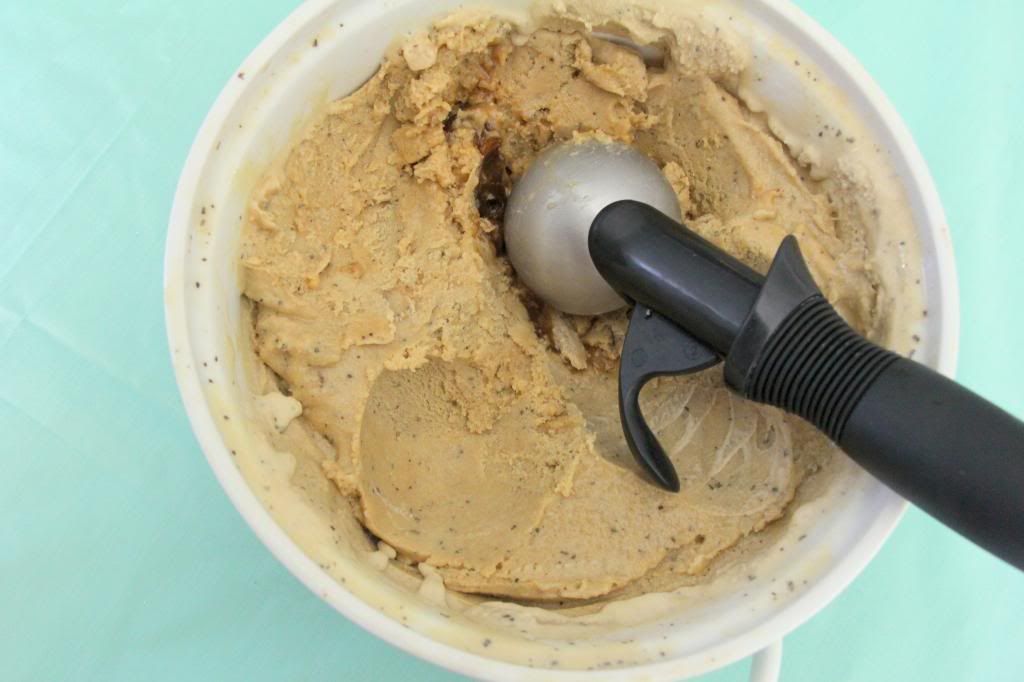
I've been telling Henry that I would like to purchase an ice cream maker. The possibilities and flavors going through my mind are out of control. However, we don't have one yet and I didn't want to wait to try out a flavor combination (also, I had a lot of egg yolks I needed to use after a macaron-making-spree). I followed David Lebovitz method on How to Make Ice Cream Without a Machine and created a recipe that is only slightly modified from his Vanilla Ice Cream Recipe. I about doubled the amount of egg yolks in the recipe making this truly a frozen custard.
Although ice crystals are nearly unavoidable without a machine, this frozen custard blew my socks off. The flavors are divine! Earl grey never disappoints me with it's deep tea taste with a bit of citrus and the salted caramel adds a nice smokey, salty, and sweet layer of flavor (SO GOOD). Since there is a lot of cream and egg yolk, the ice crystals are hardly noticeable once the frozen custard starts to melt on your tongue.

It did take awhile to make, and would probably wait till I get my ice cream maker to create another batch of this goodness...but I have to say that patience definitely paid off after I tasted this creamy frozen treat.
Early Grey & Salted Caramel Frozen Custard
modified and adapted from this recipe
makes about one quart

1 cup whole milk
 pinch of salt
3/4 cup sugar
1 1/2 tsp vanilla extract
5 earl grey tea bags
2 cups heavy cream
10 large egg yolks
1/2 cup salted caramel sauce (I used this recipe)

1. Heat the milk, salt, sugar, and vanilla extract in a saucepan. Stir continuously to avoid burning; once the mixture has reached a low boil, turn off the heat. Empty the contents of two tea bags into the milk and soak the remaining three in it. Cover the pot, remove from to, and infuse for about 20 minutes. Make sure to  squeeze any tea out of the tea bags at the end to ensure a good concentration of earl grey flavor.
2. To make the ice cream, set up an ice bath by placing a 2-quart bowl in a larger bowl partially filled with ice and water. Set a strainer over the top of the smaller bowl and pour the cream into the bowl.
3. In a separate bowl, stir together the egg yolks. Rewarm the milk then gradually pour some of the milk into the yolks, whisking constantly as you pour. Scrape the warmed yolks and milk back into the saucepan.
4. Cook over low heat, stirring constantly and scraping the bottom with a heat-resistant spatula, until the custard thickens enough to coat the spatula.
5. Strain the custard into the heavy cream. Stir over the ice until cool,then refrigerate to chill thoroughly. Preferably overnight.
6. Remove the vanilla bean and freeze the custard in your ice cream maker according to the manufacturer’s instructions.
7. When the ice cream is almost frozen, drizzle the warm salted caramel all over it. Stir and continue to freeze.

 ** Note: If you don't have an ice cream maker, skip step 6 and follow these directions from David Lebovitz:
Making Ice Cream/Frozen Custard Without A Machine

1. Prepare your ice cream mixture, then chill it over an ice bath.
2. Put a deep baking dish, or bowl made of plastic, stainless steel or something durable in the freezer, and pour your custard mixture into it.
3. After forty-five minutes, open the door and check it.
As it starts to freeze near the edges, remove it from the freezer and stir it vigorously with a spatula or whisk. Really beat it up and break up any frozen sections. Return to freezer.
4. Continue to check the mixture every 30 minutes, stirring vigorously as it’s freezing. If you have one, you can use a hand-held mixer for best results, or use a stick-blender or hand-held mixer.
But since we’re going low-tech here, you can also use just a spatula or a sturdy whisk along with some modest physical effort.
5. Keep checking periodically and stirring while it freezes (by hand or with the electric mixer) until the ice cream is frozen. It will likely take 2-3 hours to be ready.
6. When the ice cream is almost frozen, drizzle the warm salted caramel all over it. Stir and continue to freeze.


Thursday, May 30, 2013

Lemon Poppy Seed Cakes with White Chocolate Buttercream

When I am a guest at someone's house, I find it important to bring something over. When the occasion is dinner...you can count on me to bring dessert as my contribution.

Last night, Henry and I went over to one of our pastor's house for an evening meal and I was excited to have an occasion to bake a cake. However, instead of just baking one cake, I made two-- one for dinner, and one to cut into for the blog. 

Too much cake? 

No. 

Unless,  you count eating some when I sliced the smaller cake...and then enjoying some more at dinner, again.
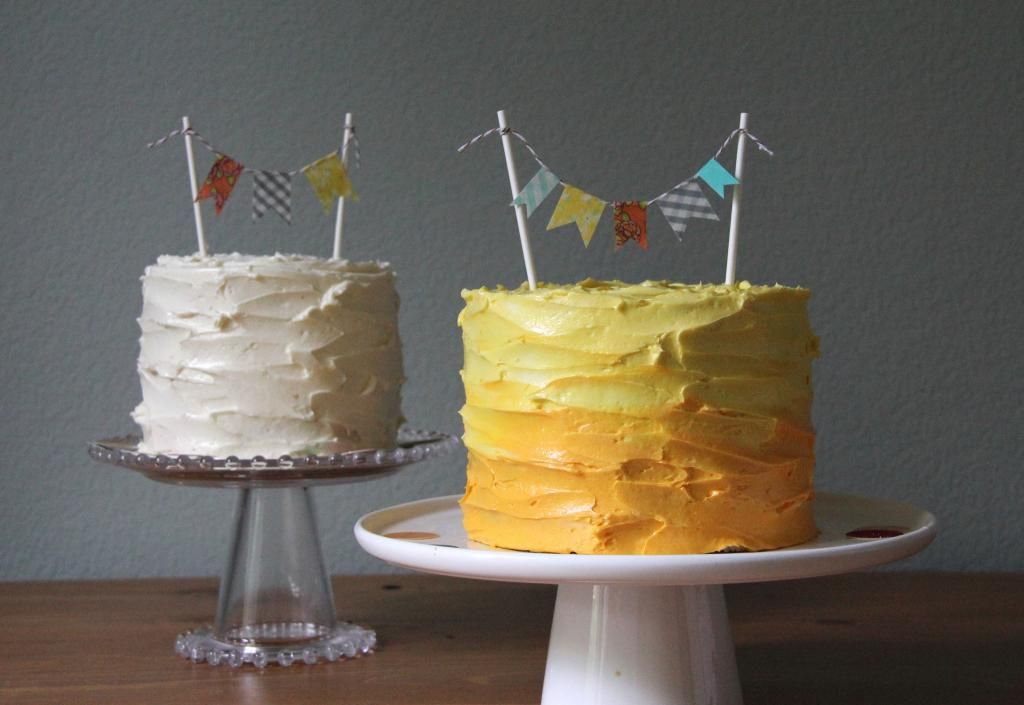
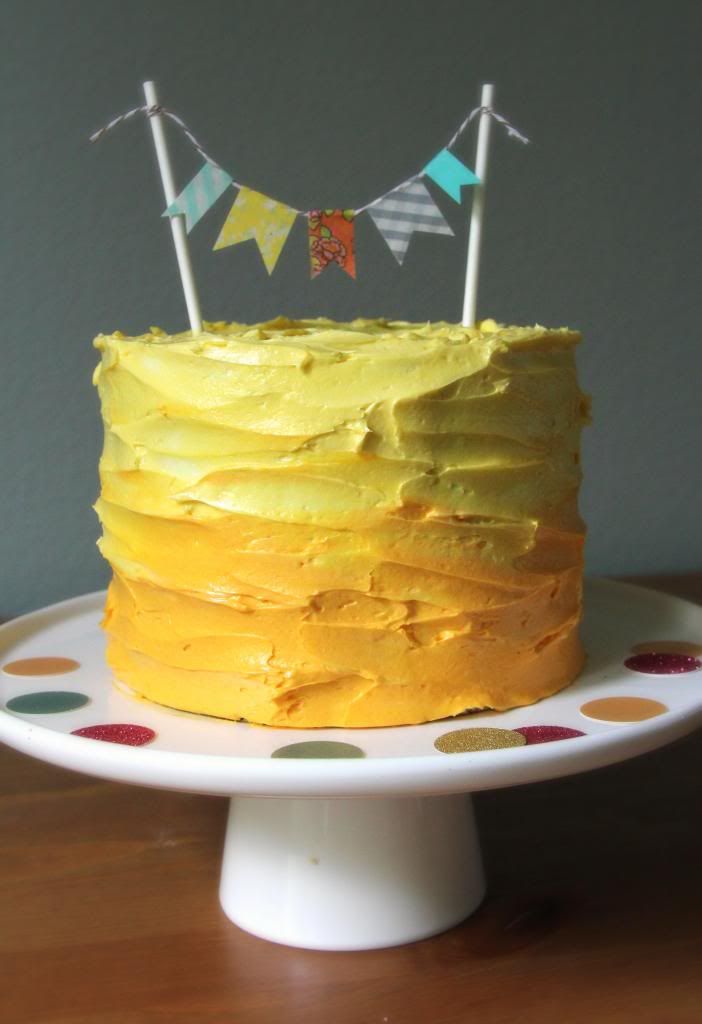
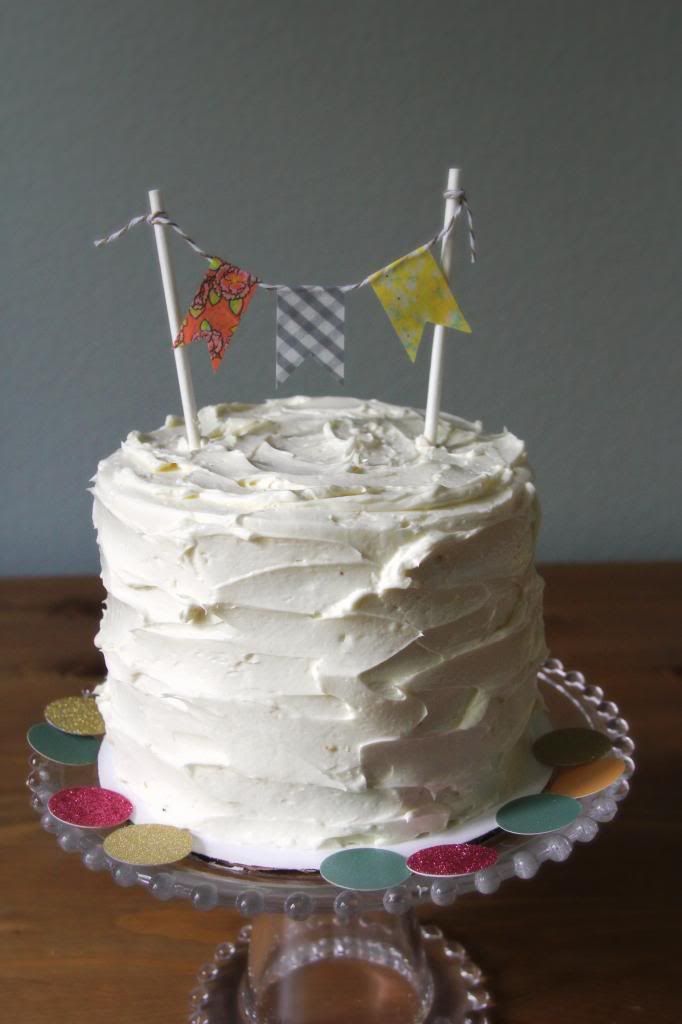
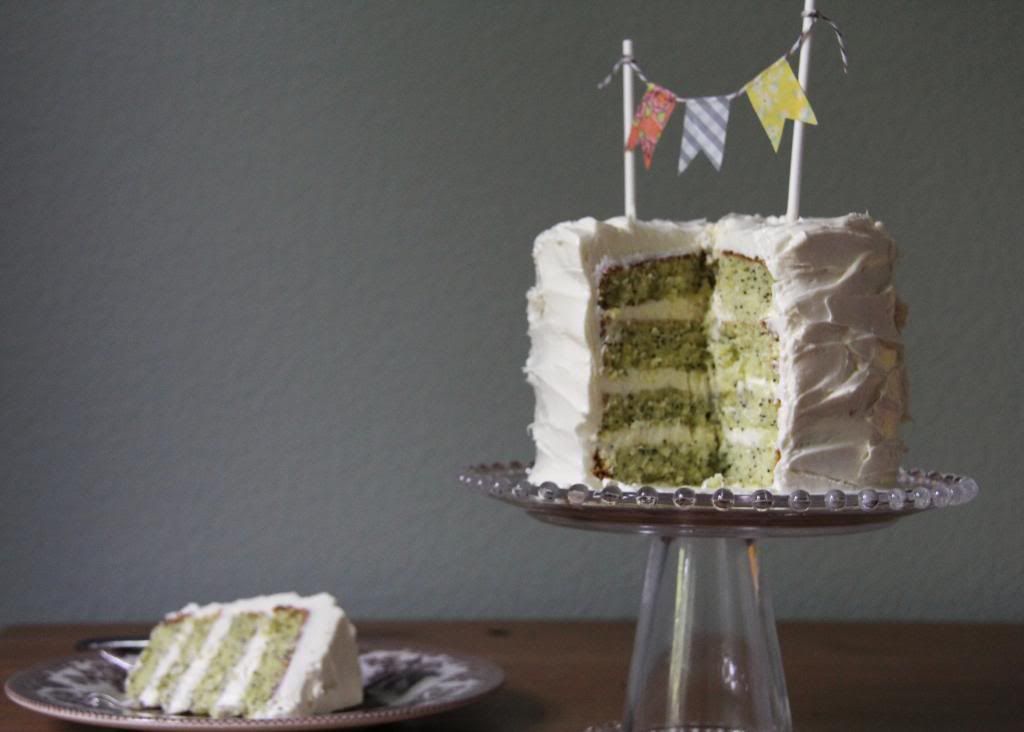
Err...okay, I guess I have to admit to maybe having too much cake for one day. However, with Lemon Poppyseed Cake Frosted with the silkiest White Chocolate Buttercream...how could I resist? I just couldn't! The crumb of the cake is moist yet firm. It has a classic flavor that is very similar to the perfect Lemon Poppyseed Muffins you may find at a good coffee house...except it is just a bit more delicate. 
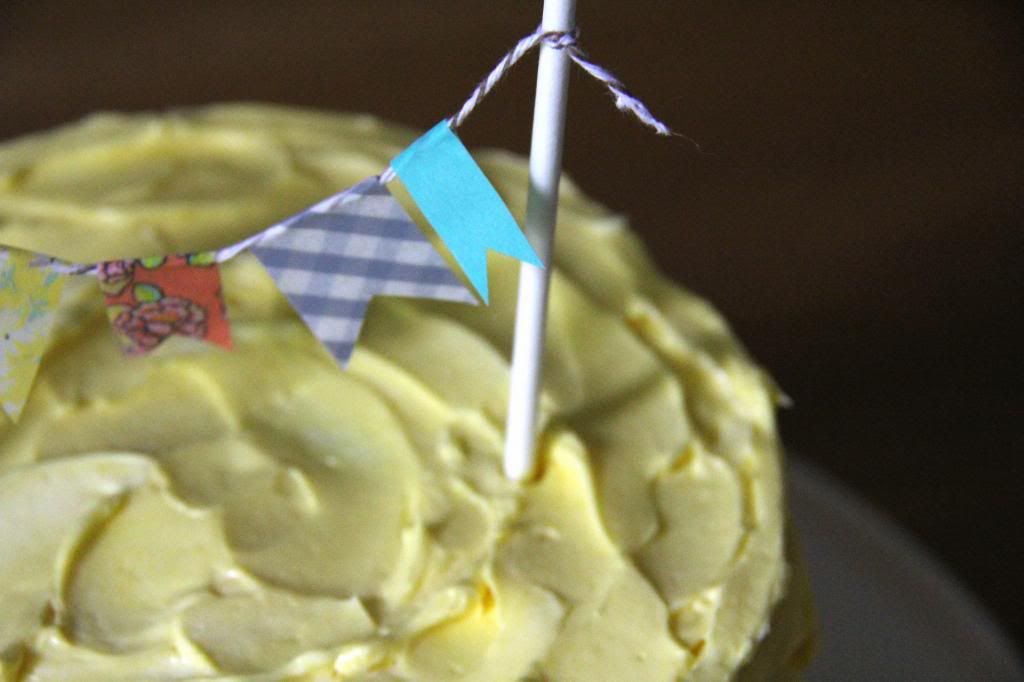
With such a vintage and classic taste, I decided to give it a charming and rustic look. I crumb coated each cake before using my spatula to make effortless streaks across the sides and top for an easy, yet adorable finish. To top it off, I made bunting banners with lollipop sticks, bakers twine, and assorted Washi tapes.

Mmm...I just love having reasons to bake and decorate a cake! Cheers.

Lemon Poppyseed Cake
adapted from this recipe
Makes one two-layer 8" cake

2 cups all purpose flour
1 3/4 cup white sugar
4 tsp baking powder
1 tsp salt
1/4 cup poppy seeds
1 1/2 sticks unsalted butter (room temp.), cubed
1 cup milk (room temp.)
5 egg whites
2 large eggs
zest of one large lemon
2 1/2 tsp lemon oil/extract
1 tsp vanilla extract
1 1/2 tsp almond extract
2 tbsp canola oil

1. In a stand mixer with the paddle attachment, mix the flour, sugar, baking powder, salt, and poppy seeds on a low speed for about 3-4 minutes until everything is well combined. Add the butter cubes little by little and continue to mix on medium-low for about 2 minutes.

2. While the dry ingredients are mixing, whisk together the milk, egg whites, eggs, lemon zest, lemon oil, vanilla, and almond extracts in another bowl. When the dry ingredients are ready, slowly pour all, but a 1/2 cup, of the wet ingredients into the bowl (flour/butter mixture). Beat everything together on medium speed for about 2 minutes. Add the rest of the milk mixture and beat for another minute. Pour in the canola oil and use a spatula to fold it into the batter until it is well incorporated.

3. Divide the cake batter, 2/3 full, into two 8" prepared cake pans that have been buttered and lightly floured. Bake at 350 degrees F. for 30-35 minutes-- a toothpick should come out clean and the sides should be a light golden brown. Allow the cake to cool completely before frosting.

*Note: Instead of baking an 8" cake, I used this recipe and divided it between two 6" and two 5" cake pans. Since I modified the size of the cake, I had to adjust the baking time. Here is a great chart to use as a reference when changing bake times-- the 6" cakes baked for 30 minutes and the 5" cake baked for  about 25 minutes. 

White Chocolate Buttercream Frosting (Swiss Meringue Based)
Makes about 10 cups -- store extra in a sealed airtight container in the refrigerator (when using leftover, bring to room temp. and whip up again before frosting other cakes).

1/2 cup heavy whipping cream
8 ounces white chocolate chips
10 large egg whites
2 cups white sugar
3 cups unsalted butter, cubed
2 tsp vanilla extract

1. In a small sauce pot, bring the heavy cream to a boil-- make sure to stir constantly to avoid burning the cream. Once it comes to a boil, immediately turn off the heat and pour the cream over the white chocolate chips (in a medium bowl). Use a rubber spatula to slowly mix the hot cream and white chocolate together until all the chips have melted. Once the ganache has come together, allow it to come to cool before using in the buttercream.

2. Use a double boiler, or place a large stand mixing bowl over a pot of simmering water (make sure the water doesn't touch the bowl), to heat the egg whites and sugar. Whisk this together constantly until the temperature reaches about 160 degrees F-- about 8-10 minutes when the sugar is dissolved, egg whites are hot, and everything is foamy.

3. Turn off the heat and transfer the bowl to the stand mixer. Use the whisk attachment and beat the meringue on high until it becomes thick, glossy, and the bowl feels neutral to the touch. As soon as the bowl is cool enough, reduce the speed to medium low and slowly add the butter and then the vanilla extract. The buttercream may appear chunky and curdled, but if it does, continue beating and everything will come together. The frosting should be smooth and thick.

4. Slowly pour in the cooled white chocolate ganache and continue to beat the buttercream for 1-2 more minutes on medium-high so everything gets mixed together well. If using food gel coloring, add now and mix until the color is even.

To assemble the cake
1.  Level and torte each cake layer.
2. Place one layer onto a sized cake board, add about 1/4 cup of buttercream on top, and use a spatula to spread it evenly across.
3. Place another layer on top and repeat the filling process. Continue this until you have reached the top layer.
4. Once the cake is filled and leveled, crumb coat and/or frost as desired.

Tuesday, May 28, 2013

Strawberry-Almond Pancakes with Fresh Ginger Berry Compote

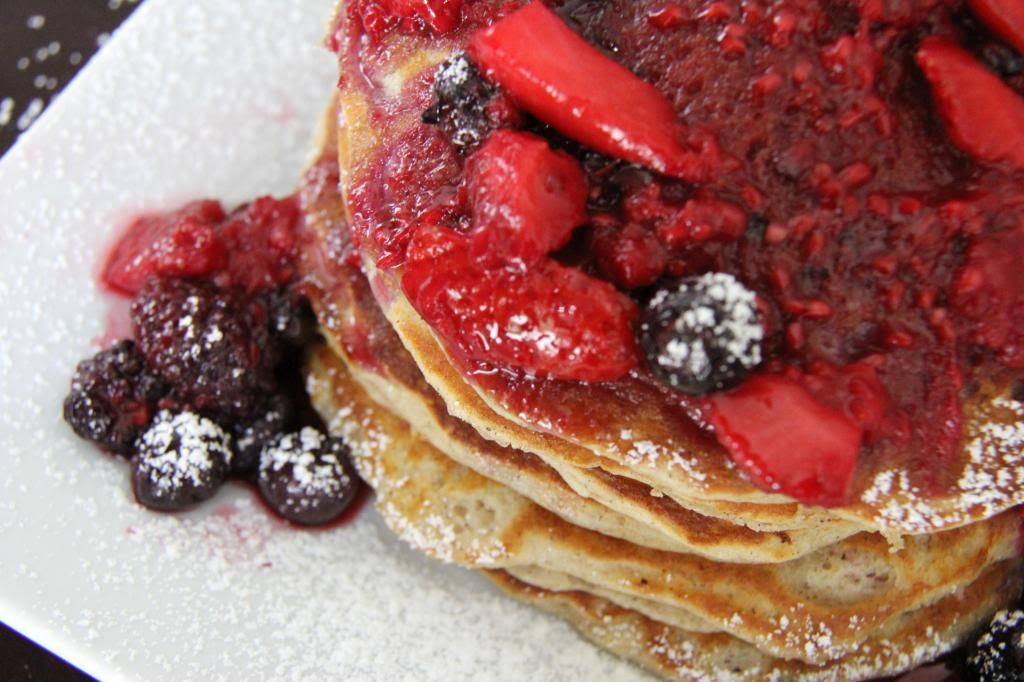
Yesterday, I made the best strawberry pancakes I have had, yet! Hubby and I wanted to use the holiday time off to have one of our favorite traditions-- pancake breakfasts. This was a meal I had been looking forward to all weekend and I absolutely did not cut any corners. These are fluffy, buttery, and a little nutty from the almond. Although I am a huge fan of healthy and low-fat pancakes, this was a day for me to take out the butter and all-purpose flour and use it without a single ounce of remorse.
And, well. Let's just say there were no guilty feelings involved after I devoured my berry pancakes at breakfast.
And again at lunch (pancakes are my weakness!).
Too much? Uh...don't think so. :)

Strawberry-Almond Pancakes
modified and adapted from here
serves 2 (makes about six 6" pancakes)

1/2 cup all-purpose flour
1/2 cup almond flour/meal
1 1/2 tbsp white sugar
1 tsp baking powder
1/2 tsp baking soda
1/2 tsp salt
1/2 tsp ground cinnamon
3/4 cup milk (I had 2%)
2 tbsp apple cider vinegar
1 large egg
1 tsp almond extract
1/2 tsp vanilla extract
3 tbsp unsalted butter, melted
1 cup sliced/roughly chopped strawberries

1. In a bowl, whisk together the flour, almond flour, white sugar, baking powder, baking soda, salt, and cinnamon. Set aside.

2. In another bowl, combine the milk and apple cider vinegar. Allow this to sit for a few minutes and then whisk in the egg,  almond extract, vanilla extract, and melter butter.

3. Pour the dry ingredients into the wet ingredients; use a fork to gently stir everything together. It is important not to overmix and still have a lumpy batter-- just make sure there are no longer any "dry patches" of flour.

4. Ladle about 1/4 cup of the batter onto a nonstick, or greased, griddle/skillet on medium heat. Place several strawberry pieces onto the pancake while the other side is cooking. Once the edges start to bubble and thicken (about 4-5 minutes), use a spatula to flip the pancake so the other side can cook for an additional 3-4 minutes. The pancakes should be golden brown and slightly crisp on the edges. Serve with Fresh Ginger Berry Compote (or maple syrup!).
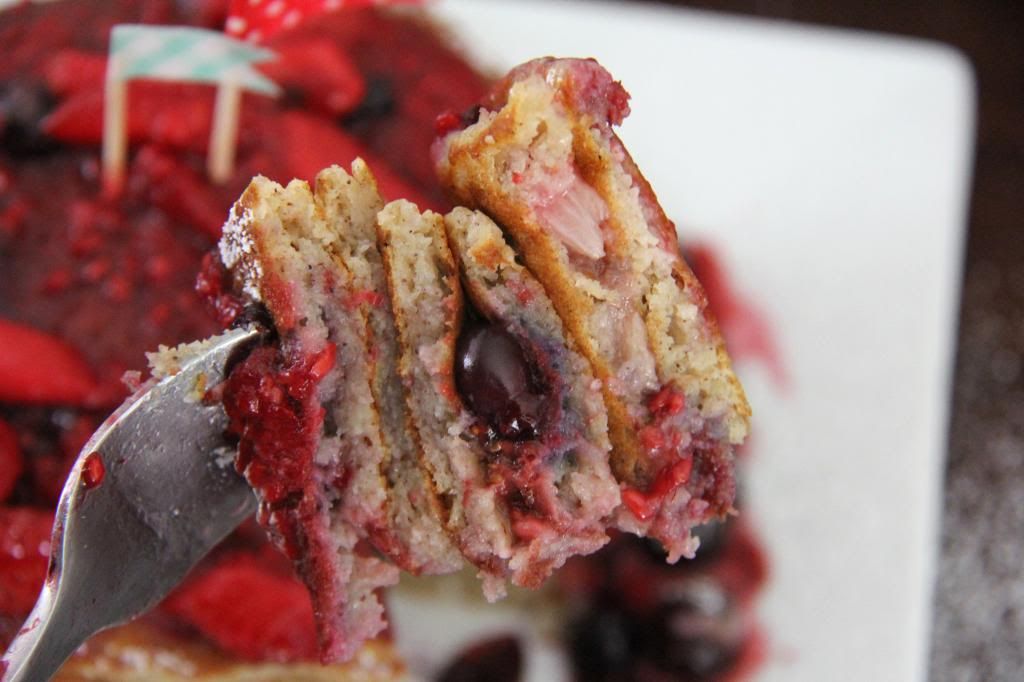
Instead of just topping my stack of pancakes with the compote, I spread a little in between each one to get a little more berry in every bite. 

Fresh Ginger Berry Compote
makes about 2 cups
4 tbsp unsalted butter
1 cup fresh blueberries
1/2 cup fresh roughly chopped strawberries
1/2 cup fresh blackberries
1/2 cup fresh raspberries
1 1/2 tsp freshly grated ginger
1/4 + 1 tbsp white sugar
zest of one lemon

1. In a small sauce pot, melt the butter on medium heat. Add the berries, ginger, sugar, and lemon zest. Stir gently (the raspberries will fall apart easily, but you don't want to break all fruit completely apart) and continue to cook on medium-low for about 8-10 minutes. Spoon over your pancakes (and save the leftovers to serve over ice cream or other desserts).

Wednesday, May 22, 2013

Mint Mojito Iced Coffee

We've all had our moments with food. You know, the kind of moment where you connect with whatever you're eating or drinking in a way that is so incredibly pleasing and emotional. In my experience, these are the times when I can't stop making obnoxious, "MMMM!!" sounds, my taste buds are shocked because they have just been run over by the flavor bus, and my serotonin levels are crashing through the roof. Typically, such intimate foodie moments occur when there is an intriguing mix of diverse and unexpected flavors and/or textures in whatever I am enjoying.

It's these foods that leave those special imprints on my heart. *Insert dramatic love song here*

With beverages, these passionate moments have been sparse in comparison to those from dishes and desserts. However, the following beverages have elicited such a rush of foodie intimacy in the last few years:

1. Chocolate Thai Iced Tea - Bittersweet Cafe, Berkeley, Ca
A friend took me here and raved about this drink. After trying my first sip, I felt like I had been missing out on life. This beverage takes a twist on a typical Thai tea with it's deep and rich chocolaty addition.
2. White Linen Cocktail - Shady Lady Saloon Bar, Sacramento, Ca
I love gin cocktails-- they are by far my favorite. This cocktail is pleasantly refreshing with a combination of fabulous gin, simple syrup, and cucumber. Shady Lady has the best cocktails and I have tried several, but the White Linen always takes the cake.
3. Bowl of Soul - Naked Lounge, Sacramento, Ca
This beverage is a steaming cup of chamomile tea brewed with foamy soy milk, a little honey, and a bit of shaved dark chocolate. The flavor combinations are sensational and remind me of the comforts of sleeping in on a relaxing Saturday morning.
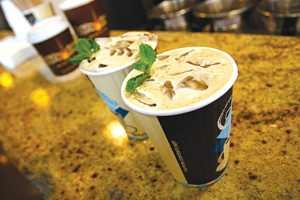
4. Mint Mojito Coffee - Philz Coffee, San Jose, Ca
Silicon Valley and Bay Area residents-- I don't need to remind you of how good Philz is. My brother took me for my first cup of this Mint Mojito a few years back and now I crave it all the time. Minty, creamy, and full of bold roasted coffee. It is theeeee best.
5. Frank Sinatra (Blueberry Mocha) - Cantata Coffee Co., San Francisco, Ca
I stumbled upon this place by accident with my good friend while in the city. I was curious about the combination of blueberry, chocolate, and coffee. However, if Philz taught me anything, it's to go for the unexpected flavors in coffee drinks. I am so glad I went for this Frank Sinatra! It tasted like chocolate covered blueberries in my coffee...yum! This actually inspired my Blueberry Mocha Brownies recipe.

Mmm...the thought of all of these leaves me feeling parched and a little over-caffeinated. I just love my coffee...and gin, I suppose!

Instead of dreaming about one of my favorite coffee drinks, I decided to try to recreate it at home. Yep, I brought #4: Philz Mint Mojito Coffee into my kitchen.
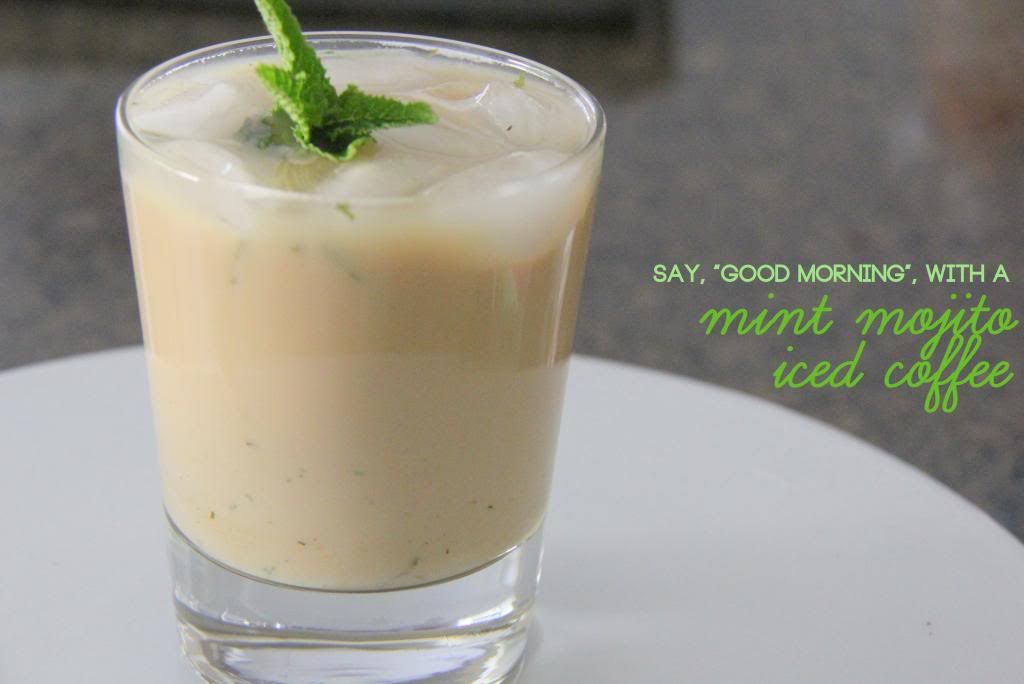
I can't say it's the same, but it is most definitely delicious and temporarily settles the Philz void I have going on. Best of all, it is super easy to make for a good-morning-start (or anytime of day).
Mint Mojito Iced Coffee
Inspired by Philz Coffee
serves 1 (but you can easily multiply the amount of each ingredient if you are trying to make a larger batch of servings)

about 1/4 cup of loose mint leaves
8 oz. (1 cup) brewed dark roasted coffee (or espresso)
2 oz. (1/4 cup) creamer (I used French vanilla fat-free half-n-half)
ice

*Note: Creamer with flavorings tend to be a bit sweet for my liking. Next time I would probably use regular half-n-half and add some vanilla extract for flavor. You could easily do this and control the amount of sweetness by adding however much sugar you want. 

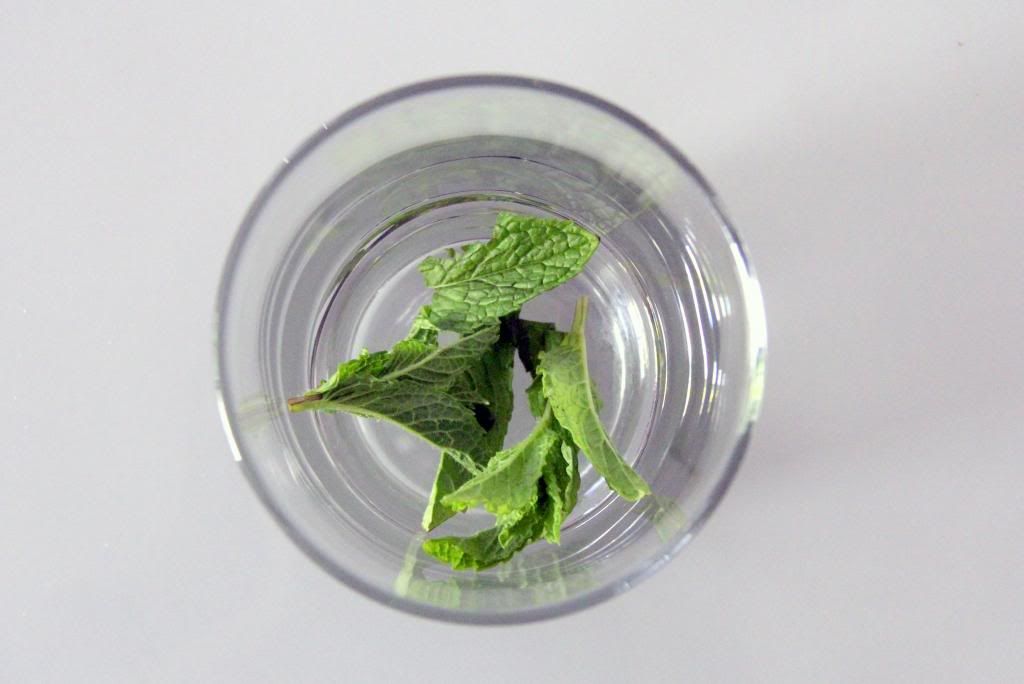
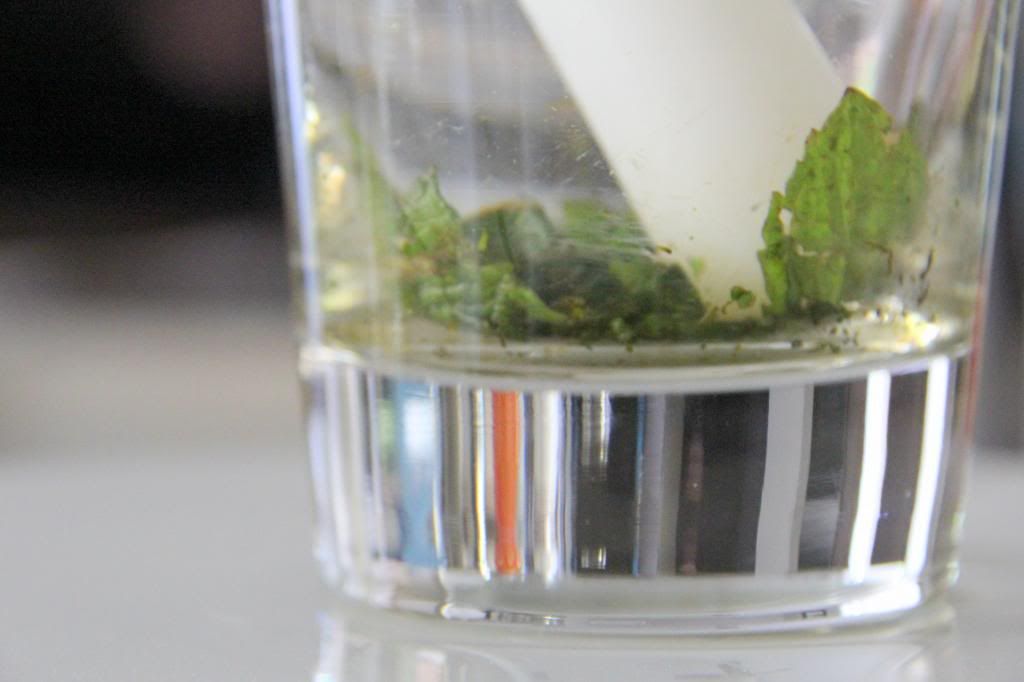
1. Leave a sprig of mint leaves aside for the garnish. Take the rest and muddle them into the bottom of a glass (we don't make cocktails a lot in our house so I used my small fondant rolling pin-- makeshift bar tender tools is my forte).

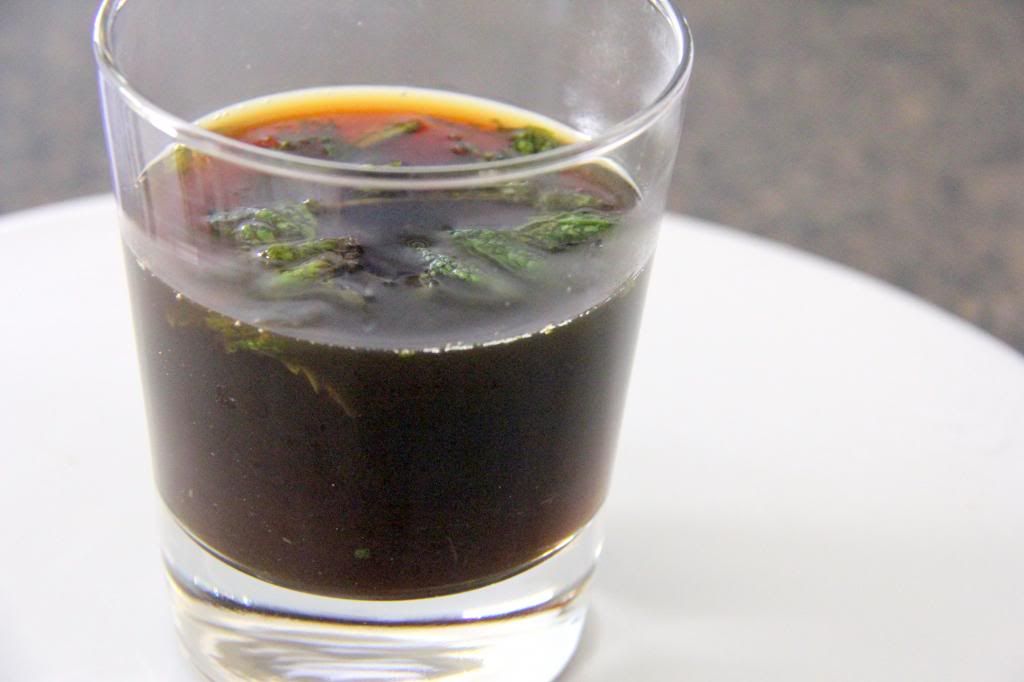
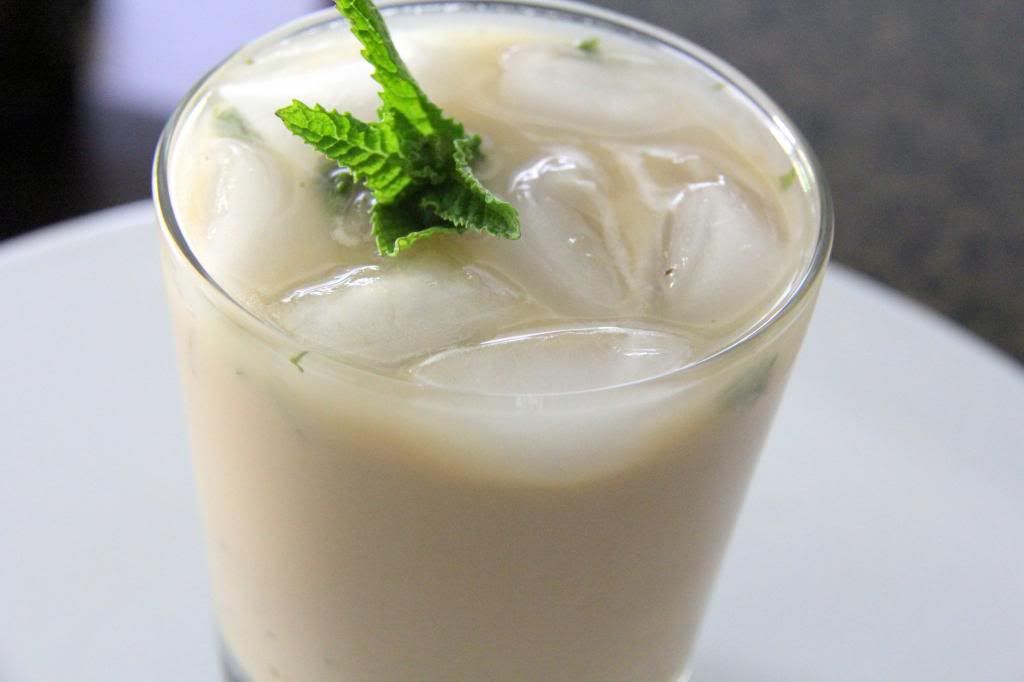
2. Pour in the coffee and creamer. Stir well and then fill the cup with ice. Stir again. Garnish with the reserved mint and enjoy!

via

Saturday, May 18, 2013

Lobster Love

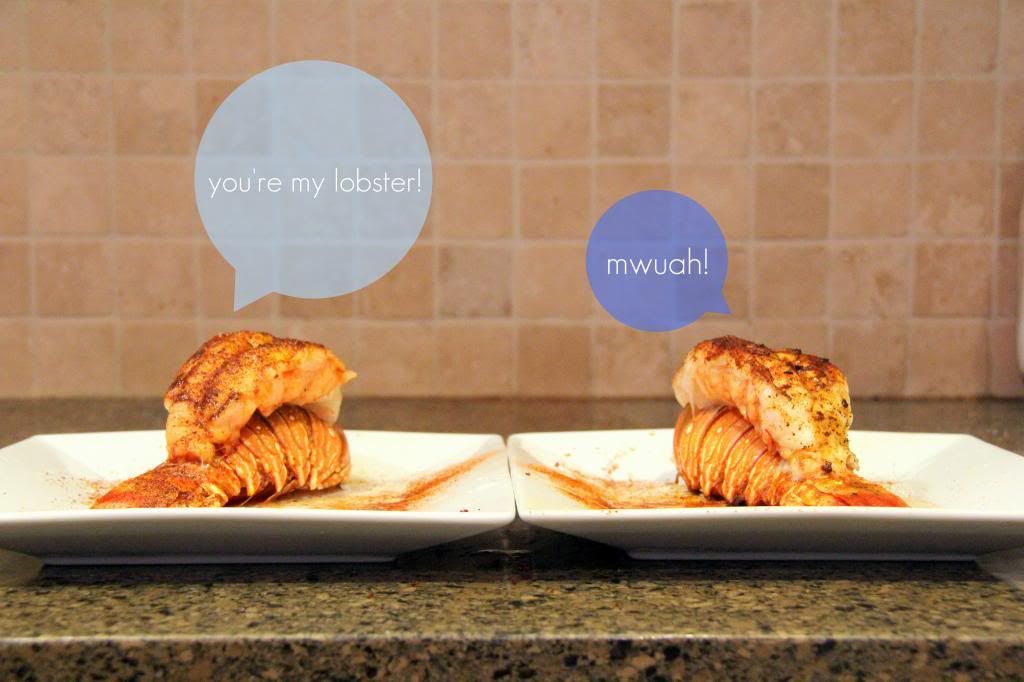
Last night we had special visitors over for dinner. And by visitors, I mean dinner guests. We ate them.
Would you like to come over for dinner at our place sometime? 

Okay, in all honesty, we did have special guests on our dinner plates-- lobster tails! I love lobster, but have not had it cooked out of a home kitchen in years. Yesterday Sprouts had a sale on them for $7 each. I couldn't pass the deal up.

The whole process of prepping, cooking, and then eating the lobster put me in a "Friends" mood (although I have yet to ever turn down an episode) and I was walking down Ross and Rachel's memory lane."Friends" fans, you get me-- I know you do.

Broiled Lobster Tail
Note: This method uses a scant amount of butter compared to most recipes for lobster preparation-- the results are still fabulous. However, if fancy dousing your lobster tail in golden clarified butter, I don't see how your taste buds would be at a loss.

lobster tail
1/2 tbsp unsalted butter
1/2 tbsp olive oil
1/4 tsp pepper
1/4 tsp salt
1/2 tsp paprika
fresh lemon
*this is for a single tail; adjust recipe according to your quantity

1. Prepare your lobster tail by using kitchen shears to cut straight down the shell. Pull apart the shell and carefully pull out the flesh of the tail until it comes out (or stop when there is just a little piece still attached). Replace the removed flesh on top of the shells and fold the loose meat, on the sides, over the edges.
For a great demonstration of how to properly prepare a lobster tail, read this information.

2. Season the tail with the pepper, salt, and paprika by sprinkling the seasonings over it. Place half of the butter amount on top of the prepared lobster tail, drizzle the olive oil all over, and place it in the broiler on the middle rack. Cook for 8-10 minutes. When finished, remove from the oven, rub the remaining butter over the tail, and squeeze a fresh wedge of lemon on top.


Wednesday, May 15, 2013

Raspberry-Coconut Macaroons

Okay, first...let's get one thing cleared up. 
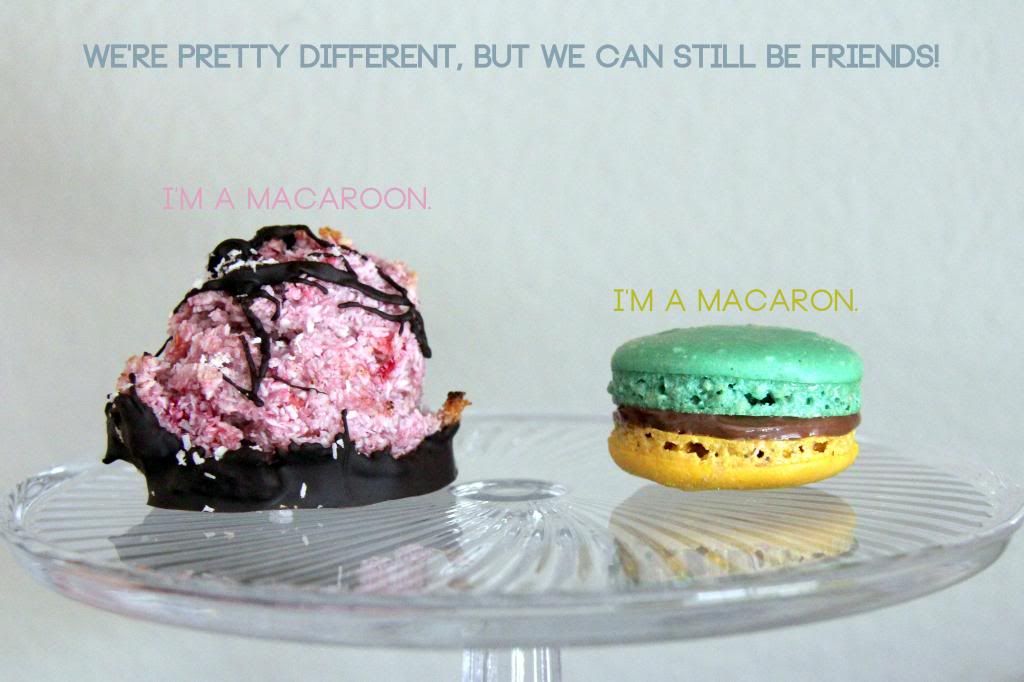
When it comes to macaroons and macarons, there seems to be a lot of confusion. I mean, everyone seems to know what each cookie is individually and it is nearly impossible to confuse them for each other in sight or taste, but their names are often mixed up-- a common error.

Macaroons are the simple and always satisfying coconut confection. Typically, it is made with a mixture of shredded coconut, egg whites, and some sort of sweetening agent (condensed milk or sugar).

Macarons (pronounced MAC-A-RON) are the delicate and intriguing French meringue based cookie-- an older, more elegant, and more pristine big sister of our average sandwich cookie. 

This is a mistake that I myself made years ago until I was properly informed. I remember feeling so silly asking for a, by definition, chewy coconut cookie when I wanted a delightful burst of sugar and joy in the form of a round and pretty French treat.
Alright, alright. Now that that's settled, let's move on to these dreamy Raspberry-Coconut Macaroons.
Last evening, I went back and forth staring into my cupboard and refrigerator thinking of a dessert to make for a potluck (it took place this afternoon). I wanted to contribute something that wasn't too sweet or decadent, yet still hit the spot. Well, it was a good night for recipe brainstorming and creating because these little bundles of joy surely fit the bill. 

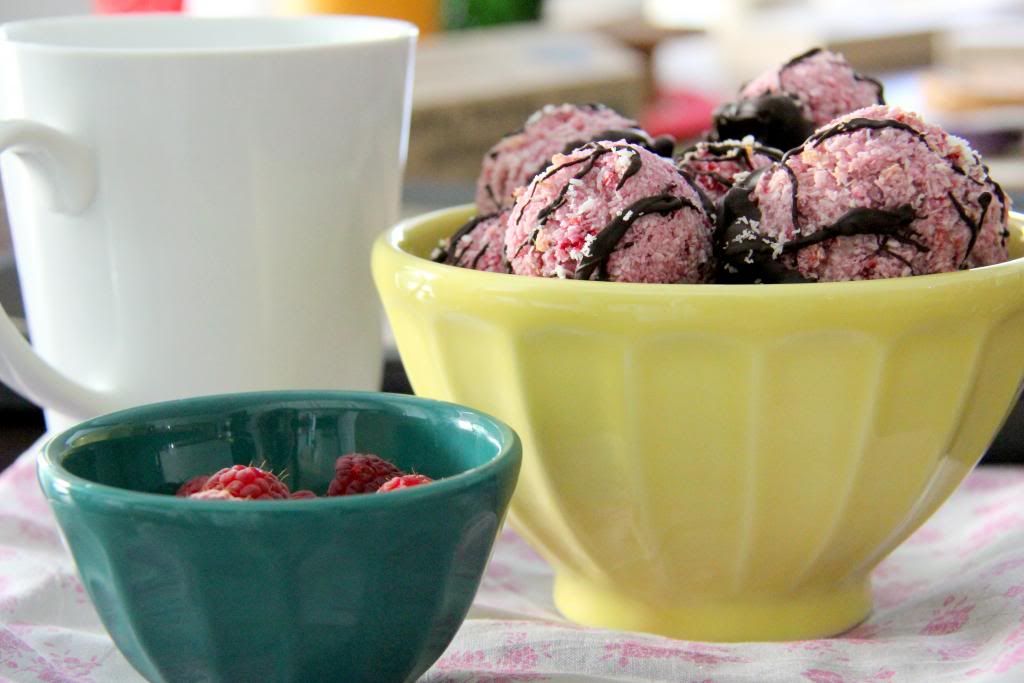
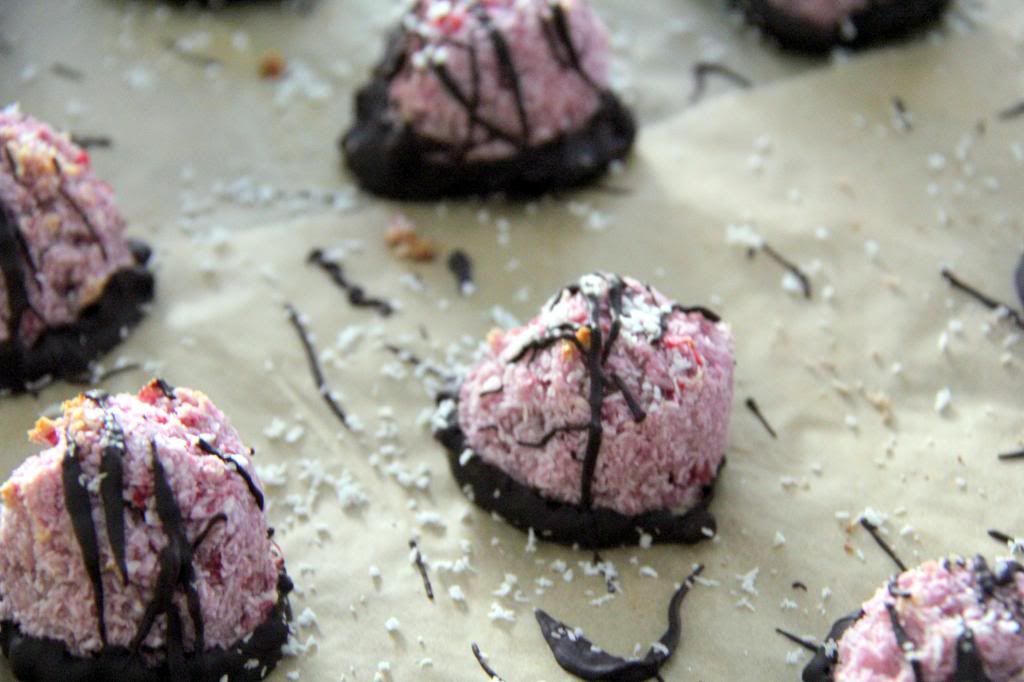
Chewy. Slightly tart and fruity. Perfectly sweet. Finished with robust dark chocolate. Pink and oh-so cute!

Hello-oo Raspberry-Coconut Macaroons!

Raspberry-Coconut Macaroons
makes 15 macaroons

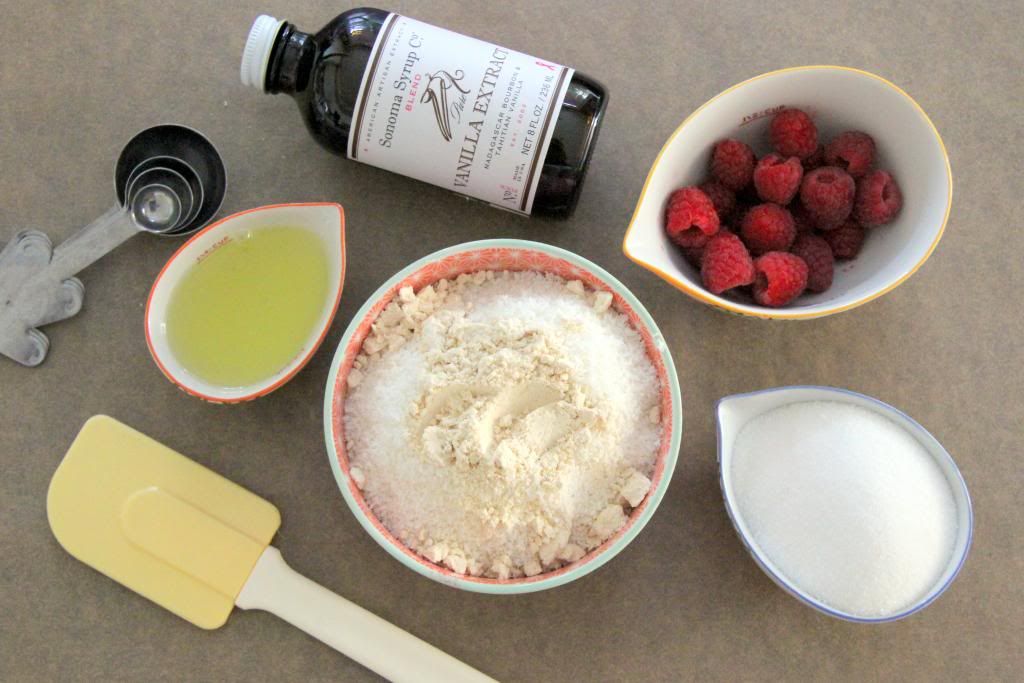
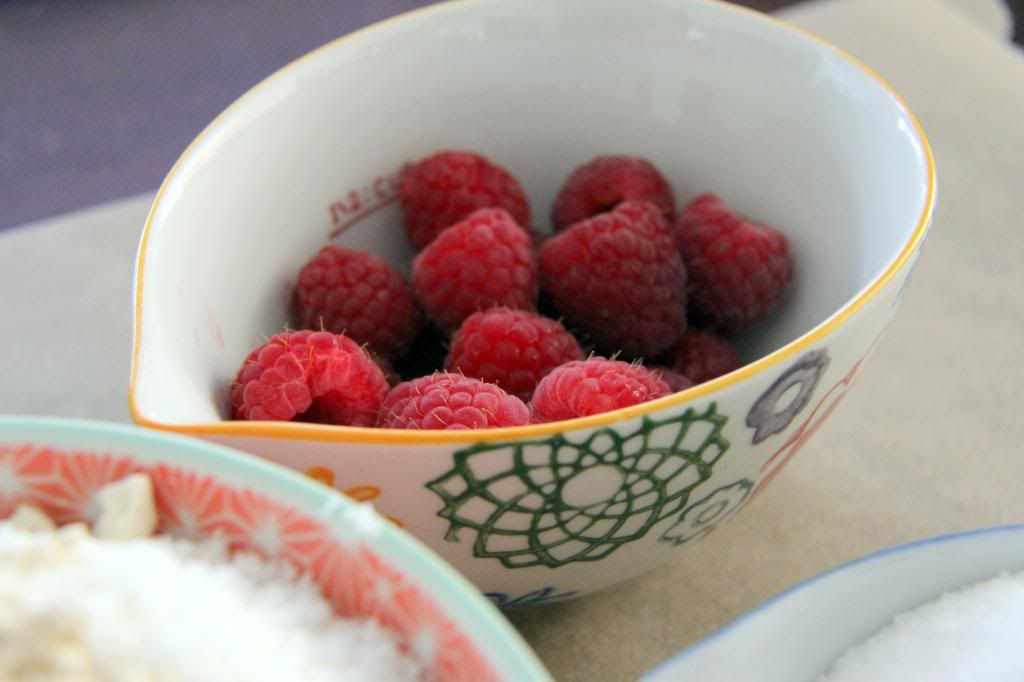
1/2 cup fresh raspberries 
2 cups unsweetened finely shredded coconut (if you can't find finely shredded, the regular kind will do...or you could even give it a few pulses in the food processor) 
2 1/2 tbsp coconut flour
2/3 cup white sugar
3/4 tsp salt
1 tsp vanilla extract
3 egg whites
8 oz dark chocolate (I prefer 65% or more cacao content...the dark chocolate flavor provides a good balance of sweetness)

1. In a bowl, whisk together the shredded coconut, coconut flour, white sugar, and salt.

2. In another bowl, use a fork to mash up the raspberries until there are no longer any large clumps of fruit. Pour in the dry coconut and sugar mixture and use a spatula to fold together the ingredients.

3. Lightly whisk the egg whites, with the vanilla extract, to a light foamy stage. Pour in the egg whites into the raspberry and coconut mixture; use a rubber spatula or fork to thoroughly combine everything.

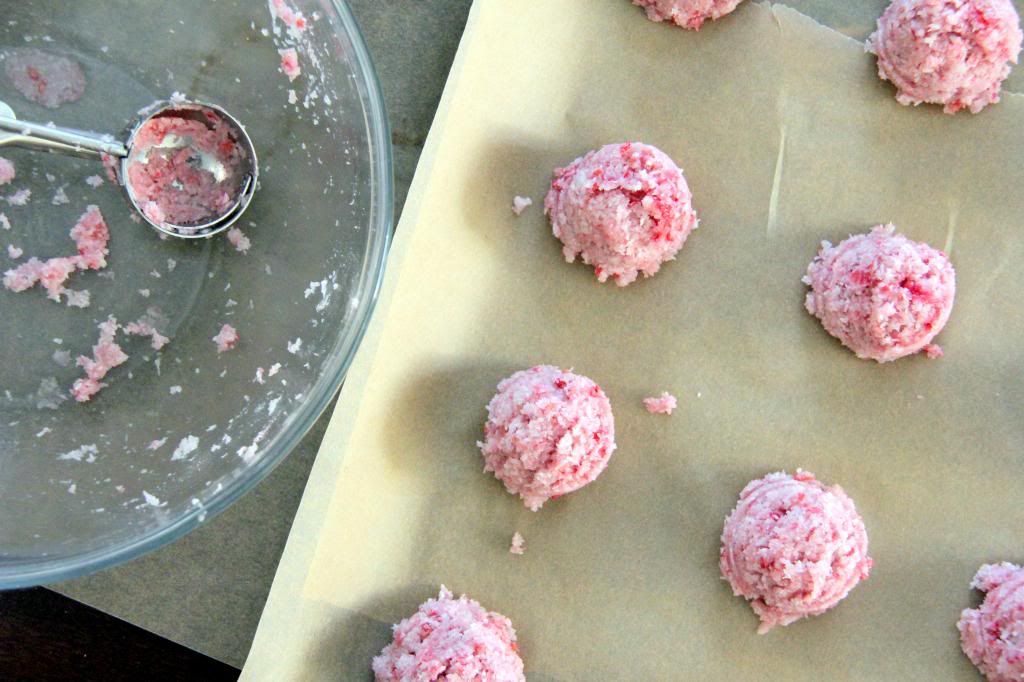
4. Use a mini-ice cream scoop, or tablespoon, to scoop out rounded portions-- really pack in the scoop so each macaroon is squished together and holds its shape. Place each round on a baking sheet lined with parchment paper. Bake at 300 degrees F. for about 25 minutes. The macaroons should be golden brown on the bottoms and just around the edges. Remove from the oven and allow them to cool.

5. Melt the dark chocolate in a bowl, either on a double broiler or in the microwave in 30 second intervals. Gently dip the bottoms of each cooled macaroon into the chocolate-- make sure the bottoms and a little of the bottom edges are coated-- and then place them back on the parchment paper. Dip a fork into the chocolate and drizzle more chocolate across the tops of the cookies. If desired, sprinkle a little more unsweetened coconut on the top of each macaroon. Allow the chocolate to cool and harden before serving (or if you're lazy like me, pop them in the fridge for a speed-chill).