Monday, February 18, 2013

Homemade Doggy Treats


I am not really sure when my love for dogs began to take-off. Growing up in my family, we had our share of dogs, but I don't really recall when I went from liking these furry creatures to being over-the-top in love with them. Whenever I see a dog or a puppy, I tend to get an instant serotonin boost. Usually, this is followed with an audible squeal. This is totally normal behavior for a 25-year-old, just to let you know.

When I was a teacher, my students became quite familiar with this passion of mine as they were often the inspiration behind several math problems. They loved hearing about my own three dogs. So, I guess my craze for dogs isn't that bad since it helped motivate 4th and 5th graders to learn, right?

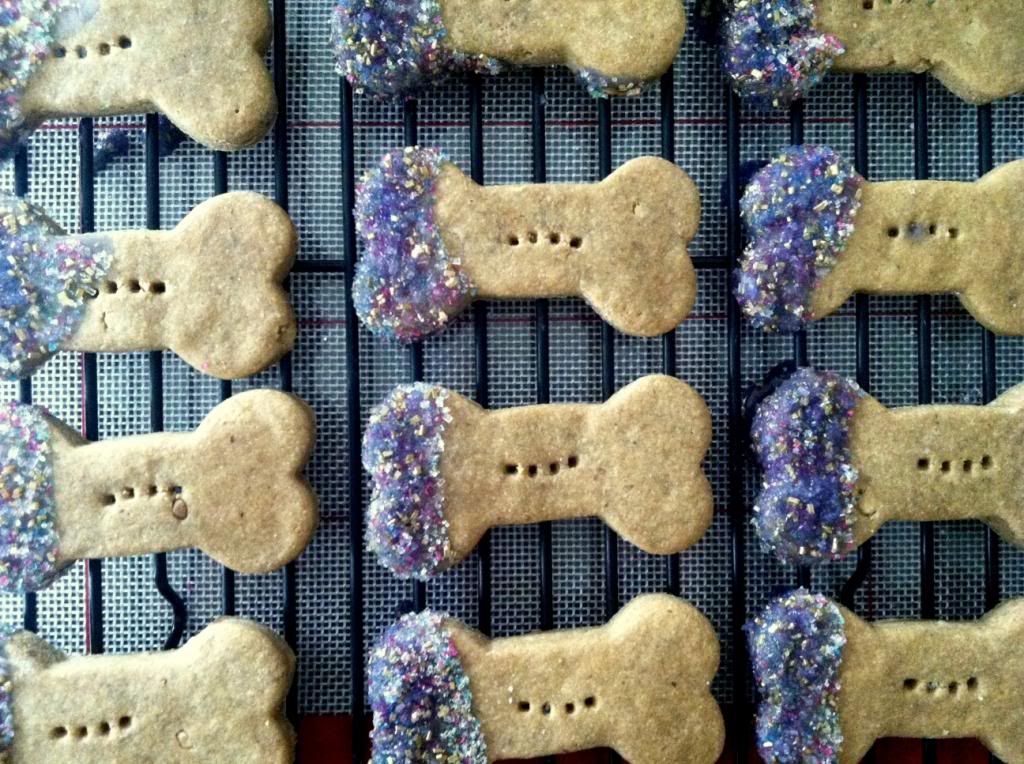
Well, regardless how you feel about dogs, you may enjoy this recipe I created for homemade doggy treats. They are all natural and very simple to make. Each ingredient is safe for most dogs to eat. I did use a little bit of decorative sugar to finish off the biscuits, but with such a small amount in each treat it is hardly an issue.  If your pet has an allergy to any of these ingredients, I would avoid making them.You know your own furry friend best.

My dogs LOVED these. I let them sample a piece before I began decorating them. Afterwards they were sitting and watching very closely hoping that one might fall off the table for them to devour. I hope your pets enjoy them, too!


Homemade Doggy Treats
makes about 40 4" dog biscuits

3 large ripe bananas, mashed
3/4 cup unsweetened natural applesauce
3/4 cup 100% natural chunky peanut butter
1/4 cup honey (I did not use raw honey due to some controversy on the safety in consumption.)
2 large eggs
4 1/3 cup oat flour

1. In a standing mixer with the paddle attachment, combine the bananas, applesauce, peanut butter, and honey. Mix on medium until everything is well combined. Add the eggs one at a time.
2. Slowly add the oat flour into the wet ingredients. Stop and turn off the mixer occasionally to scrape the bottom and sides of the bowl with a rubber spatula to ensure even mixing. The dough should be very thick and stick to the paddle attachment. It should feel moist, but not too wet when you touch it (similar to the texture of pie dough)
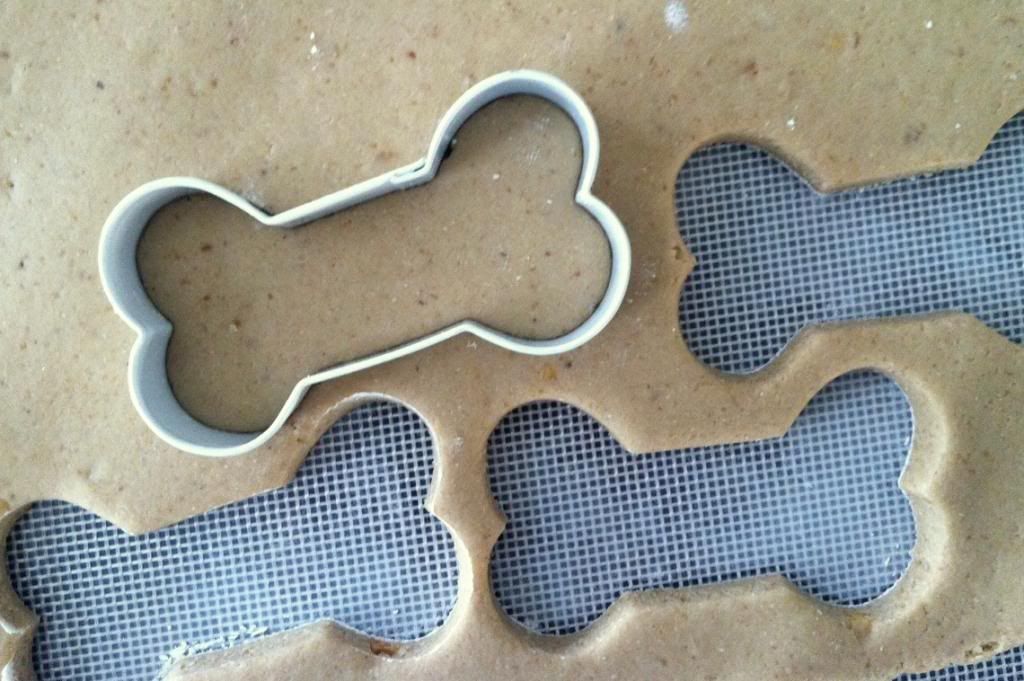
3. Gather and knead the dough for a few seconds on a lightly floured surface. Use a lightly floured rolling pin to roll out the dough until it is about 1/4 inch thick. Use a cookie cutter (I used a 4" dog bone, but you can use whatever you like; be sure to adjust your baking time according to the size of your treats) to cut out treats and place them on baking sheets lined with parchment paper. Roll up any scraps of dough into a ball and then repeat the cookie cutting process to make as many treats as possible (my dough yielded about 40 treats).
4. Use a fork to gently prick the middle of each uncooked biscuit. Gently use your finger to hold down the dough while pulling the fork away to allow a clean removal.
5. Bake the treats in the middle racks of the oven at 350 degrees F. for 25-30 minutes. They should be firm and golden brown on the bottom. Transfer them to a cooling rack and allow them to cool down completely before decorating (this is optional and the treats are just as beg-worthy without it).

Icing
1/4 cup corn starch
2 1/2 tbs. cold water
1 tsp. honey
1 drop of food coloring (optional)
sugar sprinkles (optional)

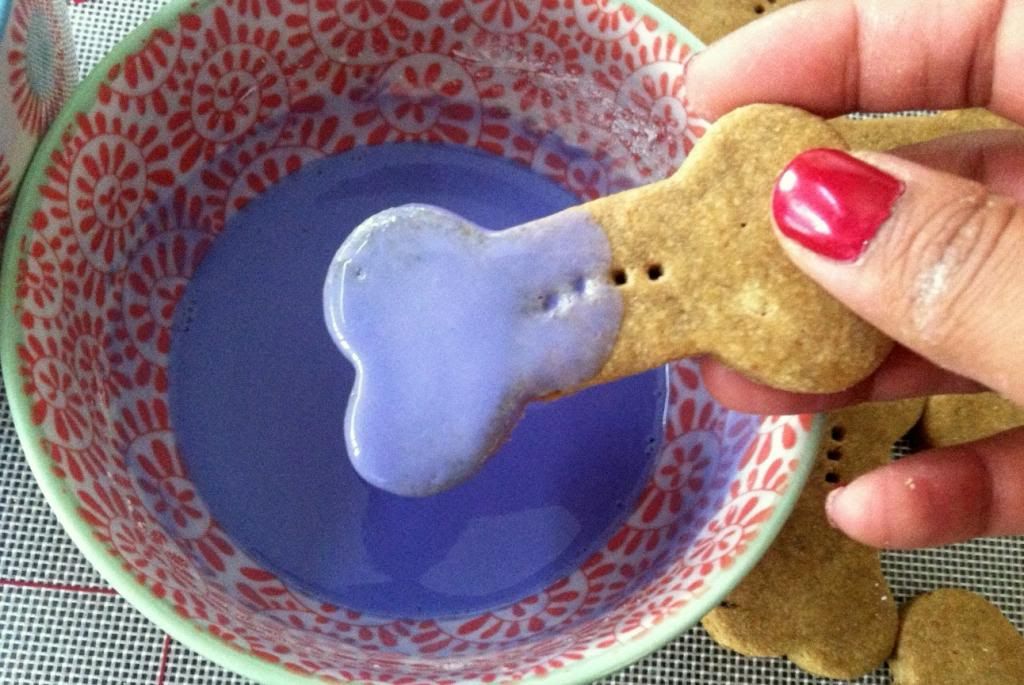
1. In a small bowl, whisk together the corn starch, cold water, and honey. The consistensy should be thick, but still a little runny (similar to Elmer's Glue). If desired, add a drop of food coloring and whisk to combine.
2. To decorate the treats, gently dip one side into the bowl. Turn the treat to coat the front, back and sides of the decorated portion. Hold the treat above the bowl and gently shake off excess icing.
3. Dip or place the treat into a bowl of sugar sprinkles, remove, and shake off excess. Place the decorated treats on a cooling rack to allow them to dry completely (3-4 hours).
4. Store these treats in an air-tight container. They should stay fresh for up to 3-4 days at room temperature, but they will last longer if you store them in the refrigerator.

Just like all treats, allow your pups to enjoy these in moderation. 

*Note: These treats are NOT similar to hard biscuits. I found that the icing will continue to be runny and will drip off the treats. If that bothers you, don't use the sugar-free icing. Until I try out better methods, please remember that I am not a doggy treat specialist, just a girl who loves finding ways to make her pups happy. :) xo.


Sunday, February 17, 2013

Wear What You Eat

Along with the rest of my blog, the weekly feature Wear What You Eat, on OMP!, is back! If you're not familiar with this post, all you need to know is that it is simply a chance for me to connect some of my favorite things: delicious food and fashion. You can view some of my old posts here.  However, with the relaunch of OMP!, I am making a few changes. In hopes of building more community amongst bloggers and local/independent artists/designers, I will seek new recipes from other foodie writers and pair them with items from shops on Etsy.com. I am excited to start "hunting" for goodies to share on this weekly post.

Alright, enough chit-chat! :)

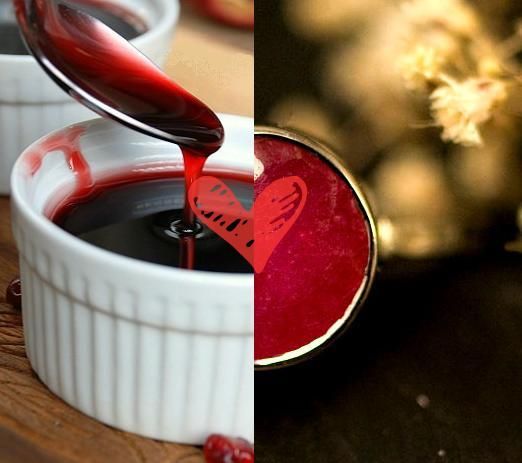
Next time you find yourself in front of a stack of fluffy and warm pancakes, eat this delightful sweet and tart Pomegranate Syrupfrom Lyuba of Will Cook for Smiles. Wear this stunning and handmade Ruby Gemstone & Silver Ring from Delezhen.

On a side note, I have personally purchased several items from this precious shop on Etsy and am very pleased with all my jewelry! Masha, the owner, pays great attention to detail when making her products. Thanks to her, my bridesmaids from my wedding have gorgeous personalized gold plated gemstone necklaces. If you're a soon-to-be Mrs., I definitely recommend checking this shop out for charming gifts!


Saturday, February 16, 2013

A Sweet Sugar Rush with a Vintage Vibe


I absolutely adore when a special event comes up and I have the opportunity to help out. I love tapping into my creative element to add to the theme and feel of a party or occasion. Recently, one of my good friends asked me to help create some sweet treats for a Co-Ed wedding shower. Naturally, without hesitation, I said, "I do!" 

The theme of the shower was vintage and sweet. When I heard this, I knew it was going to be a great chance to really allow something darling and a little whimsical to shine. However, since it was going to be a Co-Ed shower, I didn't want to make the desserts too feminine.


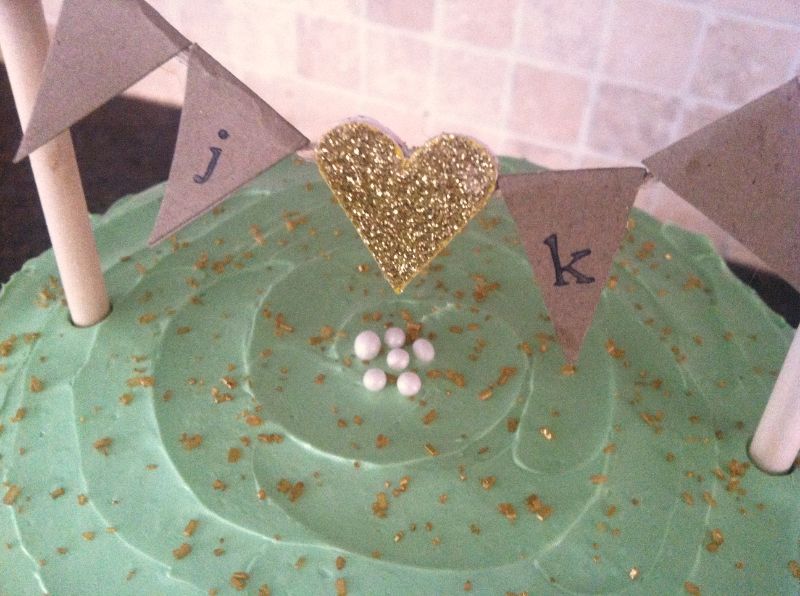
For the future Mr. & Mrs.,  I created a small 6" vanilla layer cake filled with salted caramel and frosted in a smooth and silky vanilla swiss meringue buttercream (SMB). Styling was kept simple and fun with a handmade and personalized banner, made of kraft paper, wood, and twine, over a delightful mint green cake. 

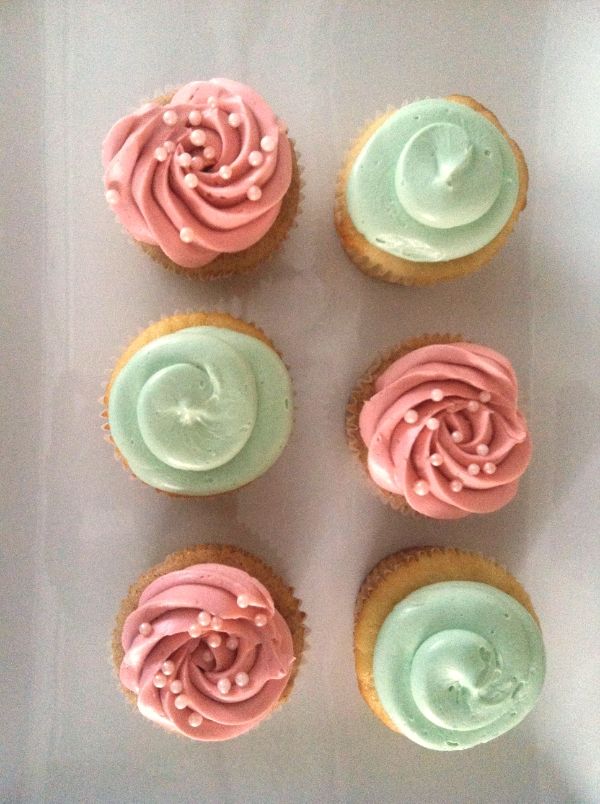
To keep the styling consistent and complimentary, a lighter shade of mint was piped into big swirls onto vanilla cupcakes. Everyone and everything needs a good partner and since cupcakes are no exception, scrumptious cinnamon cupcakes filled with salted caramel also made an appearance. These guys were also topped with vanilla SMB into a blushing rosette swirl with dainty sugar pearls. 

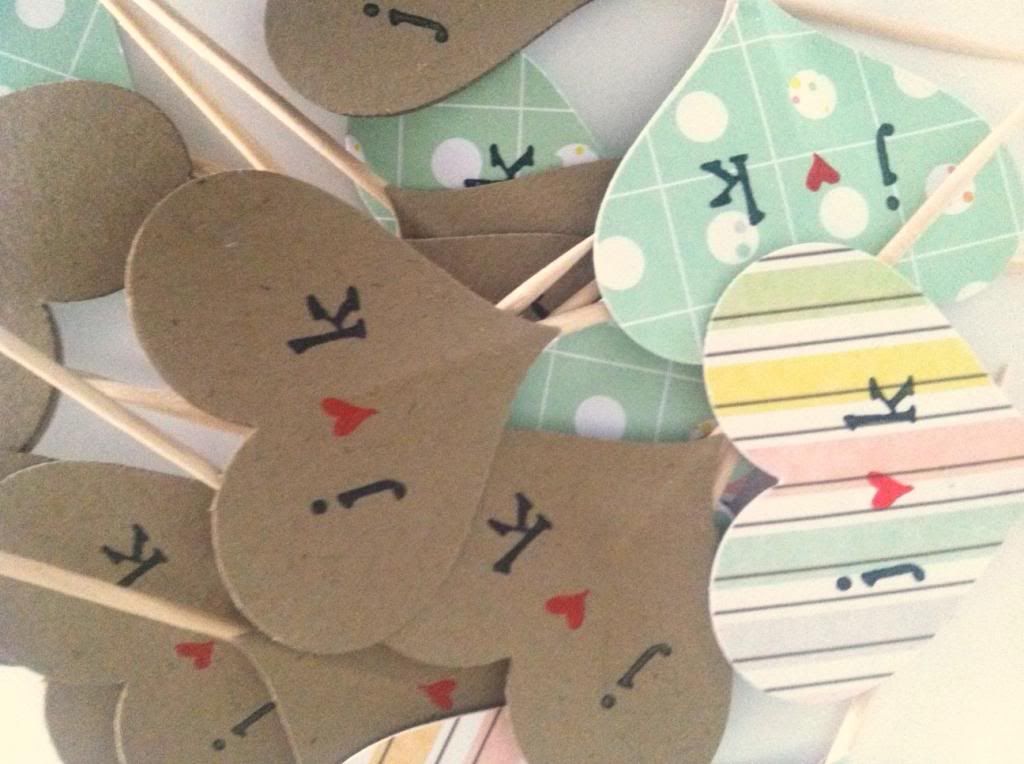
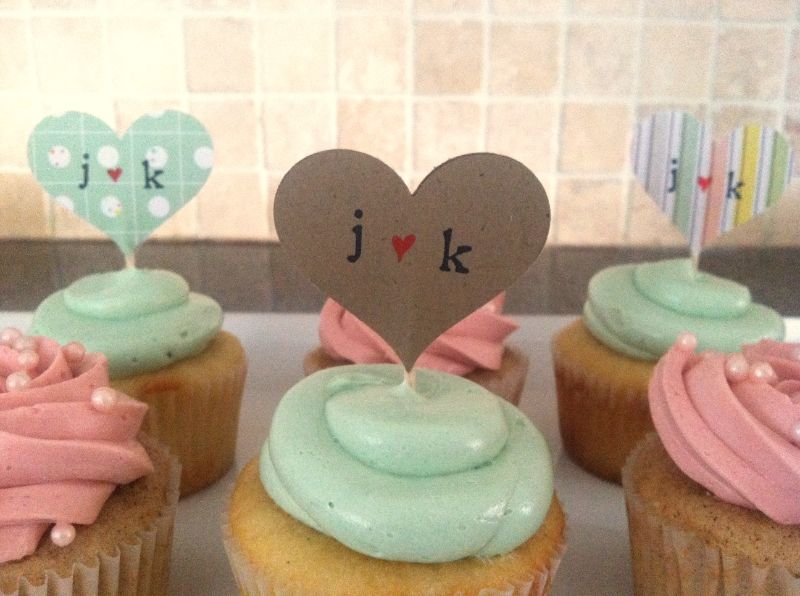
The colors were so lovely to work with and to make everything a little more complete, I also created personalized cupcake toppers that showcased the loving couple's initials. The mix of patterns used and the stamped letters definitely had a sweet little streak of modern-vintage charm.


Baking and creating desserts for this wedding shower was truly enjoyable. Not only was the style approach just what I love, but it was also led me to think about my bridal shower, thrown by my four fabulous bridesmaids, that I had just last August. Delicious and adorable sweets definitely add to the excitement of any bride. However, you don't have to be a bride to enjoy a whimsical sugar rush. 

Friday, February 15, 2013

Relaunching OMP!

Hello, old friends and readers! Time seems to have escaped us and I think it's about time we catch up. I know it seems as if I abandoned this blog...and, well...truthfully, I kind of did. After my last post back in July on the Tiffany Blue Birthday Cake, other events in my life took over the steering and, unfortunately, OMP! was bumped to the back seat.

What happened? Well, my wedding planning went into full swing for the summer and I was preparing my classroom, and mind, for a brand new bunch of 4th graders that would be my students for the new school year. As you can imagine, these two things took over my life agenda! A halt was put to major blogging, cooking, baking, and sleeping (zzz...). I was exhausted! Nevertheless, the work and dedication I put into the planning paid off and I can say that 4th grade started with a lovely bang and was followed by an incredibly perfect wedding with my sweets. However, after we got married in September and I moved cities to live with my new hubby, I found it very difficult to balance my career, marriage, and previous hobbies. Unfortunately, this is when the blog received another kick to the curb as I was adapting to my new life changes.

Now we're getting personal...

Through these adjustments, I embarked upon several discoveries:

1.) No one really can explain to you just how amazing being married to the love of your life is. Everyone tells you marriage is blissful, challenging, and like nothing else one may experience, but until I actually became the Mrs. to my Mr.,  I didn't understand how much could actually change. It is such an incredible blessing to wake up next to my soulmate to find myself falling more in love with him than I thought possible. We have grown so much emotionally, spiritually, and personally through the first few months of our marriage. I am aware that things will eventually get shaken up, but I have no doubt that, together, we will be able to get through anything. Being a wife, it's crazy to think how much my priorities change now that the man that used to be my boyfriend/fiance is now part of me-- we created the start of a family! It makes me happy to care for my hubby and do whatever I can to nurture our marriage. I imagine this is what mothers feel like after being blessed with their own child...you just never know what it means to be a mother until you are one; you just never know what it means to be a wife until you are one. 


2.) A good friend of mine presented an analogy about marriage to me that really stuck. She said something similar to, "Imagine that your life is a bucket filled with all kinds of small rocks and little pebbles. Each piece represents part of who you are and what you do. Marriage is a rock that is much larger than any of the other stones you have and when it gets added to your bucket, it takes up more room than you may have thought it would. This huge rock is amazing, but it is impossible to keep it without making some changes and removing and/or displacing some of the little pebbles and stones." This analogy really helped me make sense of a lot of the difficulty I was experiencing trying to balance everything. I couldn't keep trying to hang on to the way of life I was used when I was still living on my own while I was transitioning as a new wife. This wasn't easy, and if you really know me, you probably were there through the tough times and THANK YOU! Fortunately, my fantastic husband was, too.


3.) This third discovery was more of a reminder: Let go of control and let more faith in. Through all of the adjustments I found myself making, my health started to take spiral down a bit. My body was experiencing some of the worst things (that's another story, another time) I have had to go through and it soon became obvious to my husband that some other big changes might need to occur. He noticed that commuting far to work and running on adrenaline all day (can I get an "Amen" from any teachers out there?) was not helping my situation or our new marriage. To be honest, I noticed this too, but it took me a few months to finally accept it. I was reminded of discovery #2 often before I finally made the decision to resign from my position as a teacher from the charter school I had worked at for nearly 6 years. Oh, boy. This was a tough one...let me tell you. To leave 31 students I loved and a team of fabulous teachers that were my friends was frightening! I struggled with urges to try to plan and worry about everything I was doing. I wanted to try to control everything and make it work, but...my life circumstances, health, and husband were telling me otherwise. They were all right. I knew they were right. I was reminded that I just needed to make a right choice and trust God and rely on good faith that everything was going to be just fine.


4.) When you do something for yourself, the choice isn't necessarily going to shake the world. So do what is best for you and rejoice in it. This last discovery is one that I am sure many of you out there may respond with, "Duh!". I guess I had to learn this in my own way. As I traveled through life, I tried to always follow the rule books and think about everyone involved in my actions and choices. Making the decision to resign as a teacher after YEARS of hard work, two degrees, and a foundation built at a school I loved seemed like madness. There were too many people involved in my decision: students, parents, colleagues, friends, husband, etc. After a long period of thought, prayer, and contemplation, I finally made a choice that was for myself. I thought my class was going to sink, and my team would falter-- but they are doing just fine. I am on the road to healing and finding answers about my health, working on getting an equilibrium back, and feeling blessed every. single. day.


Whew! I know that was long! If you actually read through it all, I feel thankful. It felt good to get my heartfelt feelings out here.

Okay, okay... so what's in store for Oh My Pancake!? Well, as you can see, things look a little different around here! Thanks to Aubrey from Kinch Designs, OMP! went through a nice little makeover. The look is more clean and chic. I decided that a makeover was necessary since I am basically relaunching my baby blog.

Some major changes to OMP! include:

1.) You'll notice that I now have a variety of social media links! You can find OMP! on Facebook (page under construction) & Blog Lovin'. You can also find me on Pinterest and Instagram

2.) My header now consists of several different pages. In addition to my recipe building (Recipe Index) and baking addition (Sweet Treats), I will be incorporating posts on DIY projects. (DIY) I am SUPER excited to share my love for making all things creative with my readers. Also, there is a a new page called "Married with Pancakes". I will be posting about my life with my hubby, Henry, and our little pancakes, Ellie, Sophie, and Harlin (our dogs).  Some of these pages are still a work in progress...so make sure to check back soon as I build them up!

3.) Those of you who know the history of my blogging are aware that I used to be the writer of Yumology on WordPress. To make things less confusing and more organized, you will no longer be able to get directed to old recipes there. I am keeping you here on OMP! Yumology is still open, so if you want to poke through my old stuff, by all means do! I really am happy with this change even if it was hard to remove 100+ recipe posts off of OMP! :( Don't worry, I will still be sharing tons of healthy recipes here!

4.) I will be doing "Giveaways"...so, if you're like me and love free stuff (or yummy goods) be sure to subscribe! 


I am so excited to relaunch Oh My Pancake! I sure hope you are looking forward to coming back here!

xo.


Wednesday, January 30, 2013

Please Excuse the Mess!

Oh, I know it's been awhile...

but, I am getting ready to come back! Until then, OMP! may seem a little messy for about a week or so. I am in the middle of doing some construction here. Please excuse the mess and be sure to come back soon when things will be up and running again. :)

xo,
Amanda

Sunday, July 8, 2012

Tiffany Blue

 I recently had the privilege to prepare a cake for a colleague/friend's mother's 50th birthday party. Not only was I honored to take part in such a wonderful celebration, but I was super excited to create the cake she had in mind. My friend's mom, Janiece, wanted a Tiffany & Co. style cake; the idea of making such a girly design had me giddy all over! 

This 8x8" chocolate layer cake is filled with vanilla buttercream and fresh strawberries. To accommodate the large guest list of nearly 100 people, two 11x15" sheet cakes were also prepared. 


Happy Birthday, Janiece! I hope it was a lovely 50th. :)