


Eeeeeeeee. That's the sound of joy coming from wee little angels in chair heaven. They love when the old chairs get a new life. No chair in good condition with a lot of potential deserves to be left unwanted and undesired.
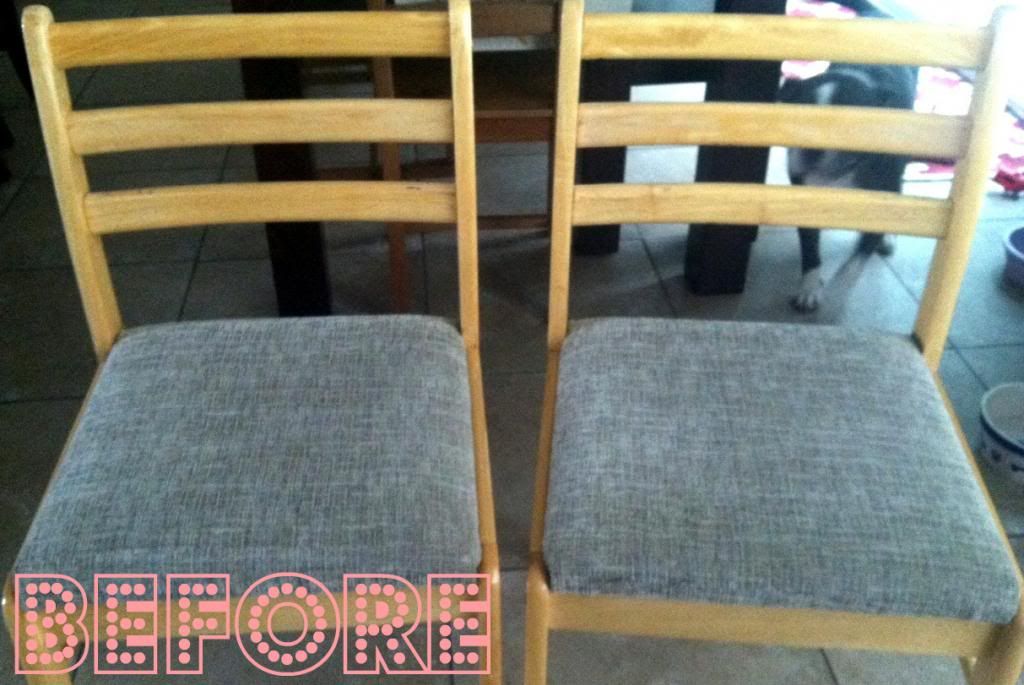
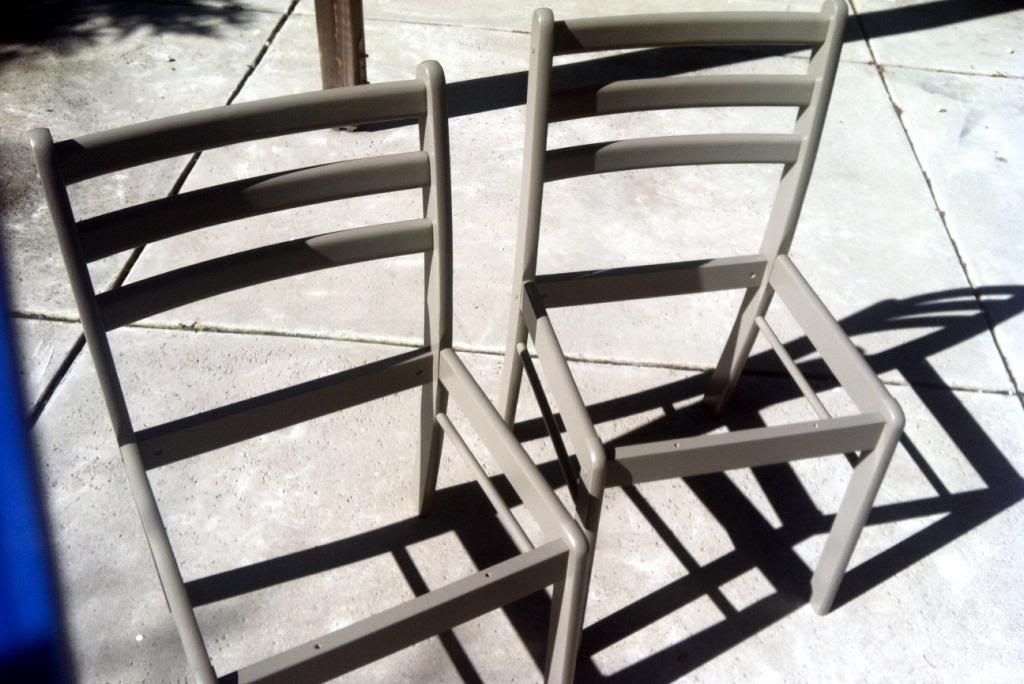
A good friend of mine and I went thrift store hopping about a month ago. I wanted to find some charming little vintage tea cups and plates to decorate with. Although I didn't have much luck, I was ecstatic when I found this pair of chairs. Each of them cost $10 and they were in pretty great shape. They didn't look too appealing-- not going to lie. They actually reminded me very much of the chairs I spent many hours sitting in as I crammed for college exams in my dorm room (yuck!). I knew with a little paint, great fabric, and a bit of elbow grease I could spruce them up.
Here's how I did it (apologies for the lack of photos as I went through the process):
1. I unscrewed the chair seat from both of the frames and then removed the old fabric. As I was doing this, I was surprised to find out that the unattractive grey material was actually covering another a cushion covered in yet, another, awful material. This hidden cushion, with it's own wooden bottom, was upholstered on top of the chairs actual wooden bottom. Uh...did you get that? Basically, the seat cushion had a seat cushion inside of it. So, I ditched the extra one and didn't even bother removing the fabric from it.

2. Next, I cut a piece of 2" thick high-density chair foam replacement to fit the size of the wooden seat. I used spray adhesive to secure it on top before covering the foam with polyester batting. I placed the wooden seat, with the attached foam, on top of the batting and cut the appropriate amount, after leaving about a 1 1/2 inch of extra batting around all sides of the seat. I then used a staple gun to wrap the sides of the seat with the excess batting around the perimeter. I pulled it taut, but not enough to create a lot of tension.
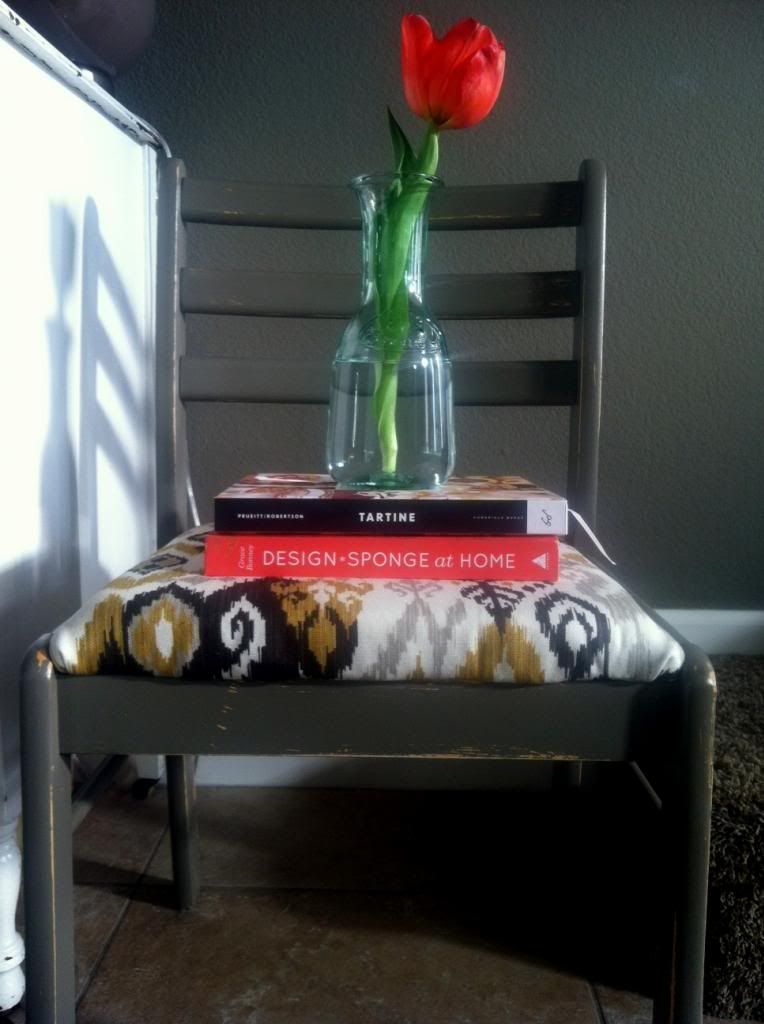
3. Once I finished with the batting, I placed my seat, foam and batting side down, on to the back side of my new ikat fabric (purchased at Joann's from the upholstery section). This way, I could complete the re-upholstery without having to flip the fabric upside down again. Like the batting, before cutting the material, I left about a 1 1/2" border of extra fabric around the perimeter. I then used my staple gun to attach the new fabric. *Notes: I made sure to check and see if the fabric was aligned correctly on the seat before stapling. Also, I found that stapling that stapling the fabric to the middle of each side helped keep it in the right place before I finished the entire seat. Sorry I don't have pictures of this step-- I got a little preoccupied. However, this is a great tutorial from Southern Hospitality Blog that helped me with this part.
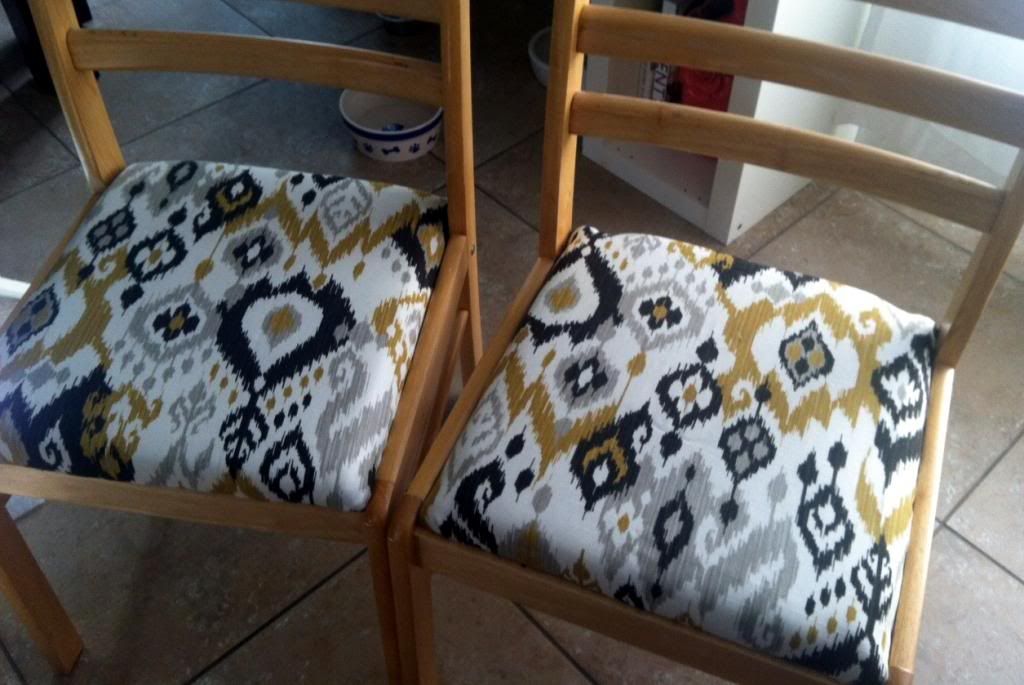 |
| I placed my new cushions onto the old frames just to see how they'd look (unscrewed still)-- much better already! |
4. Now that the seat cushions were done, it was on to the chair frames.
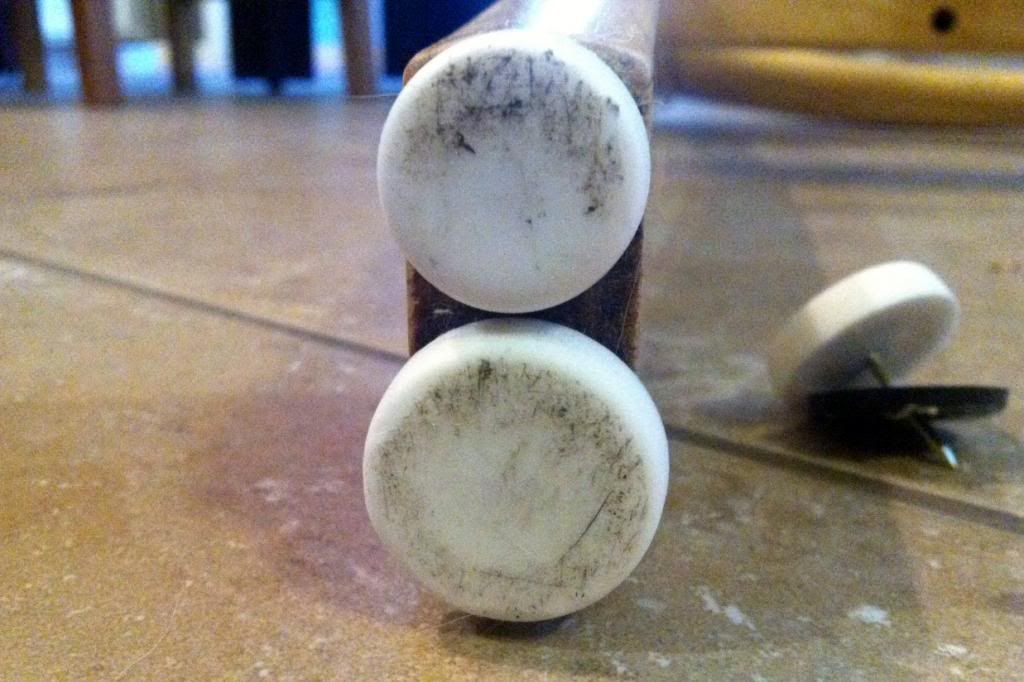
Before I did any sanding to prepare for painting, I took a flat headed
screw driver to pry off the nasty floor protectors that had been placed
on each of the leg bottoms. They were not the right shape and they had all kinds of grime and gunk...ew.
5. I then used medium grit sandpaper to strip off the old sealer on the chairs. To me, this was super tedious and I will admit that I became a little lazy with it. However, I got through it and sanded down almost all parts of the surfaces. Next, I used a damp cloth (with water) to clean the frame. I wanted to make sure I didn't have any dust or sanded bits present when I painted. After allowing both chairs to dry, I painted an oil-based primer onto the chair frames and waited for them to dry. I actually just left them in the garage and continued to work on painting the next day. This is when I applied my grey paint. The color I used was "Brook Trout" from the Martha Stewart Collection-- it's a warmer grey and I thought it went well with the colors in the ikat fabric I selected. I painted on two coats (allowing the first to dry completely before moving on to the second) using a mini roller and a small brush (to get all the little corners and hard-to-get areas). Once the painting was done, I left them out in the garage overnight to dry while I carried on with my day.
6. Paint is dry! Woohoo! I carried my chair frames out to the backyard for the finishing touches. The nice grey coating was a huge positive change to the old oak finish, but I thought that it looked too unaturally pristine for the simple shape of the chair frames.
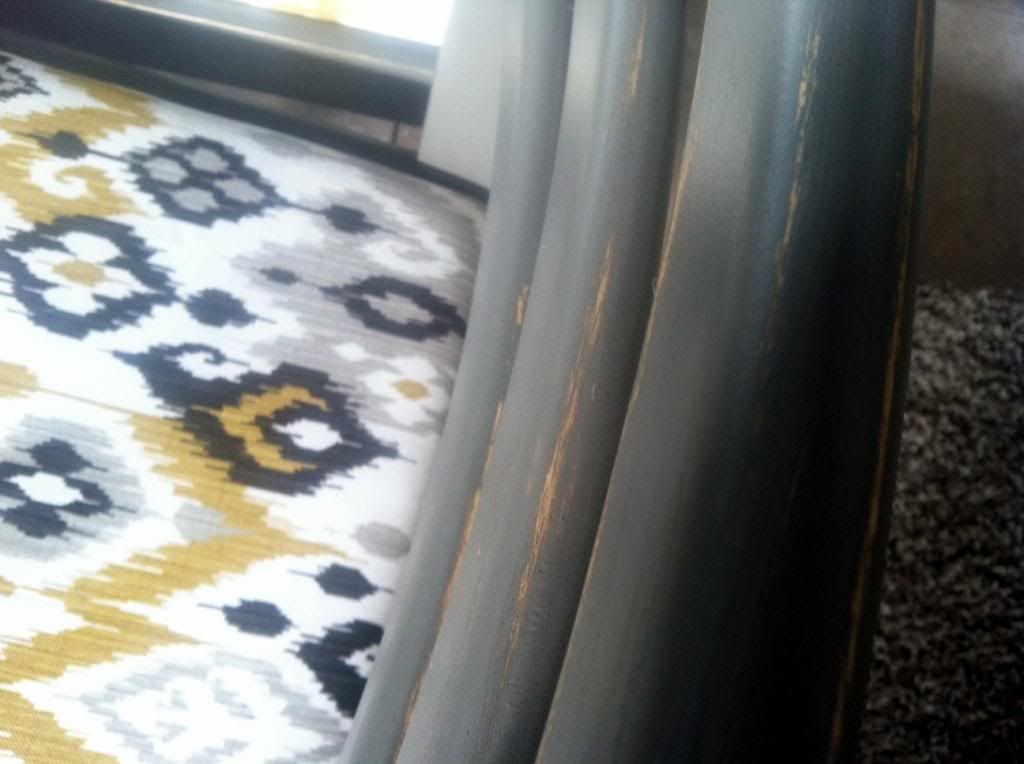
To add some extra depth and personality, I helped speed up the "lived-in & vintage" look of the frames by using fine grit sandpaper to strip some of the edges and surfaces of the chairs. When I first took the sandpaper to the back of the chair, I was tempted to shriek as the new beautiful paint became scuffed and scratched! It was hard to remember that I wanted my chairs to look imperfect after working so hard on them. However, after sanding down more sides and edges, I was completely satisfied with my decision to keep the look a little more flawed. :) It definitely gave it a "shabby-chic" appearance. I actually liked seeing some of the old oak peek through the grey paint.
7. We're in the home stretch! The last step for the frames was applying sealer. I didn't want the paint to come off or get scuffed more. That would have been a likely outcome since I did take sandpaper to it and I may have skimped on a little quality prep time with sanding before priming. I cleaned off the dust again with a damp cloth, allowed the chairs to dry, and then I used an oil-based spray sealer-- such a great and easy way to finish the job. I simply sprayed two good coats of the sealer and left them outside to dry for a few hours. Done.
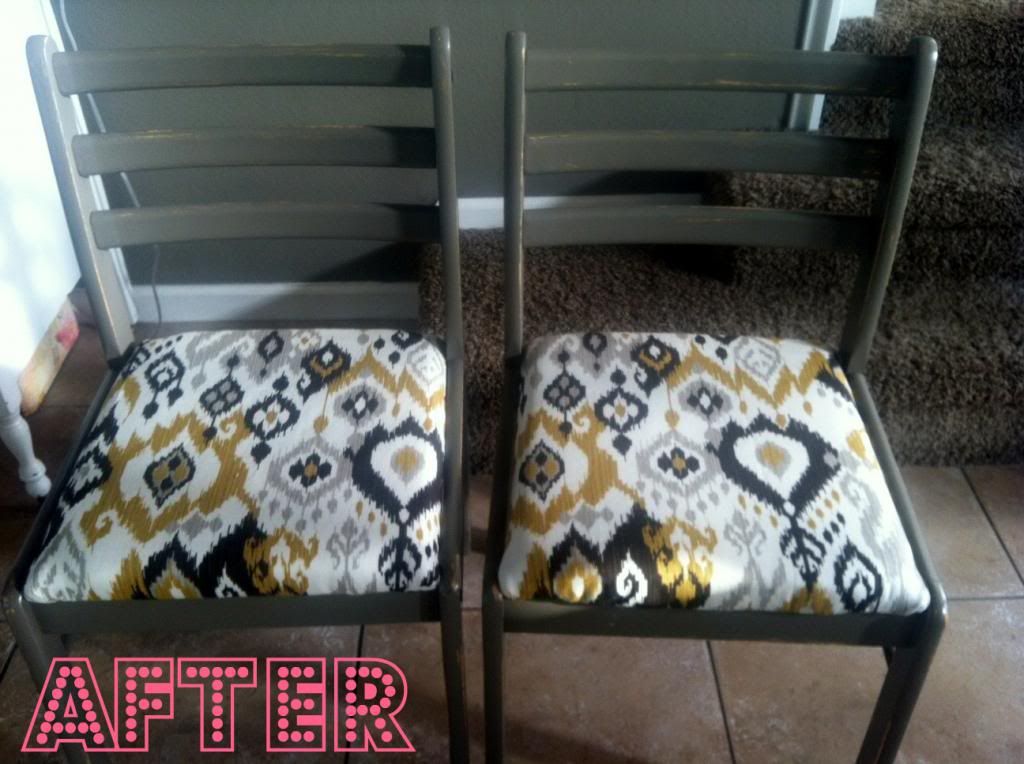
8. At this point, I was giddy with joy because my chairs were almost complete! I screwed the seats back into the chair frames and tested them out by sitting in them immediately! I love the new look and the fact that I fixed them up myself. They definitely aren't a perfect and professional reupholstered and made over set of chairs, but they are mine and I am happy with my project. The ikat print is chic and modern while the frames are little more rustic and simple-- love. love. love.
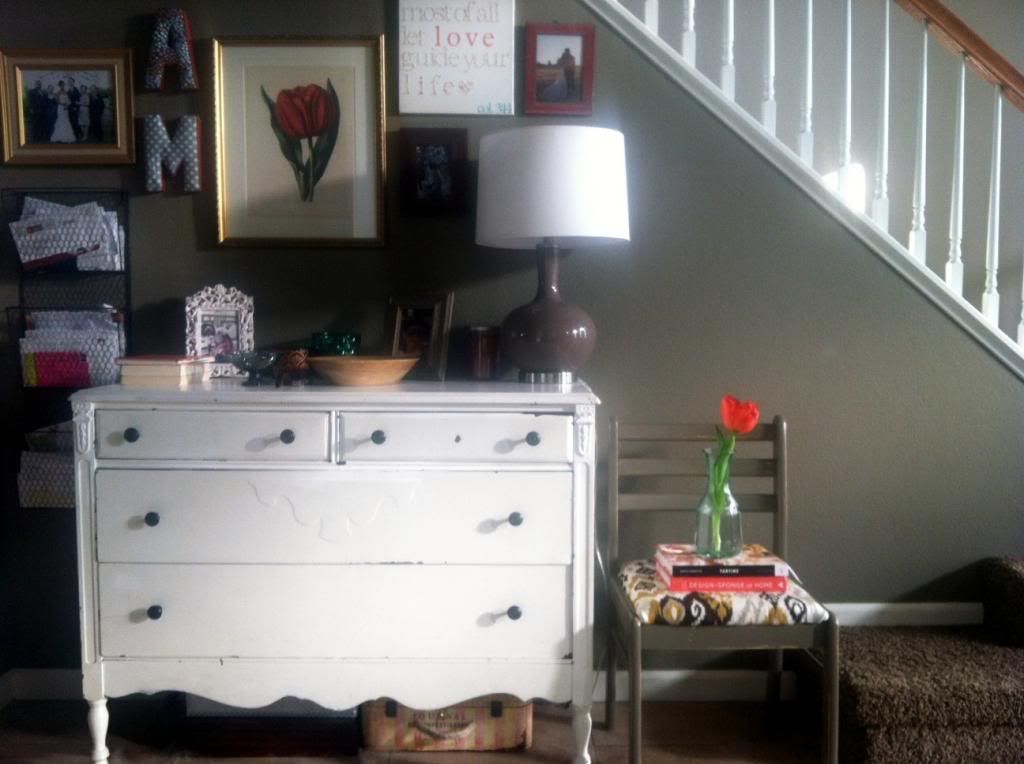
Right now they are hanging out in my house-- one in my hall next to the stairs and the other in the living room. I think they will go well in the loft that my husband and I are turning into an office area (more on that later).

so cute amanda! this is such a great DIY, can't wait to have a real home and try this sucker out =)
ReplyDelete