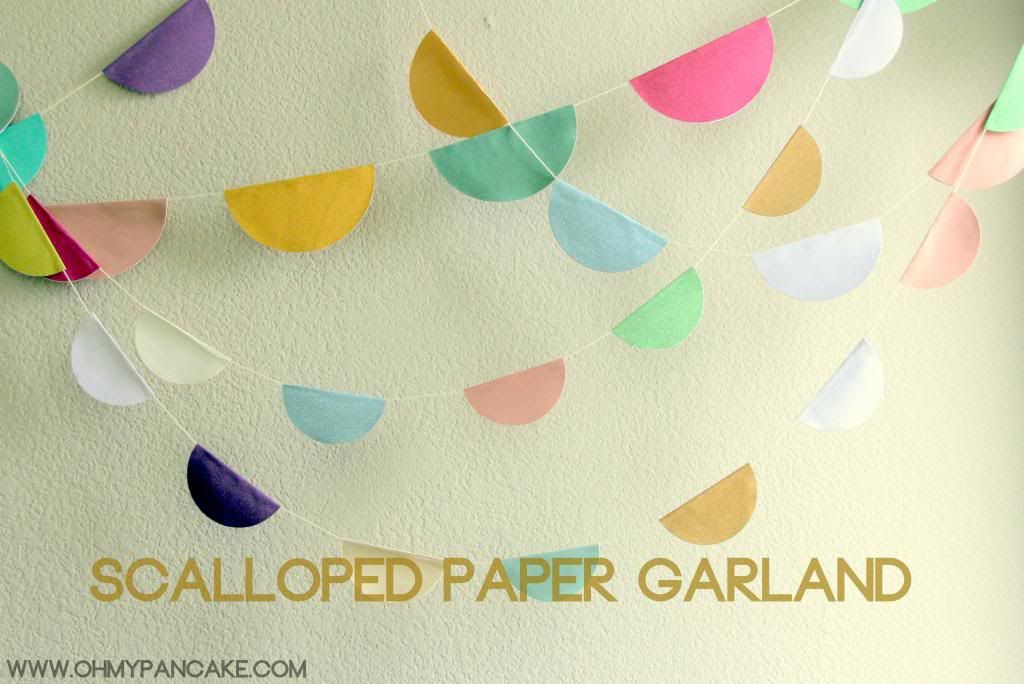
Garlands are such a fun way to decorate for events, parties, or just because you love them. They are a creative and whimsical way of brightening up a focal space or area. For an event I am hosting this weekend, I created these super easy Scalloped Paper Garlands and I thought I would share how I made them.
Materials
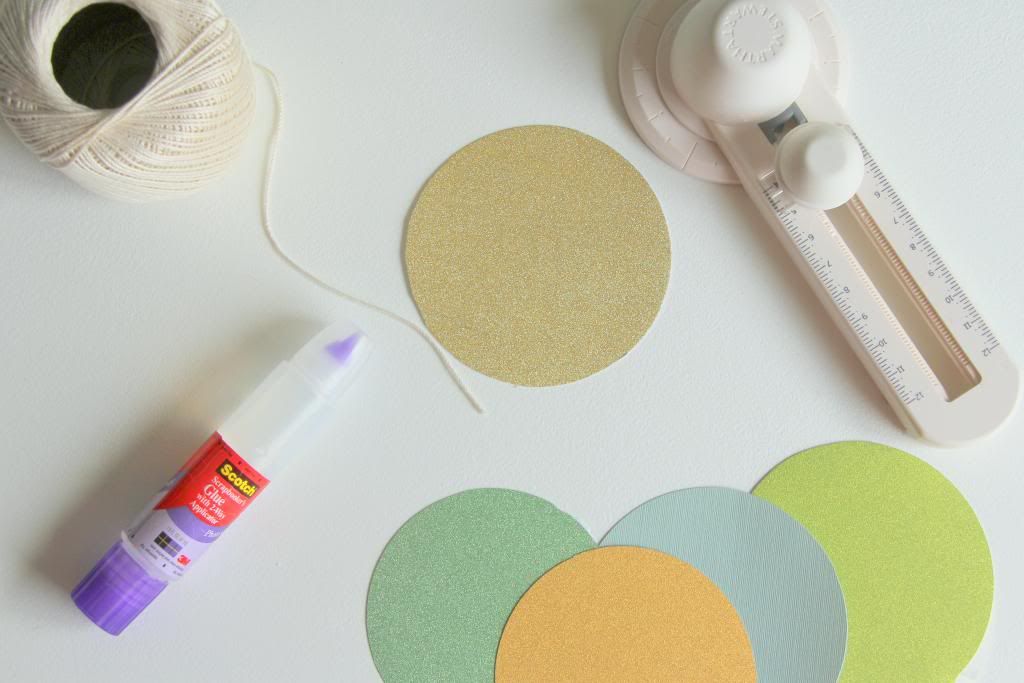
paper of choice (I used various types of cardstock and scrapbook paper)
circle cutter (or scissors)
-You will need to cut your paper into circle sizes of your choice. I made a few garlands with
different sized circles: 4.5", 5.5", and 7.5" diameters.
glue stick
string (I used a roll of acrylic crochet yarn-- it is lightweight and doesn't fray much)
Instructions
1. Cut a piece of string to whatever length you want. If it's for a specific location or space, you should measure the length and plan accordingly. I created these for my backyard patio and I wanted various lengths to create a layered look; each of my garlands are different lengths. I suppose you could get mathematical and more precise, but it didn't matter to me.
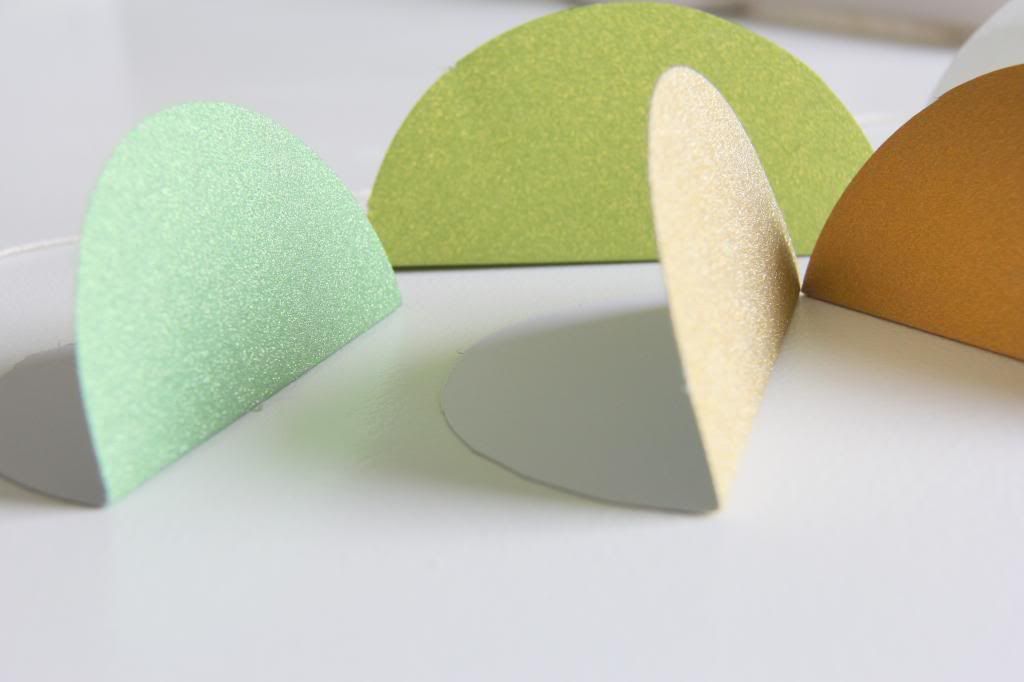
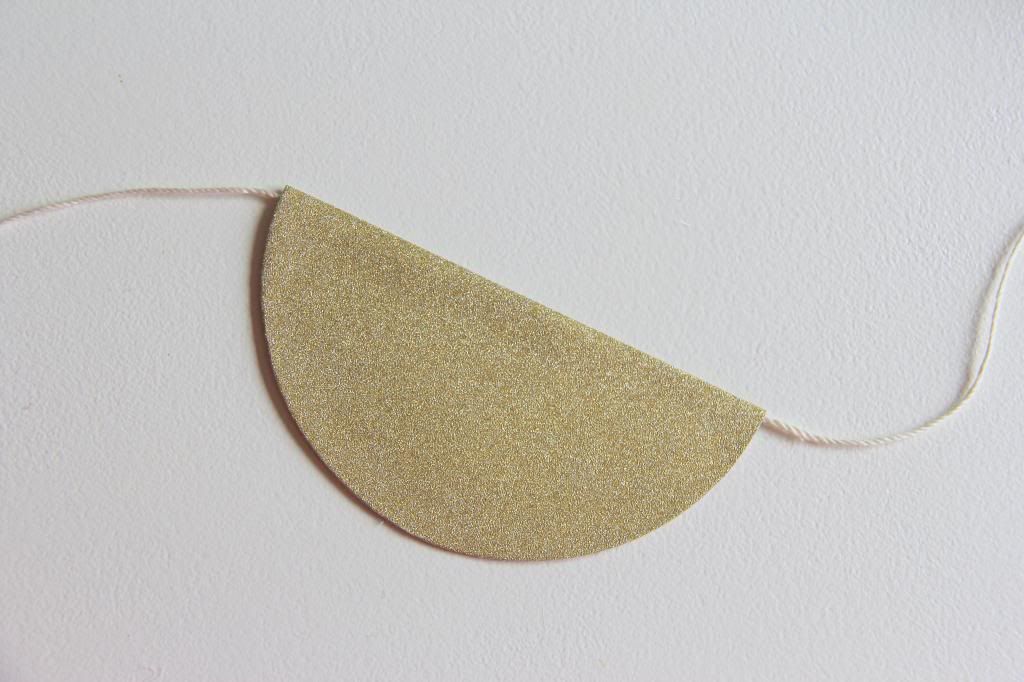
2. Fold each of your cut paper circles in half to form a semi-circle.
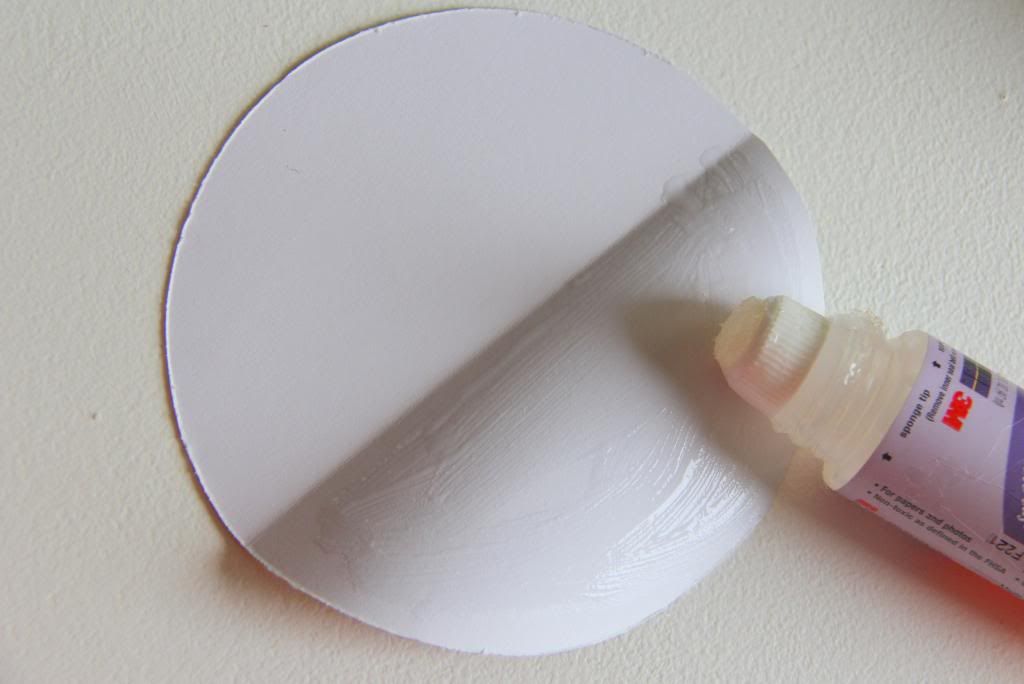
2. Apply glue to one half of the circle.
3. Take your string and place it along the fold of the inside of the circle. Make sure you leave a few inches at the end of the string so you can make a loop for hanging the garland later.
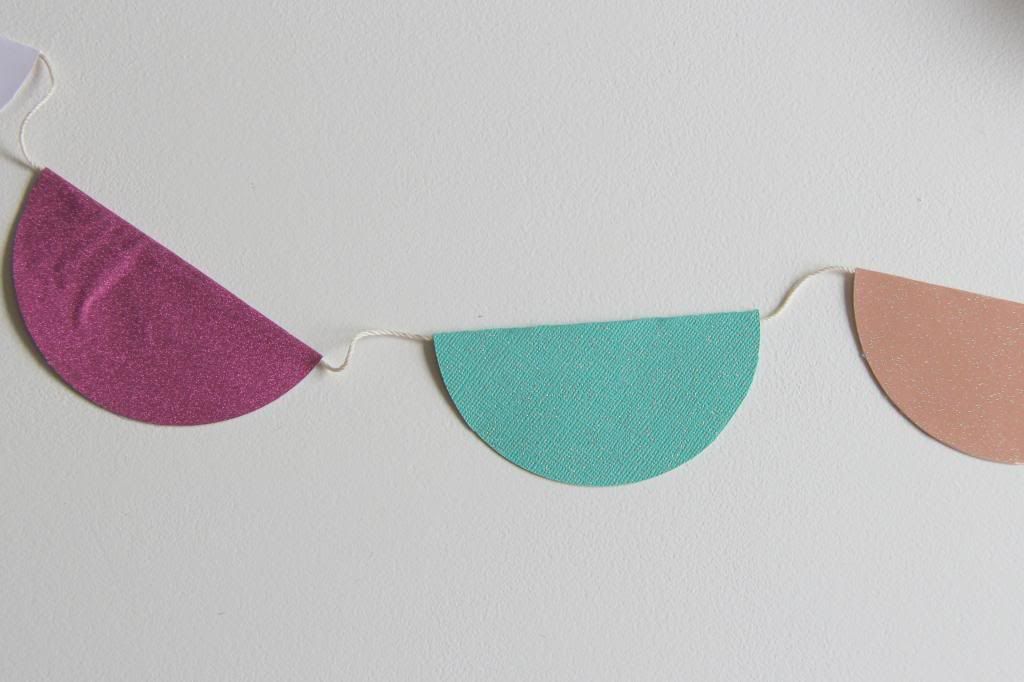
4. Repeat with more circles until you reach the stopping point on your string-- remember you want to save a few inches at the end. Also, I left a few inches in between each scallop on my garlands. The amount of space here is entirely up to you...you could even place them right next to each other if you wanted. However, I think it would make it a little harder to allow them to hang freely as there wouldn't be much room to bend in between the scallops. Again, if you wanted to be mathematical and precise and measure the length of your string, diameter of your circles, and space in between to attain an exact number of inches and circles to place on your garland you can...but it wasn't a big deal to me. Eyeballing it worked out fine and kept me stress and obsessive free. :)
5. To finish your garlands, take hold of the end of the string, make a loop, and tie a knot. This will allow you to anchor the garlands on nails or hooks (but surely you could just use tape if you'd like).
Done!
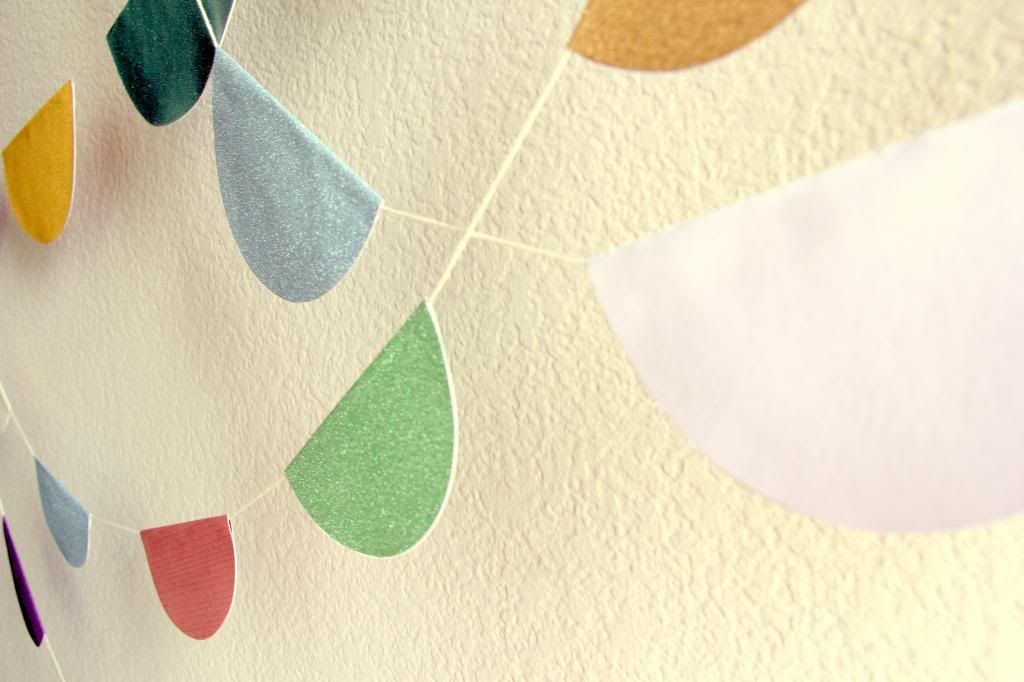
I love the mix of soft and glittery colored scallops on these garlands. Although, I know it's hard to see the sparkle on these photos. I can't wait to deck out my patio this weekend with these! They're so whimsical and fun. If you plan on making these, you might want to know that although they are super easy to make, they are tediously time consuming-- especially if you want long garlands. I spread the task of creating these over the span of a few days.
Catching up on Mad Men and watching Don Draper walk around in a grade-A suit helped pass the time. Wink.


No comments:
Post a Comment